Search the Subnautica 2 field database
Filter guides by route type, field status, difficulty, map marker, biome clues, resources, threats, fragments, puzzles, and quick answers.
Indexed pages
153
Map anchored
153
Matching results
153
Version
Early Access
The top visible results are ranked as playable routes, not plain articles: source videos, captured frames, and map anchors are counted before you open a guide.
Source videos
24
Visual frames
24
Map anchors
8
Best video route match
Subnautica 2 Beginner Guide
A practical first-session route for oxygen, tools, scanning, shelter, and safe exploration in Subnautica 2 Early Access.

Subnautica 2 Beginner Guide
A practical first-session route for oxygen, tools, scanning, shelter, and safe exploration in Subnautica 2 Early Access.
Start by stabilizing oxygen and food, scan anything that unlocks movement or storage, place an early base near repeatable resources, then push outward only after you can return safely.
Early Access Starting Route
A low-spoiler route for turning the first hour into tools, scans, storage, safer map knowledge, and repeatable early progression.
Use the opening hour to build a repeatable loop: scan nearby fragments, identify common resources, create storage, and only then follow distant signals.
Multiplayer Co-op Guide
How to split jobs, share discoveries, avoid duplicated work, and keep co-op exploration organized in Subnautica 2.
In co-op, assign one player to route marking, one to scanning, one to resource hauling, and one to base preparation so the group progresses without four people chasing the same fragment.
Best First Base Location
How to choose a first base site with safe oxygen routes, repeatable resources, visibility, and room to expand.
Pick a first base near common resources, shallow return paths, clear sightlines, and at least one safe route into deeper exploration. Do not optimize for beauty before survival.

Oxygen and Survival Tips
Survival habits for oxygen timers, inventory pressure, food, water, and route discipline in Subnautica 2.
Treat oxygen as a route budget, not a warning sound. Turn back before panic, carry only what supports the objective, and build upgrades that extend safe decision time.
Crafting Progression Guide
A practical crafting priority list for tools, storage, mobility, base modules, and safer exploration.
Crafting progression should remove the biggest blocker in front of you: oxygen, storage, mobility, power, or hazard access. Avoid spending rare materials until an unlock clearly expands your route.
Map and Biomes Overview
A spoiler-light map planning guide for thinking about biomes, depth, resources, hazards, and route escalation.
Use the map as a set of risk bands: starter safety, resource routes, deeper unlock paths, hazard zones, and late progression spaces. Versioned biome details can be added as the Early Access map stabilizes.
Resource Priority List
Which resources to prioritize first, which to store, and which to avoid hoarding until a recipe proves they matter.
Prioritize resources that unlock oxygen, scanning, storage, power, mobility, and base expansion. Keep a small reserve of common materials, but do not fill storage with unknown items before recipes demand them.
Scanner Fragments Guide
How to think about fragment scanning, unlock priorities, duplicate scans, and route planning around discoveries.
Scan fragments that unlock information, movement, storage, or safer returns before chasing cosmetic or comfort unlocks. Record where fragments appear so patch changes are easier to verify.
Vehicles and Upgrades
A vehicle and upgrade planning guide for depth, storage, route safety, and progression in Subnautica 2.
Treat vehicles and upgrades as route enablers. Build or upgrade when a new path requires more range, safer returns, storage capacity, or hazard tolerance.

Bosses and Threats Overview
A conservative encounter hub for major threats, boss-like moments, escape planning, and Early Access verification.
Prepare for major threats by scouting exits, carrying only mission-critical items, scanning from safety, and leaving before the encounter turns into a panic route.
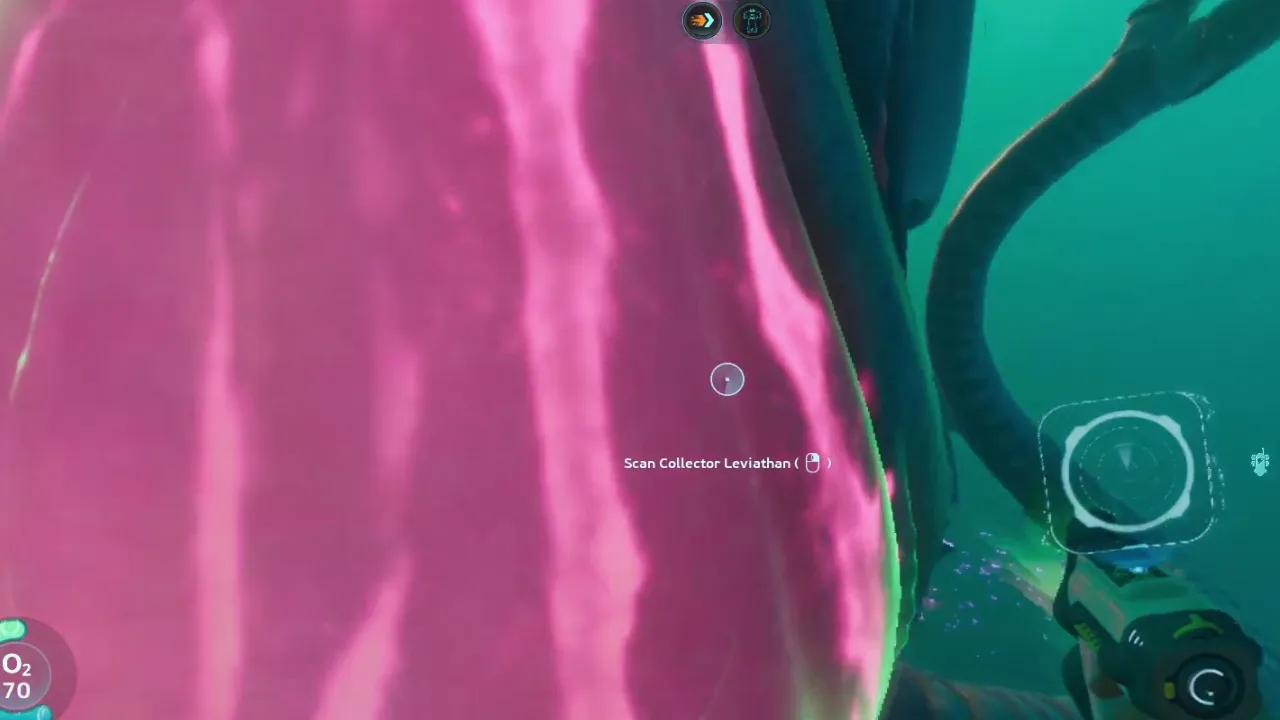
Leviathan-Class Threats
How to approach large predator and leviathan-class threat zones without losing scans, resources, or your return route.
Do not treat leviathan-class zones as normal resource routes. Enter with an exit plan, scan from controlled angles, and leave as soon as the objective is complete.
How to Survive the First Major Encounter
A panic-proof checklist for the first time Subnautica 2 turns exploration into a serious threat encounter.
Pause the objective, locate the exit, preserve oxygen, and leave with the information you gained. The first encounter is a scouting lesson, not a full-clear mission.

Puzzle Guide Overview
A spoiler-aware guide to reading Subnautica 2 puzzles, terminals, route locks, power routing, and alien structure clues.
Most progression puzzles should be approached as information problems: scan the room, identify power or access requirements, trace the route, then solve only the blocker in front of you.

Power Routing Puzzles
How to read power-flow rooms, cable paths, terminals, and inactive devices without burning oxygen or missing progression clues.
For power routing, trace visible inputs and outputs first, then inspect inactive devices from source to destination. If nothing reacts, you likely need a scan, item, or later unlock.
Alien Structure Puzzles
A careful route framework for reading alien structures, terminals, symbols, and locked interior routes in Subnautica 2.
Alien structures should be cleared methodically: scan first, map the room, identify locks, avoid wasting oxygen, and return when a missing tool or story trigger becomes obvious.
Collectibles Overview
A completion-focused overview for lore logs, PDA entries, blueprints, rare materials, and base module finds.
Track collectibles by type and route, not by memory. Separate story logs, blueprint unlocks, rare materials, and base modules so completion checks stay readable after patches.
PDA and Lore Logs
How to track PDA entries, environmental storytelling, lore logs, and missed narrative clues without over-spoiling the route.
Track lore logs by region and story beat. Avoid reading ahead if you want discovery, but keep a completion list so missed entries can be revisited later.

Blueprint Collectibles
A blueprint collection framework for scanner unlocks, crafting progression, base modules, and vehicle upgrades.
Blueprints matter most when they unlock new routes. Prioritize scans tied to oxygen, movement, storage, power, vehicles, and base expansion before completion cleanup.
Rare Materials Tracker
A versioned tracker for rare materials, where to record them, when to spend them, and how to avoid waste.
Treat rare materials as route keys. Store them separately, label the source region, and spend them only when the recipe clearly unlocks depth, mobility, power, or story access.

Base Module Collectibles
How to track base module scans, useful habitat unlocks, and the difference between comfort modules and progression modules.
Scan base modules that improve storage, power, crafting, and safe returns before chasing decorative or comfort unlocks. A readable base accelerates every later route.

Hammerhead Threat Guide
A patch-tracking guide for Hammerhead behavior, Tadpole interactions, flare response, and safe escape routes.
Treat Hammerheads as active Early Access tuning targets. Keep a retreat vector, test flare response after hotfixes, and avoid leaving Tadpoles in exposed routes until behavior is verified.

Marrowbreach Threat Guide
How to track Marrowbreach attack spacing, damage changes, mitigation tests, and safe scan windows during Early Access.
Do not memorize old Marrowbreach timing. Its damage and attack cadence have been patch targets, so plan around distance, cover, tool response, and build-specific field notes.
Nibbler Threat Guide
A practical Nibbler guide for perception range, circling behavior, movement changes, and Survival Tool response.
Nibblers are small enough to underestimate but have multiple patch-tuned behaviors. Watch perception range, circling time, speed, and tool sensitivity before committing to caves or tight routes.
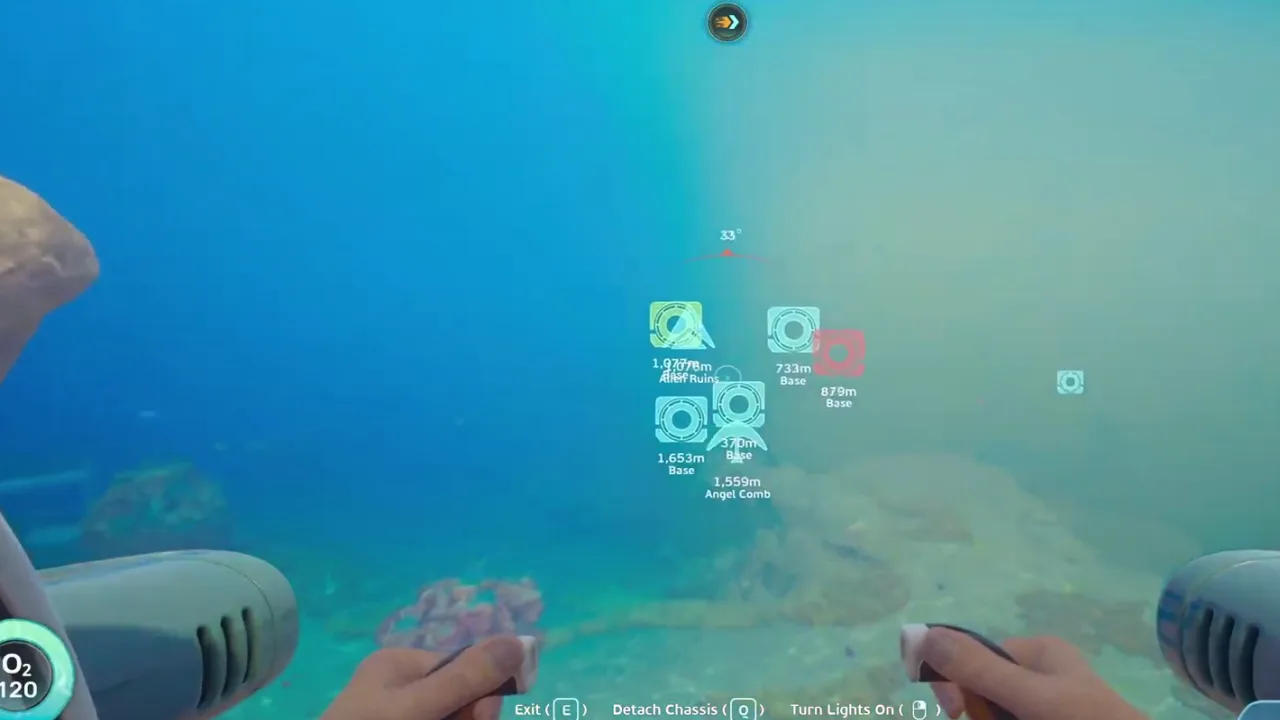
Tadpole Submersible Guide
How to use the Tadpole as a route-planning anchor for biome pushes, co-op hauling, vehicle safety, and threat retreats.
Use the Tadpole as a mobile return plan, not just a faster swim. Park it where terrain gives a clean exit, then run short scouting spokes from that anchor.
Flares and Survival Tool Guide
How to treat flares and the Survival Tool as mitigation tools for creature tests, route recovery, and Early Access threat pages.
Carry mitigation tools when you enter uncertain fauna routes, but test them deliberately. Flares and Survival Tool response can change with patches, so record build-specific results.

All Leviathans and Where to Find Them
A versioned Leviathan index for Collector, Shiver, Great Jaw, and Deepwing Brooder routes, with safer scouting habits for Early Access.
Early Access reporting currently centers on four Leviathan-class encounters: Collector, Shiver, Great Jaw, and Deepwing Brooder. Treat locations as route bands, not fixed coordinates, and scout each area with a clean escape line.

Collector Leviathan Guide
A spoiler-aware route and safety framework for finding, observing, and escaping the Collector Leviathan.
Approach Collector reports as a high-risk scouting route: enter with vehicle support, observe from the edge, avoid tunnel vision on the scan, and leave before the route closes behind you.
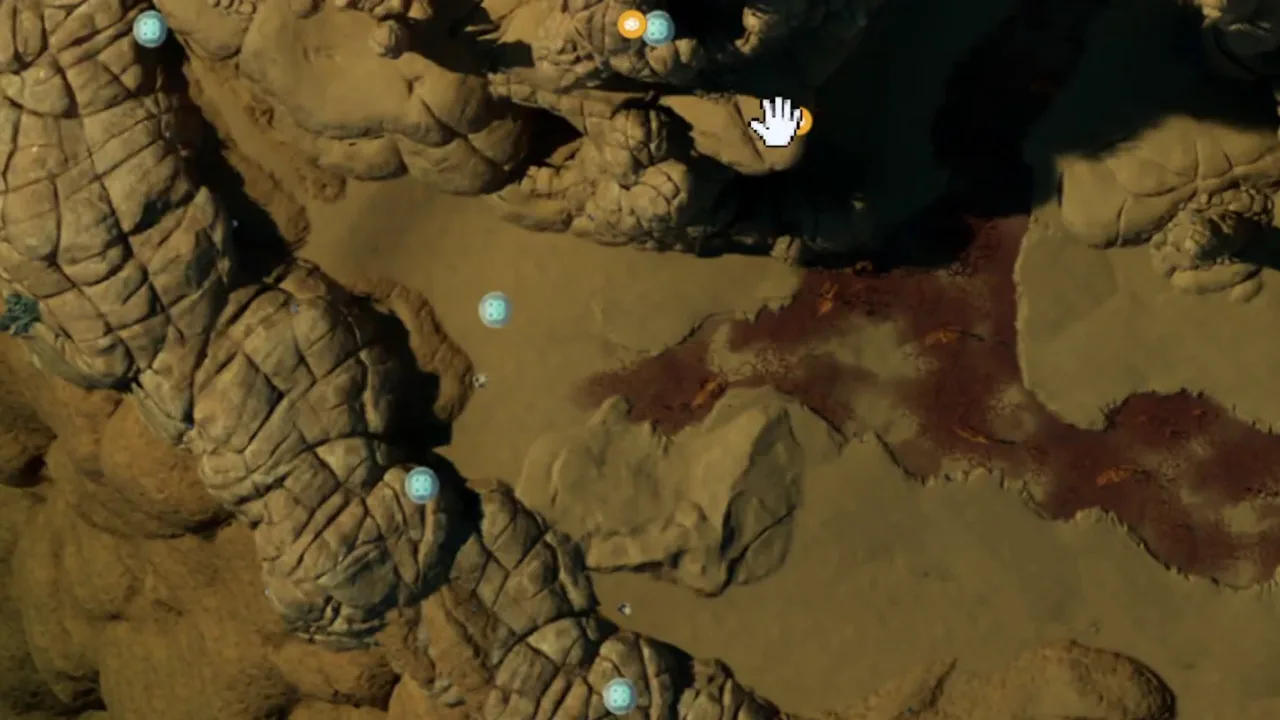
Silver Location Guide
Where to start looking for Silver in Subnautica 2, including the early green-light cave route north of the Lifepod.
A common early Silver route is north of the Lifepod, roughly 400 to 500 meters out, where green-lit cave systems and mineral nodes begin to appear. Bring oxygen margin and do not overstay the first trip.
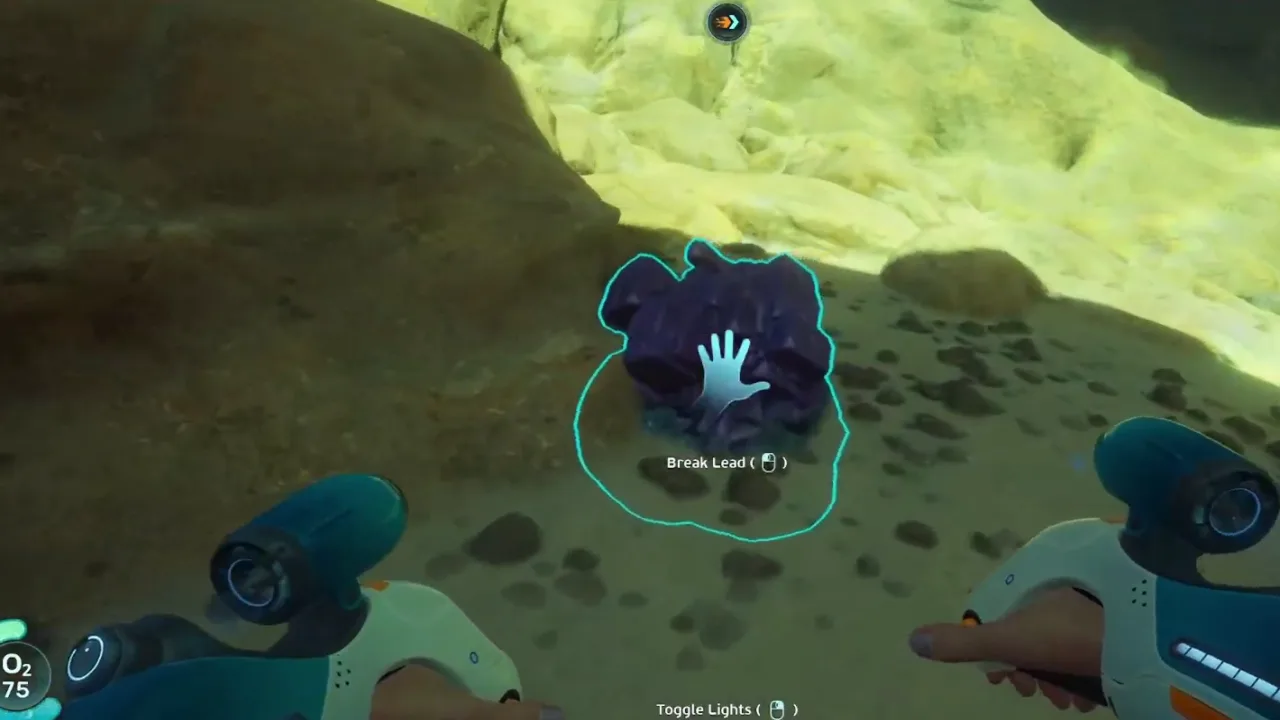
Lead Location Guide
A practical early Lead route focused on the ravine northeast of the Lifepod, the caves below it, and safe repeat farming.
For early Lead, check the ravine northeast of the Lifepod, around the 250 to 300 meter travel band, then inspect cave walls and mineral nodes below the ravine with enough oxygen to back out.
Sulfur Location Guide
How to look for Sulfur near early volcanic terrain, thermal features, and the southeastern Welcome Center route.
Sulfur is commonly reported around early volcanic or thermal terrain, especially on the southeast route toward the Welcome Center. Search shallow hot-rock areas carefully and return before the route turns into a deep push.

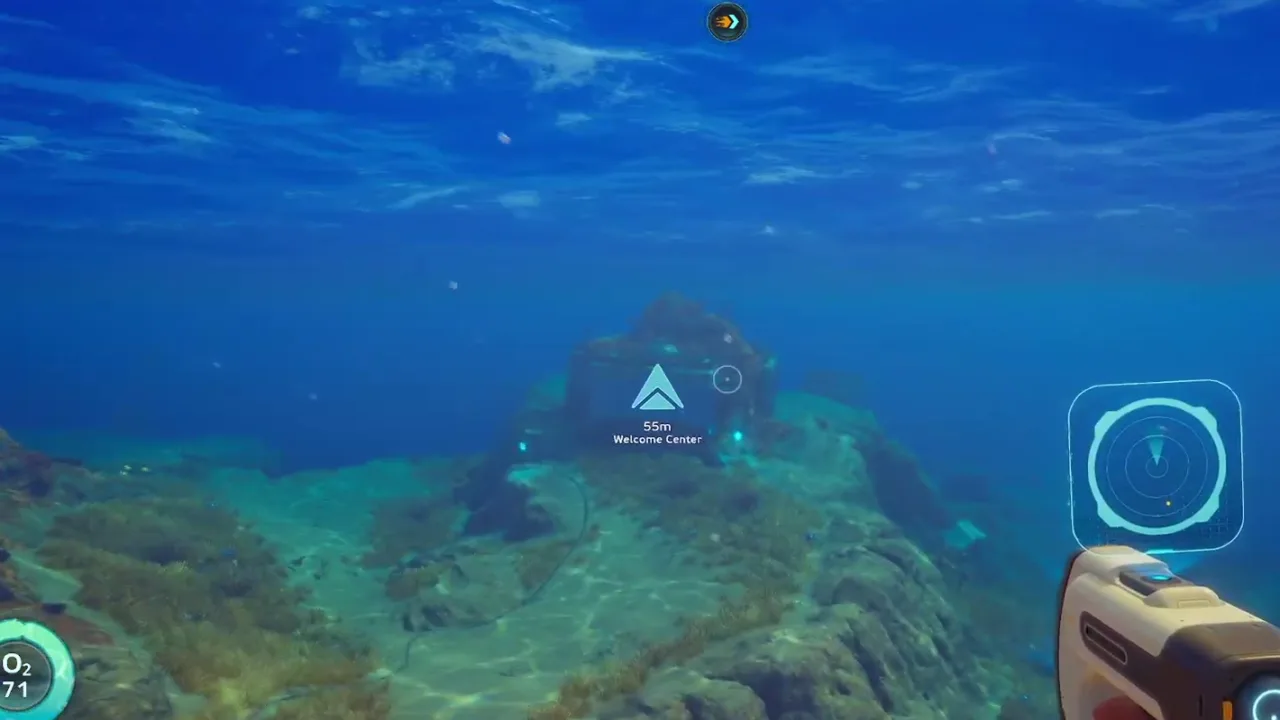
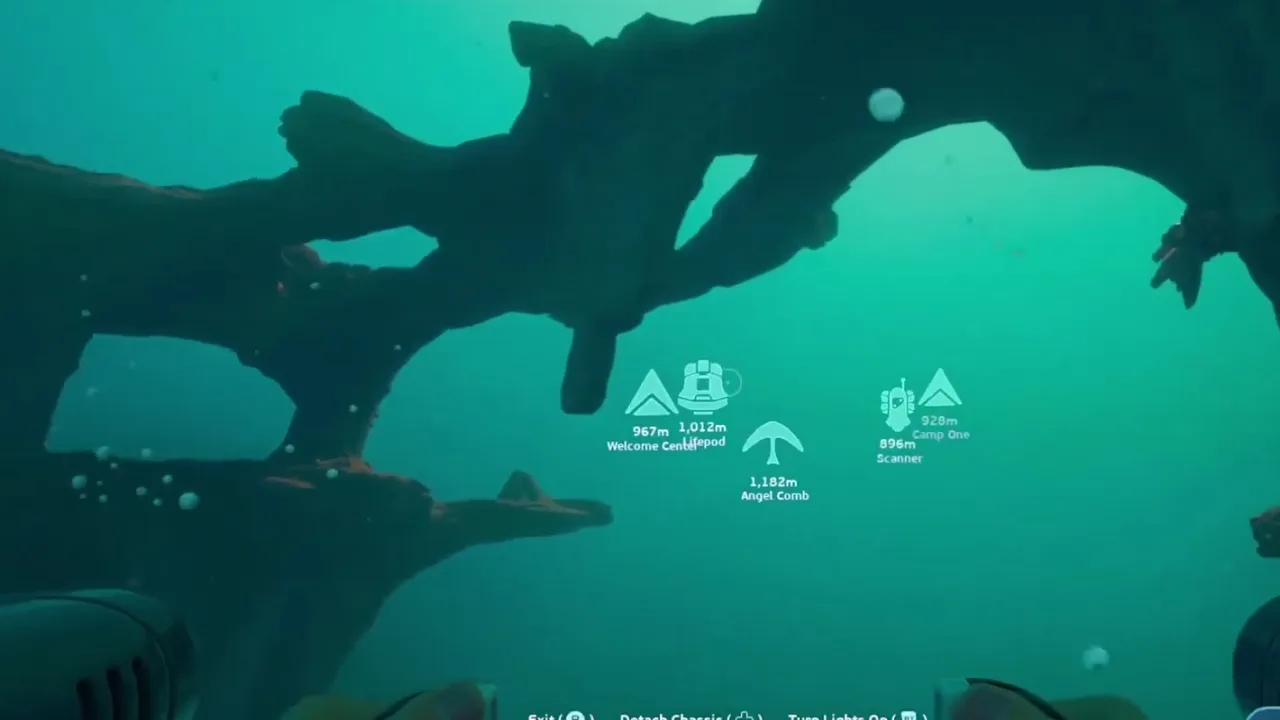
Welcome Center First Route
A first-objective route from the Lifepod toward the Welcome Center, Anita, Chap, Camp One, and the Old Habitat lead-ins.
After stabilizing oxygen and basic supplies, use the Welcome Center as the first major route anchor. Treat Anita, Chap, Camp One, and the Old Habitat as progression beats, not errands to rush while underprepared.
Best Base Locations Expanded
A more detailed base-location framework for choosing safe, useful, and expandable starter and midgame bases.
The best base location is the place that shortens repeated routes: near useful materials, visible landmarks, manageable threats, power options, and enough open space for storage, crafting, and vehicle access.

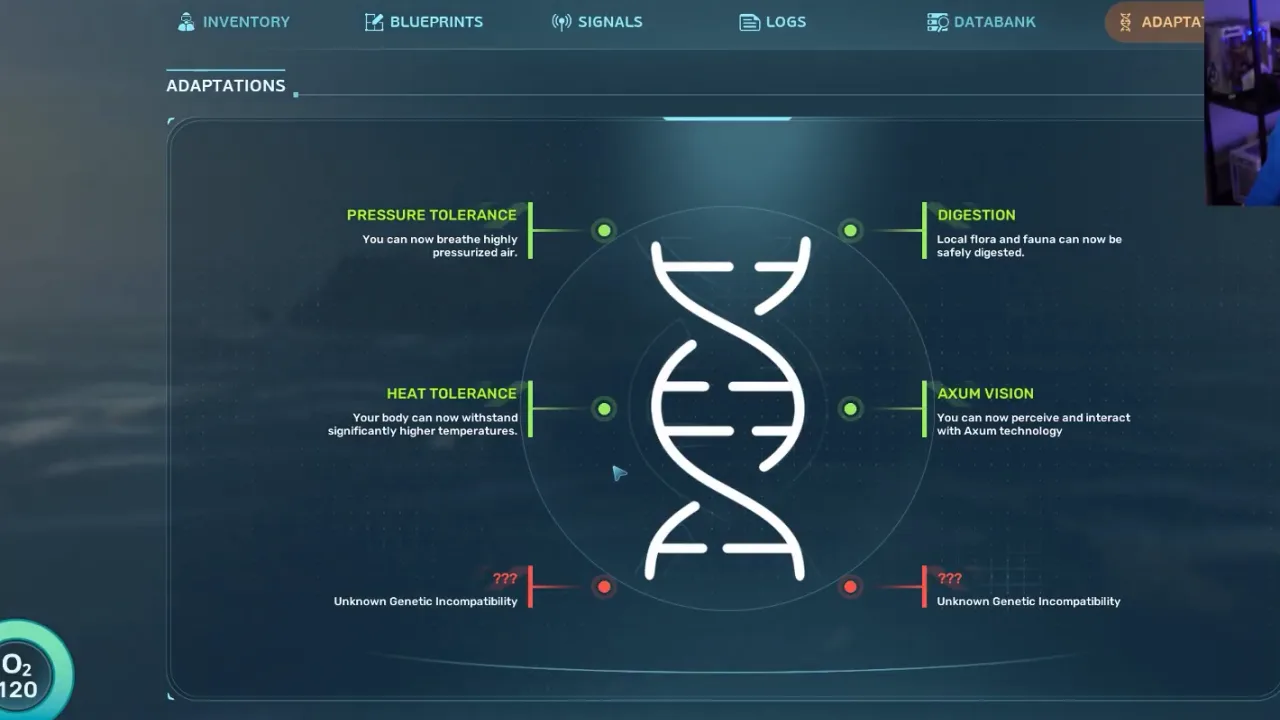
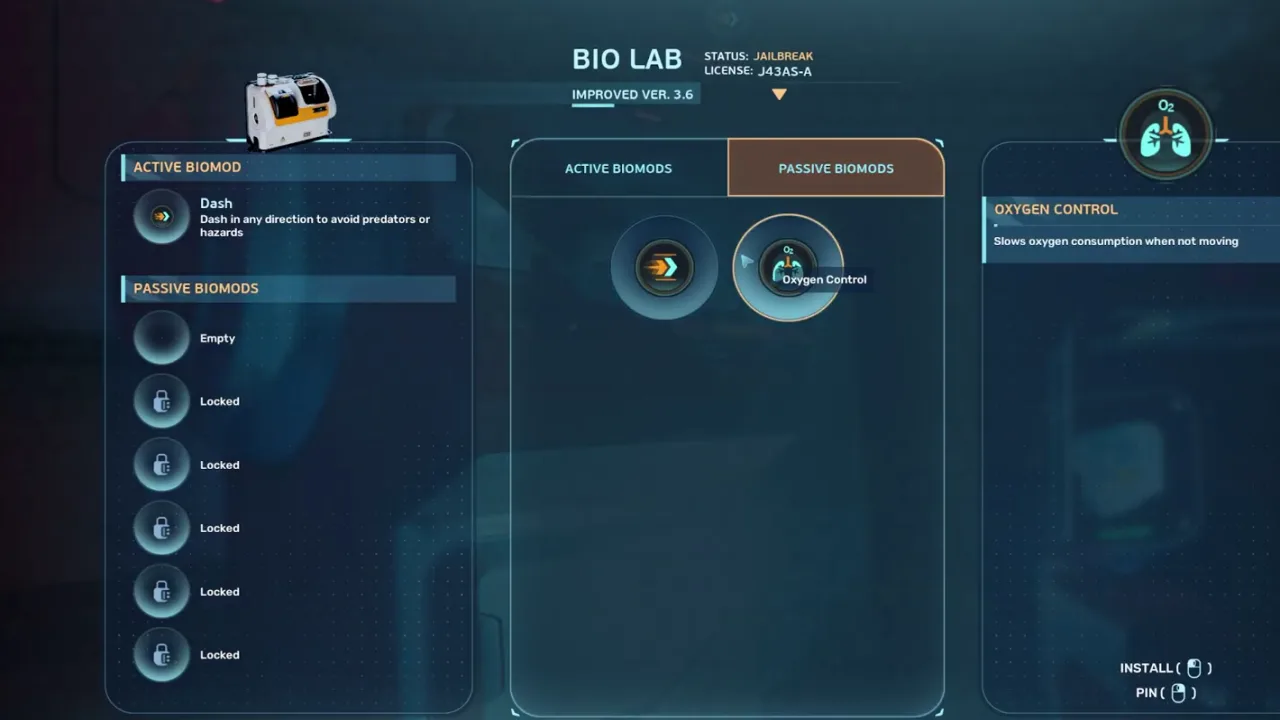
All BioMods and Adaptations Guide
A practical BioMods and adaptations guide for tracking unlocks, route value, hazard answers, and upgrade priorities.
Treat BioMods as route-solving upgrades. Scan the unlock, identify the hazard or blocker it answers, equip only what supports the next dive, and record which biome or structure made the adaptation necessary.

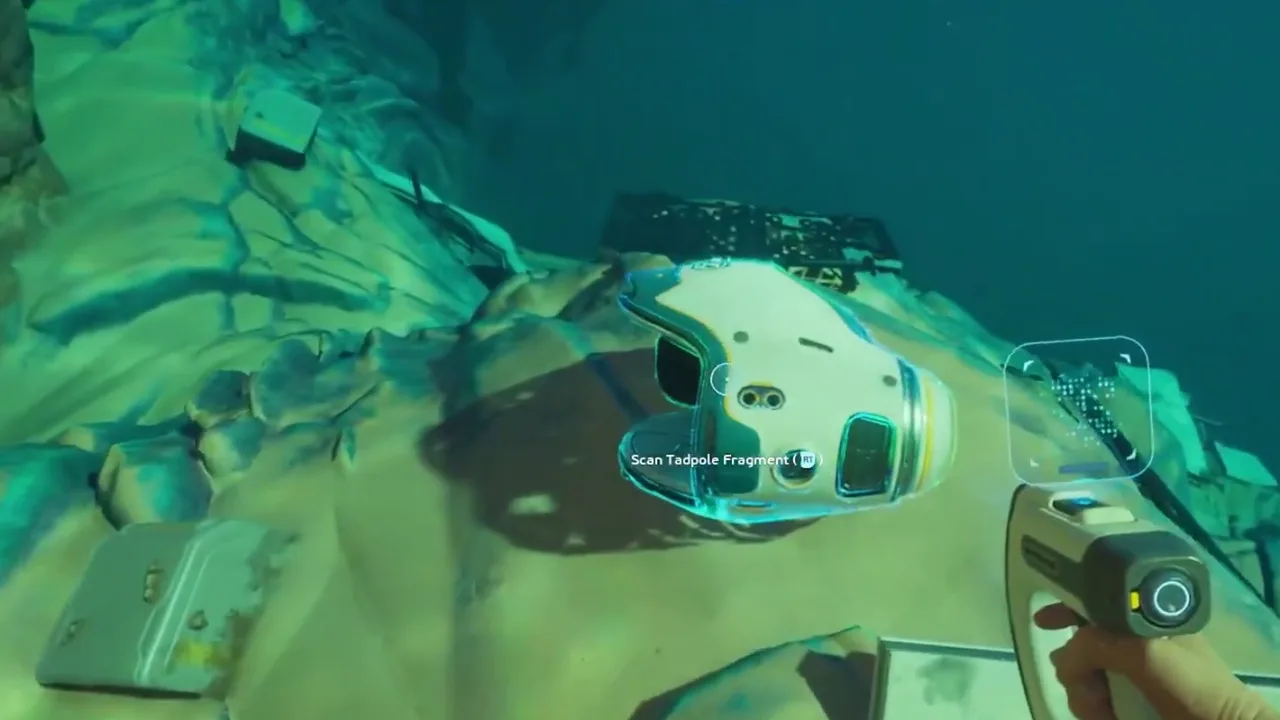
Tadpole Fragments Location Guide
A route-first Tadpole fragments guide for finding, scanning, and turning the vehicle unlock into safer deeper exploration.
Search Tadpole fragments as a short repeatable scan route. Start from a stable landmark, keep the scanner ready, check wreck or structure stops, and return once enough fragments are confirmed.
How to Unlock the Habitat Builder Early
A beginner-safe route for unlocking the Habitat Builder early and converting the first scan route into a useful starter base.
Unlock the Habitat Builder by treating the scan route as a short objective chain: stabilize supplies, reach the blueprint stop, scan what matters, return, and build a practical starter base before pushing deeper.

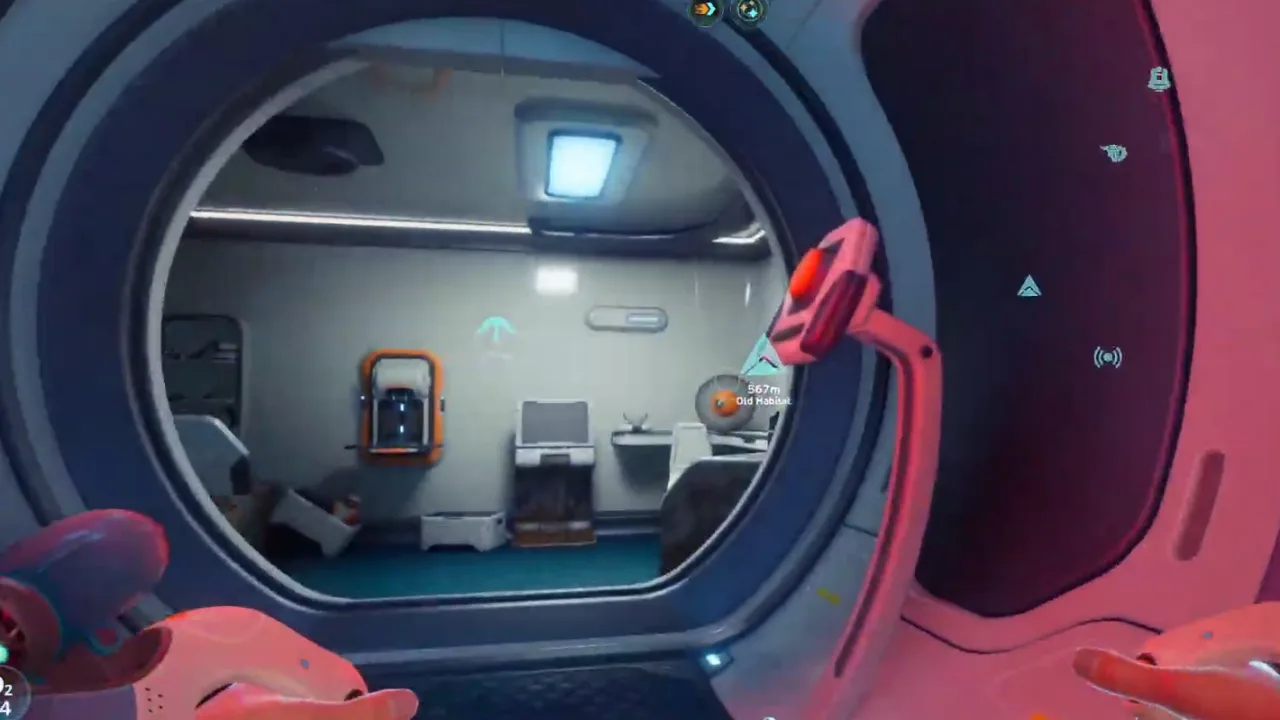
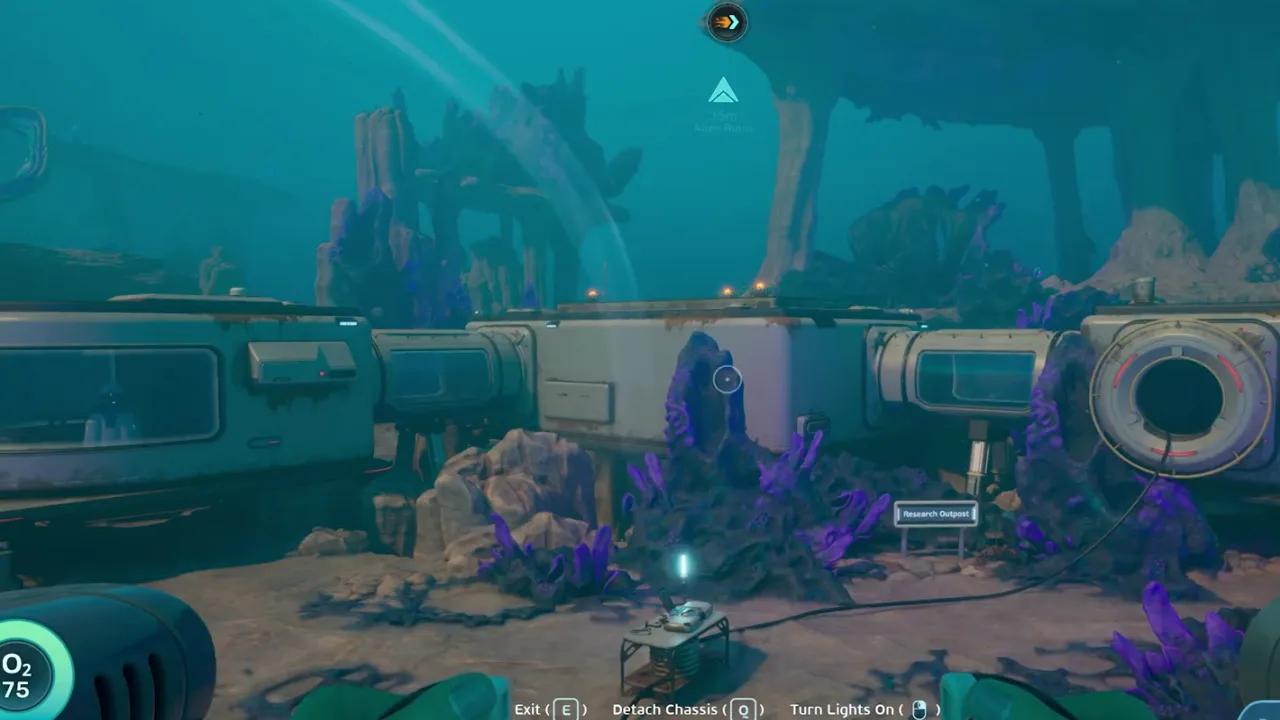
Old Habitat Walkthrough
A spoiler-aware Old Habitat walkthrough focused on approach safety, entrance checks, scanning order, and progression blockers.
Treat the Old Habitat as a structure route: orient outside, confirm the entry and exit, scan interior objects in layers, and leave when a missing tool or story state becomes obvious.
Wakemaker Fragments Guide
Where to start looking for Wakemaker fragments, how to scan them cleanly, and when the mobility unlock should change your route plan.
Run Wakemaker fragments as a short scan route: identify the starting landmark, confirm each fragment before looting, and return to craft once the unlock is complete so the next dive benefits from better mobility.

Scanner Station and Filters Guide
How to unlock, use, and think about Scanner Station filters so resource and blueprint routes become repeatable.
The Scanner Station is valuable when it turns guesswork into filter-driven routes. Use it to check what a biome can provide, then leave base with one target instead of sweeping randomly.

Creatures Database Guide
A creature database framework for scanning wildlife, reading behavior, separating harmless fauna from threats, and tracking Early Access changes.
Build creature notes around behavior, biome, scan safety, and route impact. A good entry tells players whether to observe, avoid, scan from cover, or leave the area.

Biomes Map and Secret Locations
A map-first guide to biome landmarks, route bands, secret locations, and spoiler-controlled exploration notes.
Use biome guides as landmark maps, not just coordinate dumps. Learn the terrain shape, route band, hazard level, and return path before chasing secret locations.
Equipment Blueprint Locations
A blueprint route guide for equipment unlocks, databox checks, scanner stops, and post-route crafting priorities.
Treat equipment blueprints as route unlocks: scan or open the databox, confirm the blueprint menu, return to craft, and only then decide whether the route should continue.
Metal Farm Blueprint Guide
How to evaluate Metal Farm unlock routes, resource loops, and repeatable farming value without overextending the first trip.
The Metal Farm is valuable when it shortens repeated resource loops. Find the blueprint, confirm the route, return to craft, and judge the farm by repeat value rather than one large material haul.
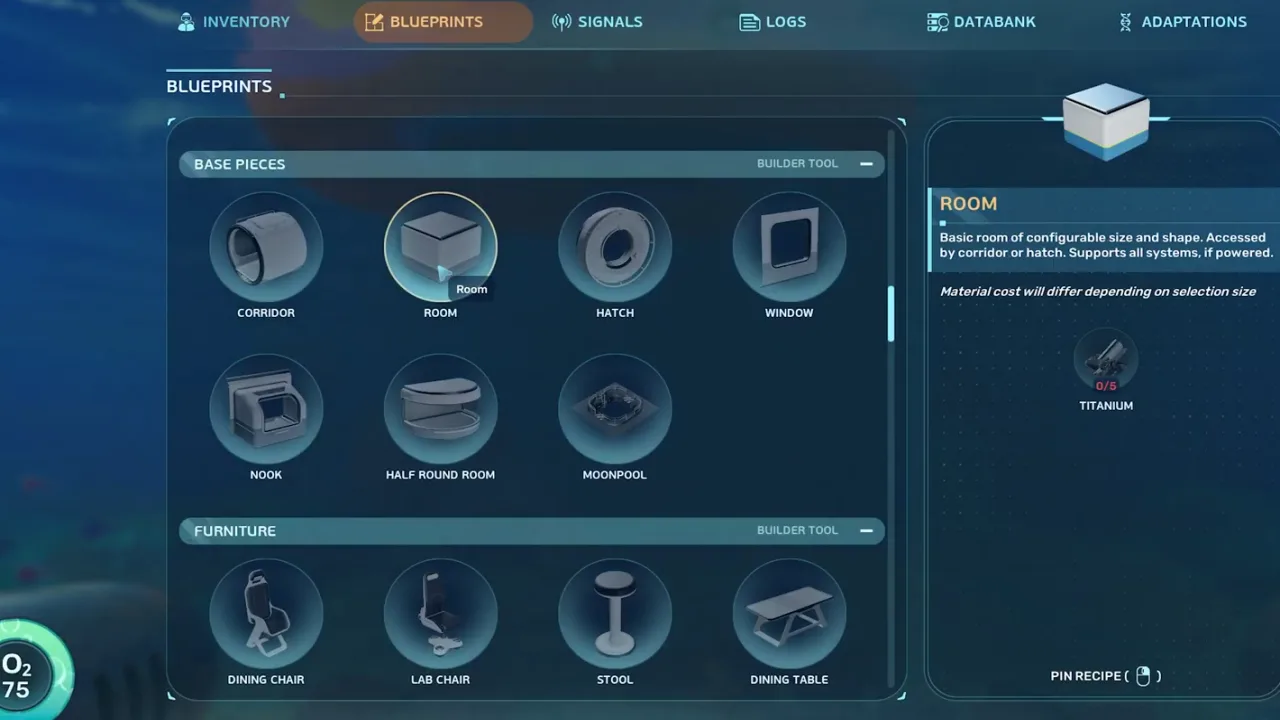
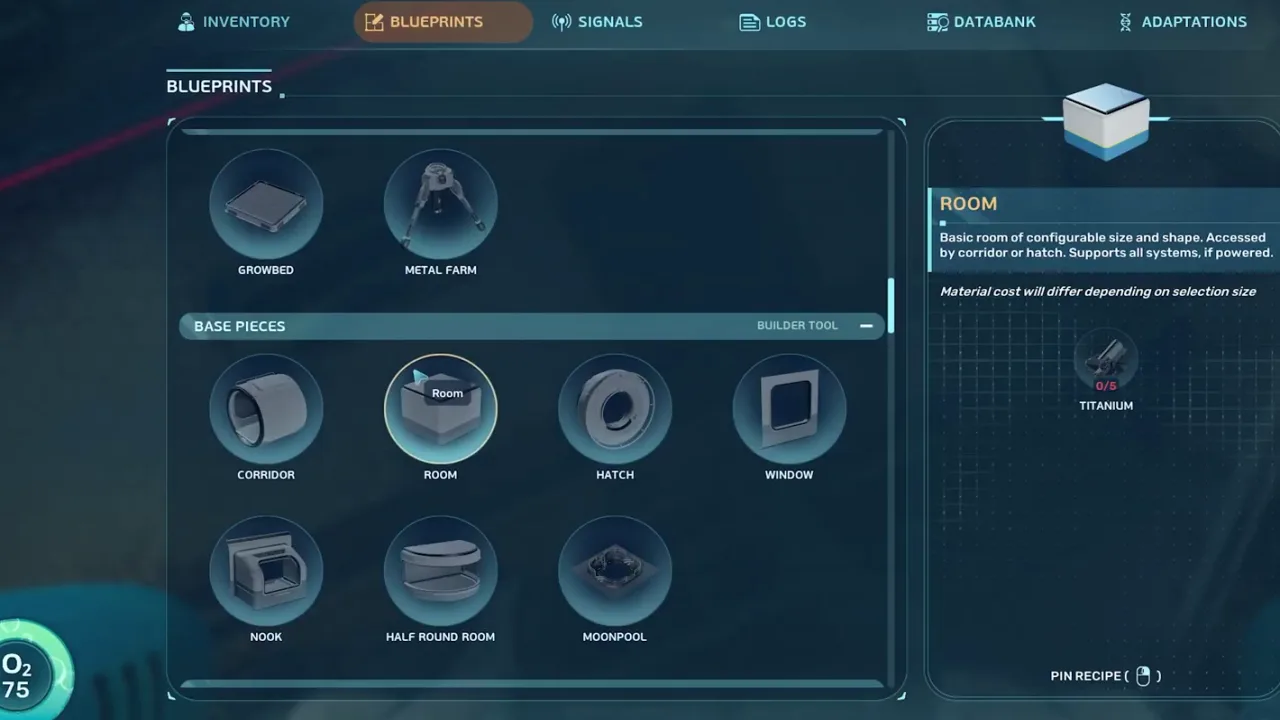
Room Blueprint Location Guide
A room blueprint guide for data boxes, base expansion planning, biolab space, and practical layout decisions.
Room blueprints matter when your base needs more usable layout space. Find the databox, confirm the unlock, return to base, and build only the room that solves your storage, crafting, or lab problem.
Inventory Expansion Upgrades
How to find and prioritize inventory expansion upgrades so material routes become longer, safer, and less wasteful.
Inventory upgrades should be treated as route upgrades. Each expansion lets you bring home more useful materials, reduce forced returns, and revisit routes that were previously too slot-limited.
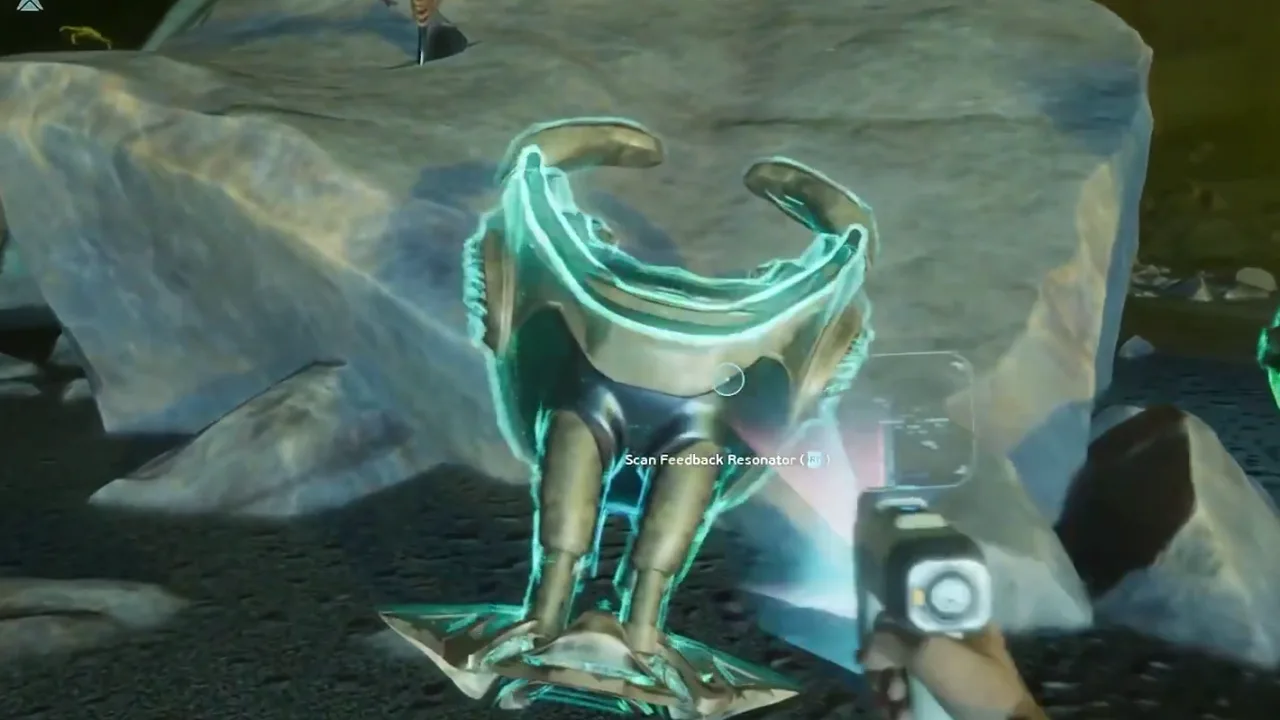
Sonic and Feedback Resonator Upgrades
A practical Resonator upgrades guide for unlock routes, adaptation synergy, threat response, and route safety.
Treat Resonator upgrades as safety tools. Unlock them through a controlled route, test what they change against a known threat or blocker, and update your loadout before returning to deeper zones.

Cicada Wreck Lander Garage Guide
A route and checklist guide for the Cicada Wreck Lander Garage, including entry, databox checks, and safe exit habits.
Handle the Cicada Wreck Lander Garage like a compact wreck route: find the safe entry, scan or open the key objective, confirm the reward, and leave before interior searching becomes random.

Alien Observatory Door and Turbine Guide
A puzzle walkthrough framework for activating the Alien Observatory door, reading turbine steps, and checking room-state changes.
For the Alien Observatory, read the objective state first, interact with turbine or door devices in order, and verify what changed before leaving the room or forcing another action.
Giant Alien Power Plant Guide
A route and puzzle guide for starting the Giant Alien Power Plant, reading activation rooms, and preserving the return path.
Start the Giant Alien Power Plant by treating it as both a route and a puzzle: reach the device safely, identify the activation room, change one state at a time, and confirm the final room response.
Gold Location Guide
A practical Gold route page for recipe blockers, node recognition, inventory planning, and safe return habits.
Farm Gold only after you know which recipe needs it. Start from a visible route band, confirm the Gold node, take a small target haul, and return before the search becomes mixed-resource wandering.

Triloite Location Guide
Where and how to approach Triloite as a focused material run with route planning, node checks, and safe exit decisions.
Use a short Triloite run: enter the reported biome band, identify the correct node or pickup, collect only what the recipe needs, and exit on the same line before visibility drops.

Celestine Location Guide
A Celestine farming route guide focused on visual node confirmation, route bands, and inventory discipline.
Look for Celestine by route band and visual landmark first. Confirm the node, collect the recipe amount, then return before the run becomes a random rare-material sweep.

Necrolei Cyst Guide
How to approach Necrolei Cyst collection with source recognition, route safety, and farming discipline.
Treat Necrolei Cyst as a targeted farm: confirm the source, collect only the amount tied to a recipe or upgrade, and leave once the loop is proven repeatable.
Tadpole Upgrades Guide
A Tadpole upgrade checklist for depth modules, route expansion, module priorities, and safer vehicle planning.
Upgrade the Tadpole by route problem: depth first when objectives are below your limit, storage when hauls are inefficient, and utility modules only when they solve the next real blocker.

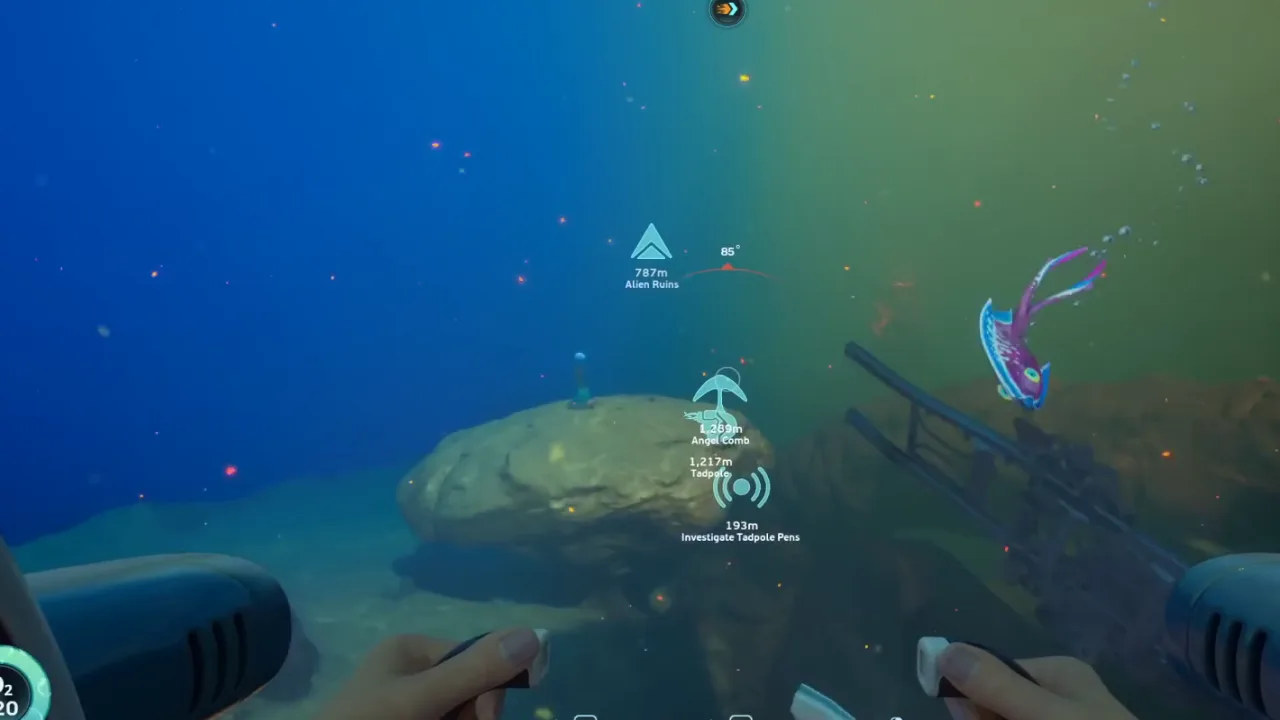
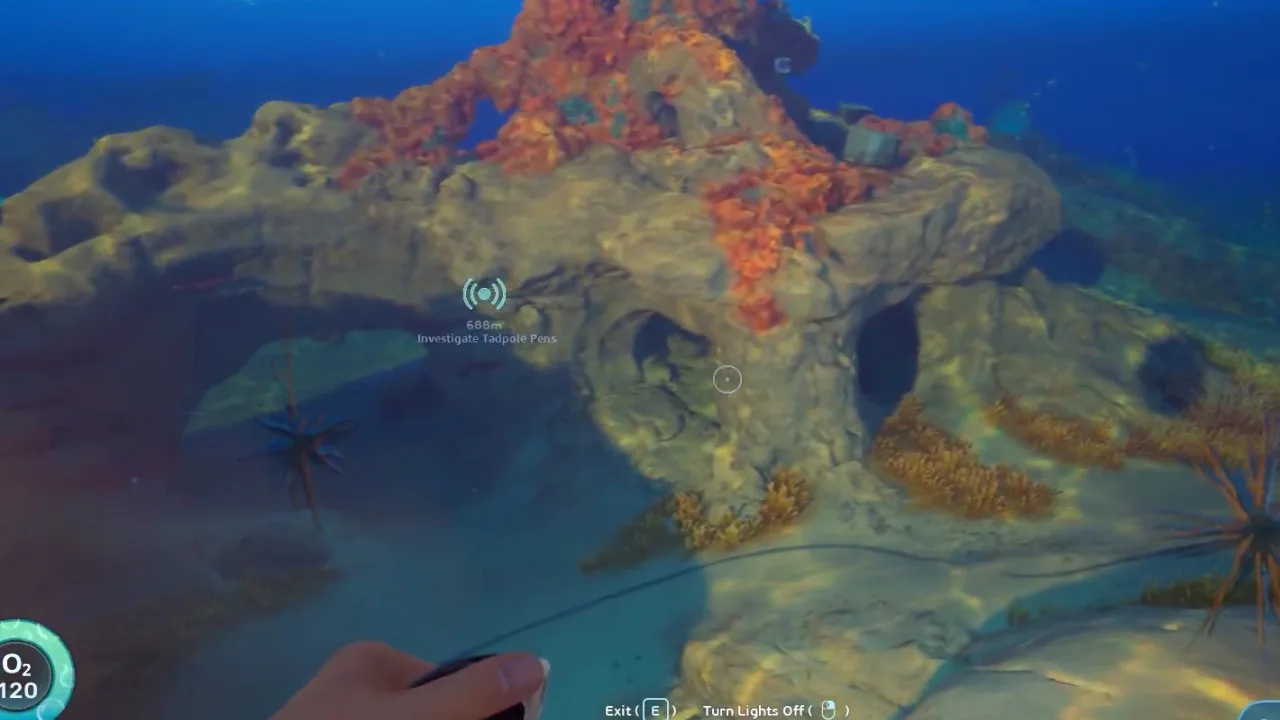
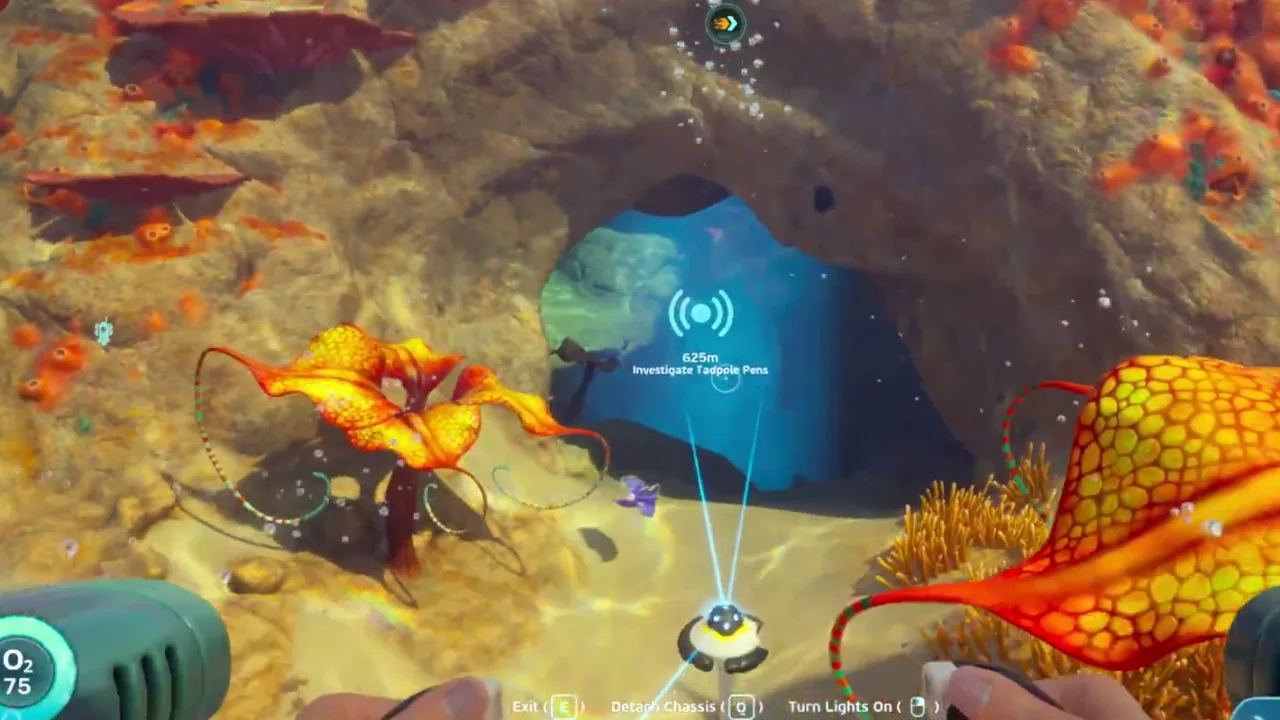
Tadpole Pens Keycode Guide
A spoiler-controlled Tadpole Pens walkthrough for investigating the area, reading keycode clues, and opening the door cleanly.
At the Tadpole Pens, investigate the room before forcing the door: read the clue state, confirm the code source, unlock the door, then leave once the objective state changes.
Shiver Leviathan Scan Guide
How to approach the Shiver Leviathan scan safely using route shelter, scan windows, and a retreat line.
Do not chase the Shiver Leviathan in open water. Approach from a shelter landmark, wait for a readable scan window, then retreat on the same line before the creature turns into your path.
Great Jaw Leviathan Guide
A route-safe Great Jaw Leviathan guide focused on landmark recognition, sighting discipline, and when not to chase the encounter.
Treat the Great Jaw Leviathan as a danger landmark first. Confirm the route band, identify the large-mouth silhouette, mark the sighting, and leave before a curiosity pass becomes a failed escape.

Deepwing Brooder Guide
A conservative Deepwing Brooder page for late-route threat scouting, route abortion, and patch-sensitive encounter notes.
Do not turn a first Deepwing Brooder sighting into a scan or loot route. Treat it as a late-route danger check, mark the depth band, retreat, and return only with a specific objective.

Creature Safety Index
A compact creature safety database for deciding whether to observe, avoid, scan from cover, or abort a route.
Use the Creature Safety Index before entering a threat band. Identify the creature, read the behavior cue, choose the safest action, and update the page after patches change behavior.

Resource Route Matrix
A route-first material matrix for Silver, Lead, Sulfur, Gold, Triloite, Celestine, Necrolei Cyst, and Metal Farm planning.
Use the Resource Route Matrix to decide what to farm by blocker, not by curiosity. Prioritize oxygen, scanning, power, mobility, and base expansion materials before rare-material cleanup.

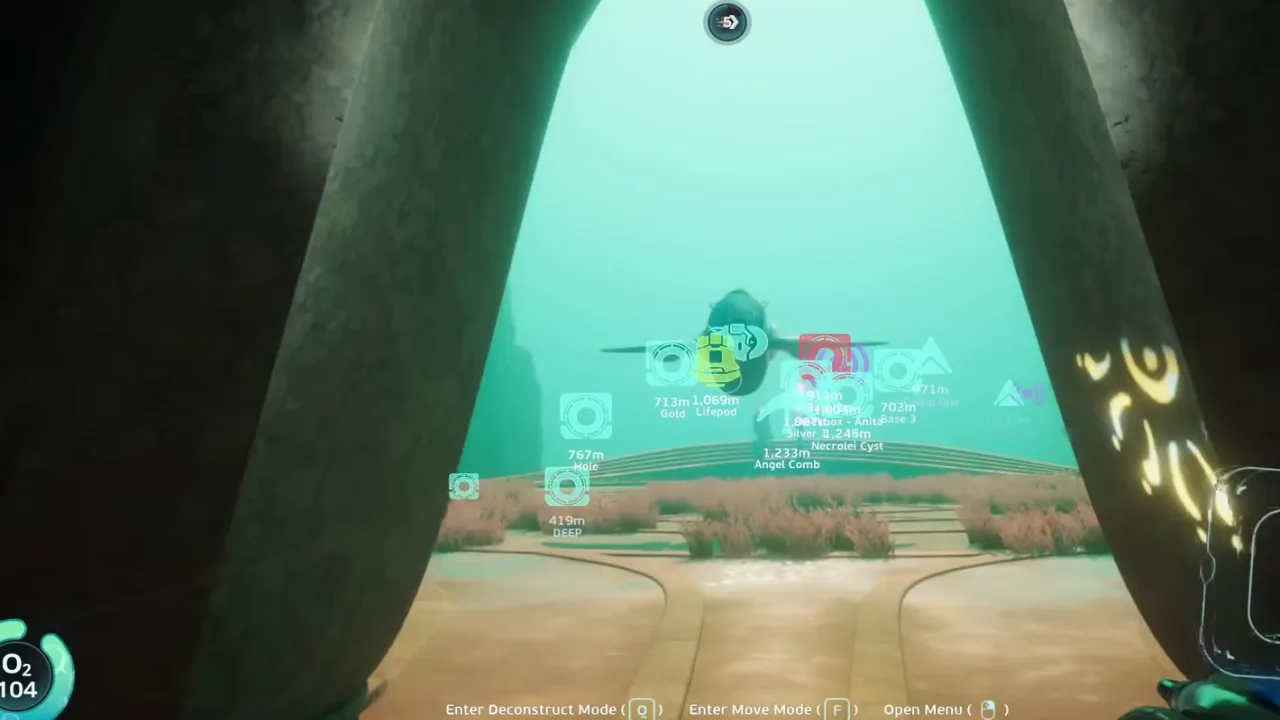
Base Building Route Planner
A practical base-building planner for Habitat Builder timing, Square Room unlocks, storage, power, fabricator workflow, and first expansion decisions.
Build your first Subnautica 2 base as a route tool: unlock Habitat Builder, place power and storage first, add fabricator access, then chase Square Room or Room blueprints only when cramped layout starts slowing progression.
Modification Station Blueprint Guide
A scan-first Modification Station guide for fragment counting, equipment upgrades, craft timing, and avoiding repeated structure sweeps.
Treat the Modification Station as an upgrade gate. Scan only confirmed fragments, check blueprint progress after each scan, and return to craft once the station unlocks instead of widening the sweep.
Square Room Blueprint Guide
A base-expansion guide for finding the Square Room blueprint, confirming the databox, and using the unlock without overbuilding.
Get the Square Room when cramped base layout becomes a workflow problem. Follow the databox route, confirm the unlock, return to stable power, then build the room only if it improves storage, crafting, or Biolab planning.

Tadpole Depth Module Guide
A vehicle upgrade guide for Tadpole Depth Module MK1 and MK2 route planning, fragment checks, installation, and safe first tests.
Prioritize Tadpole Depth Modules when the next objective sits below your current safe band. Find the module fragments, confirm MK1 or MK2 in the upgrade menu, install it, then test on a known route before diving deeper.

Bug Fixes and Stuck State Guide
A practical troubleshooting page for stuck Tadpole states, dock clearance, hotbar input issues, and when to reload safely.
When a Subnautica 2 bug blocks progress, stop adding new actions. Save the current state if safe, document the location, try the least destructive fix first, then reload only after preserving the route note.

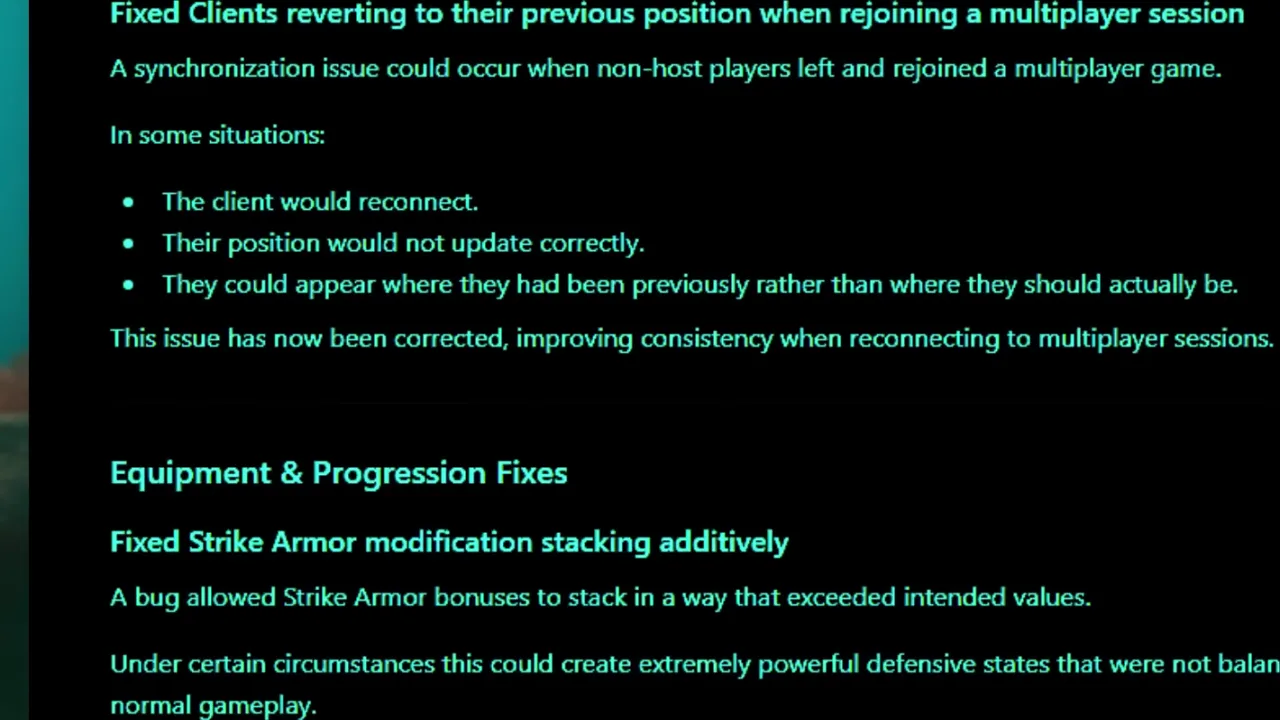
Patch Notes and Hotfix Tracker
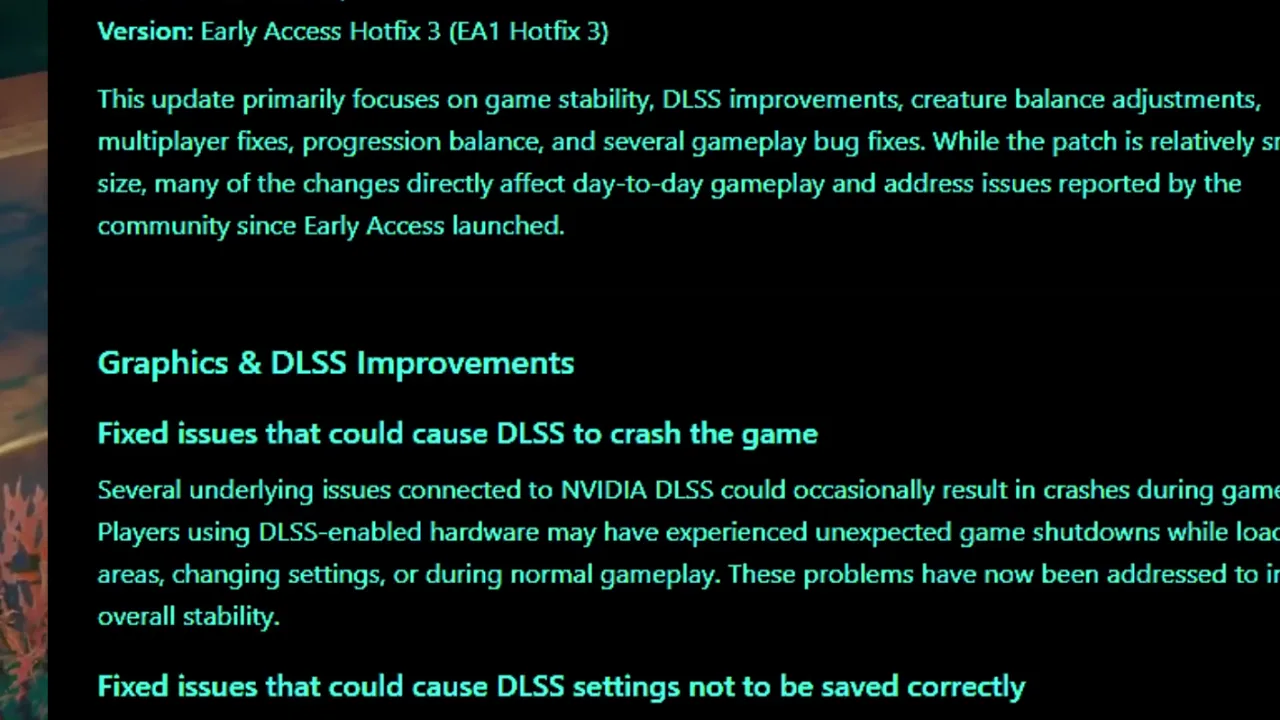
A version-aware tracker for Early Access hotfixes, creature tuning, DLSS updates, progression fixes, and guide pages that need retesting.
Read patch notes as route changes: creature behavior, progression fixes, graphics settings, and multiplayer stability can all make an old guide partially wrong. Re-test high-risk pages after each hotfix.
Copper Location Guide
A focused Copper route for early recipes, starter wiring, storage discipline, and safe return planning in Subnautica 2 Early Access.
Farm Copper as a short starter-material route: leave with a recipe target, confirm the node or outcrop visually, take only the Copper count you need, then return before the run becomes a mixed-resource sweep.
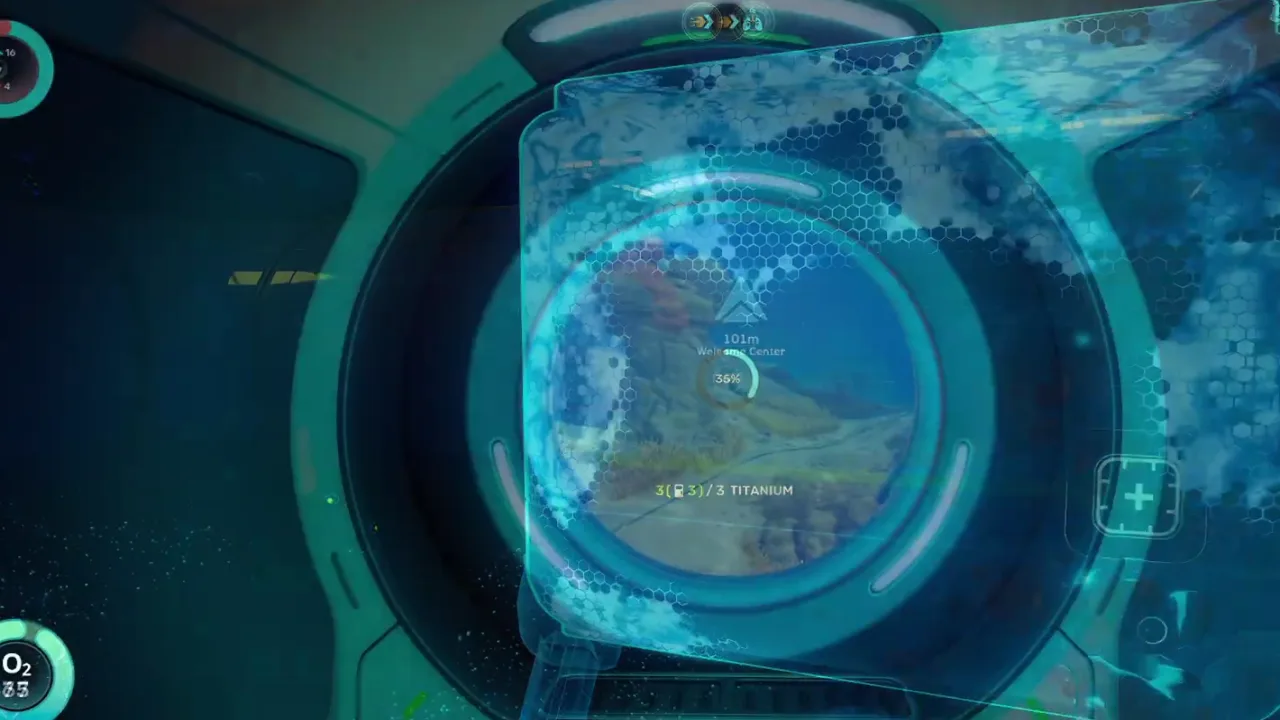
Titanium Location Guide
A Titanium farming guide for early base pieces, repair runs, storage planning, and avoiding full-inventory starter mistakes.
Treat Titanium as a base-material loop. Gather it when a build part or repair step is blocked, keep the haul small, then return to place structures before the route turns into storage clutter.
Quartz Location Guide
Where to approach Quartz as a focused early material route, with visibility checks, node recognition, and recipe-first inventory planning.
Find Quartz by using a visible route band, confirming the crystal shape, collecting the recipe amount, and returning before visibility or oxygen pressure turns the farm into guesswork.

Salt Location Guide
A Salt route page for food, water, route planning, and short repeatable gathers without turning survival prep into a long detour.
Use Salt as a survival-support route: gather it when food, water, or a recipe asks for it, keep the loop short, and return before basic prep delays real progression.

Pent Location Guide
A Pent route guide for rare-material tracking, recipe blockers, screenshot evidence, and safe repeat checks in Subnautica 2.
Search for Pent only when a recipe or upgrade needs it. Use a landmark-led route, confirm the material visually, take the blocker amount, and mark the route as tracking until it is repeatable.
Repair Tool Fragments Guide
A focused Repair Tool fragment route for scan order, Sulfur dependency, blueprint progress, and early progression recovery.
Unlock the Repair Tool by separating the route into two jobs: confirm the fragment scans first, then gather the Sulfur or supporting material only after the blueprint path is clear.
Rebreather Fragment Guide
A Rebreather route guide for scan checkpoints, oxygen pressure, depth planning, and safe return timing before deeper objectives.
Treat the Rebreather as a depth-support unlock. Scan the fragment route with a clean oxygen plan, confirm blueprint progress, then test the new depth margin on a known route before pushing deeper.
Bio Scanner Upgrade Guide
A Bio Scanner upgrade guide for scanner progression, BioMod unlock routes, creature-scan planning, and avoiding repeated search loops.
Get the Bio Scanner upgrade before treating creature scans as progression. Confirm the scanner upgrade route, craft or install it, then use creature pages to plan which BioMod scan actually solves the next blocker.

Best Base Locations Guide
A practical best-base-locations guide focused on starter safety, resource radius, power, storage, vehicle access, and upgrade pacing.
The best base location is the site that shortens repeat routes. Pick a starter base with nearby materials, easy return visibility, room for power and storage, and a clean vehicle approach before chasing scenic views.
Beginner Mistakes Guide
The biggest Subnautica 2 beginner mistakes, including overfarming, weak return planning, skipped scanner checks, unsafe base sites, and poor route pacing.
Most beginner mistakes come from playing without a route goal. Start each dive with one blocker, carry only the tools that support it, turn back with a visible exit, and craft or store before starting the next objective.

All Blackbox Locations
A completion-focused Blackbox route guide for log pickups, route order, screenshot checkpoints, and avoiding repeated cleanup sweeps.
Clear Blackboxes as a checklist route: group nearby pickups, confirm each log on screen, mark the route as complete, and stop when the next Blackbox would require a separate dive plan.
All Angel Comb Puzzles
A spoiler-aware Angel Comb puzzle route for symbol reads, room-state changes, reward checks, and safe retry planning.
Solve Angel Comb puzzles by reading the room first: identify the visible clue, interact with one device at a time, confirm the state change, then leave or continue only while the return route is still clear.

Axum Door Puzzle Guide
A practical Axum Door puzzle walkthrough for power routing, symbol checks, turbine state, and final door verification.
Open the Axum Door by treating it as a power-state puzzle: reach the facility with a return plan, confirm the inactive door, change one power or turbine state at a time, and verify the door response before exploring deeper.

Biobed Inventory Upgrades Guide
A Biobed inventory upgrade route for hidden upgrade rooms, carry-space planning, checklist proof, and route efficiency.
Collect Biobed inventory upgrades when repeated routes are slowed by carry space. Confirm the upgrade room, apply the upgrade, then retest a known material route before chasing deeper objectives.
Thermal Plant Fragments Guide
A Thermal Plant fragment guide for power progression, scan order, hot-zone safety, and base energy planning.
Unlock Thermal Plant fragments when your base power plan needs a stable source. Scan confirmed fragments, check blueprint progress, and avoid hot-zone overextension before the build route is ready.
Grow Beds Location Guide
A Grow Beds unlock guide for farming plants, food, water, crafting materials, and building a self-sustaining base loop.
Unlock Grow Beds when survival prep is interrupting progression. Confirm the databox or blueprint route, build the bed in a powered base, then use it for food, water, or crafting plants that shorten repeat dives.

Hydroelectric Turbine Guide
A Hydroelectric Turbine fragment guide for base power, water-flow placement, blueprint progress, and safe route planning.
Use the Hydroelectric Turbine when the base has a suitable flow route. Scan the fragments, confirm blueprint progress, then place it where power output supports the base instead of forcing awkward travel.

Deepwing Egg Clumps Guide
A Deepwing Egg Clumps guide for rare pickup recognition, creature-risk planning, farming value, and safe abort decisions.
Treat Deepwing Egg Clumps as a high-risk targeted pickup. Enter with a clear recipe or research reason, confirm the creature and egg source, collect only the needed amount, and leave before the threat route escalates.
Canker Bloom Locations Guide
A Canker Bloom route guide for Angel Comb progression, shielded bloom checks, adaptation requirements, and reward confirmation.
Collect or clear Canker Bloom objectives only after the room requirement is understood. Confirm the bloom state, use the required adaptation or interaction, then check the reward or room-state change before leaving.
Axum Vision Adaptation Guide
An Axum Vision adaptation guide for alien-language reads, power-plant control, upgrade proof, and late progression planning.
Unlock Axum Vision when alien text or power-plant control becomes the blocker. Confirm the prerequisite route, apply the adaptation, then revisit the locked clue or device that required it.

Heat Tolerance Adaptation Guide
A Heat Tolerance adaptation route for infected Angel Comb objectives, hot-zone access, prerequisite checks, and safe route testing.
Unlock Heat Tolerance when a hot zone or infected Angel Comb route blocks progress. Confirm the prerequisite, apply the adaptation, then test it on a known heat route before pushing deeper.

All Habitat Blueprints Guide
A habitat blueprint checklist for rooms, furniture, storage, grow beds, power pieces, and practical base-building unlock value.
Collect habitat blueprints by base job: power and storage first, room expansion second, farming and workflow pieces third, decoration last. Confirm each databox or scan before leaving the structure.
Leviathan Scan Routes Guide
A Leviathan scan-route guide for Collector, Shiver, Great Jaw, and Deepwing-style encounters with safe approach, cover, and abort rules.
Scan Leviathans only when the route has cover, a readable behavior window, and a visible exit. Approach to observe first, scan during the safe pass, then leave before the creature resets the route.

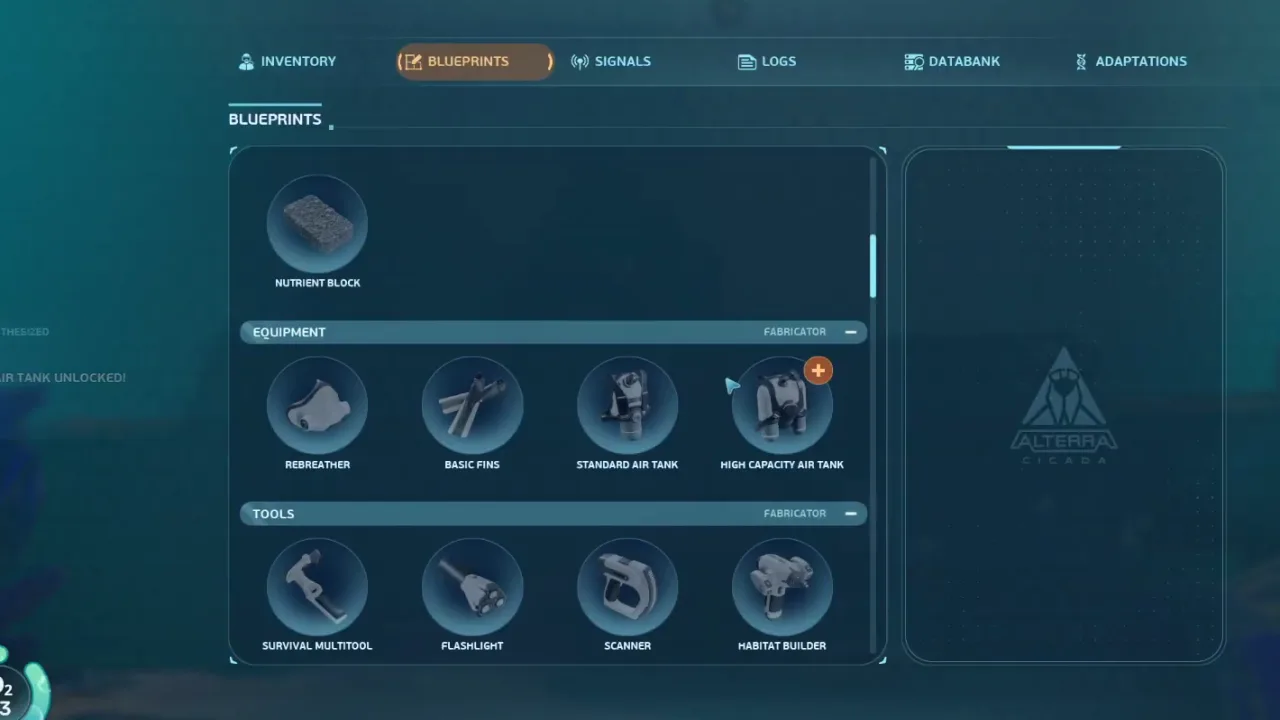
High Capacity Oxygen Tank Guide
A route-first guide to finding and using the High Capacity Oxygen Tank so early dives have more decision time and fewer panic returns.
Prioritize the High Capacity Oxygen Tank when oxygen is the route blocker. Scan or unlock the tank, craft it immediately, then retest one known route before pushing into deeper objectives.
Silver Farming Route Guide
A repeatable Silver farming route for early upgrades, storage discipline, and avoiding random cave sweeps.
Farm Silver with a short route: enter from a recognizable wall or cave band, collect only the recipe count, and return before the route becomes a mixed-material sweep.
Lead Farming Route Guide
A Lead farming route for power, base, and upgrade blockers with clear turn-back rules, material proof, and recipe-first storage habits.
Use Lead runs only when a build or upgrade needs it. Follow a known ridge or trench line, take the blocker amount, and return before the route becomes a general resource dive.

Sulfur Farming Route Guide
A focused Sulfur farming route for repair tools, hot pockets, and early crafting without unsafe thermal wandering.
Farm Sulfur from a known thermal pocket only when a recipe asks for it. Confirm the pocket visually, take the needed count, and exit on the original route line.

Creature Enamel Location Guide
A conservative Creature Enamel route for rare crafting checks, creature-risk awareness, and repeatable pickup notes.
Search for Creature Enamel only when an upgrade or recipe blocks progress. Treat it as a rare pickup route: verify the source, collect the required amount, and leave before the creature area becomes unsafe.
Wakemaker Blueprint Location Guide
A Wakemaker blueprint route for mobility progress, fragment confirmation, faster early travel, and safer testing after the unlock.
Unlock the Wakemaker by following a fragment route, checking blueprint progress after each scan, then crafting it before using the new speed on longer material or threat routes.

Tadpole Haul Chassis Guide
A Tadpole Haul Chassis route for cargo upgrades, fragment scans, and deciding when storage capacity is worth the detour.
Get the Haul Chassis when repeated material runs are slowing progress. Scan the fragments, confirm the chassis unlock, then test the cargo value on one planned haul route.

Tadpole Strike Armor Guide
A Tadpole Strike Armor guide for survivability routing, fragment checks, and testing protection before deep objectives.
Treat Strike Armor as survivability support. Unlock it when threat routes demand it, install or confirm the module, then test on a controlled route before using it near Leviathans.

Tadpole Raywing Chassis Guide
A Raywing Chassis route for Tadpole mobility planning, scan progress, and deciding whether speed or handling solves the next route.
Unlock Raywing Chassis only when mobility is the blocker. Scan the fragments, confirm the unlock, then test movement on a known route before using it for deeper exploration.

Power Storage Guide
A base power storage guide for nighttime reliability, battery planning, and avoiding power rebuilds that do not solve the route problem.
Add power storage when the base already has a useful job but power drops during repeated crafting, farming, or scanning. Place it near the workflow and test it through one night cycle.
Aquarium Blueprint Guide
An Aquarium blueprint guide for base utility, creature storage decisions, and when the unlock is worth the route time.
Treat the Aquarium as a base workflow unlock. Confirm the blueprint, decide whether it supports food, research, or collection goals, then build it only when power and storage are already stable.
Cultivation Blueprints Guide
A cultivation blueprint guide for grow beds, plant farming, food, water, and material loops inside a useful base.
Unlock cultivation blueprints after the starter base works. Prioritize the farming pieces that reduce repeated food, water, or crafting-material trips, then test one plant loop before expanding.
Storage Optimization Guide
A practical storage guide for labeled lockers, route-based reserves, vehicle cargo, and avoiding clutter after farming runs.
Optimize storage by sorting around routes, not item names alone. Keep starter materials, rare blockers, vehicle cargo, and active recipe items separate so each dive ends with a clear craft or next step.
Base Building Tips Guide
A compact base-building tips guide covering first rooms, power, storage, fabrication flow, expansion, and route-based design.
Build the first base as a route hub: power, storage, fabricator, scanner support, and vehicle approach first; decoration and large rooms come after the base is saving route time every session.
Old Habitat Blueprint Checklist
A checklist-style guide for Old Habitat blueprint pickups, room scans, and databox confirmation without repeating cleared rooms.
Clear Old Habitat blueprints as a room checklist: enter, scan or open one confirmed unlock, check the menu state, then mark the room before moving to the next pickup.
Spotlight Blueprint Location Guide
A Spotlight blueprint route for Old Habitat scanning, base lighting decisions, and build-menu confirmation.
Find the Spotlight by treating it as an Old Habitat blueprint stop. Confirm the room, scan or unlock the object, check the build menu, then return before adding unrelated decoration goals.
Nook Blueprint Location Guide
A Nook blueprint route for base layout planning, Old Habitat confirmation, and avoiding decoration-first detours.
Unlock the Nook when base layout needs a compact module. Confirm the blueprint source, check the build menu, then place it only if it improves storage, farming, or crafting flow.
Small Crate Blueprint Guide
A Small Crate blueprint page for Old Habitat databox checking, base storage flavor, and route completion proof.
Treat the Small Crate as a quick databox-style blueprint stop. Confirm the pickup, check the build menu, and leave the structure unless the next blueprint is in the same safe room cluster.
S-Shaped Shelf Blueprint Guide
A route page for the S-Shaped Shelf blueprint with coordinates-style planning, databox proof, and base decoration priority.
Find the S-Shaped Shelf as a specific blueprint stop, not a full decoration sweep. Confirm the shelf unlock, check the build menu, and return unless the next target is safely nearby.

Single Bed Blueprint Guide
A Single Bed blueprint route for Old Habitat room checking, base comfort pieces, and avoiding repeated scans.
Unlock the Single Bed by confirming the correct room or fragment route, checking the build menu, and returning before cosmetic goals crowd out route progress.
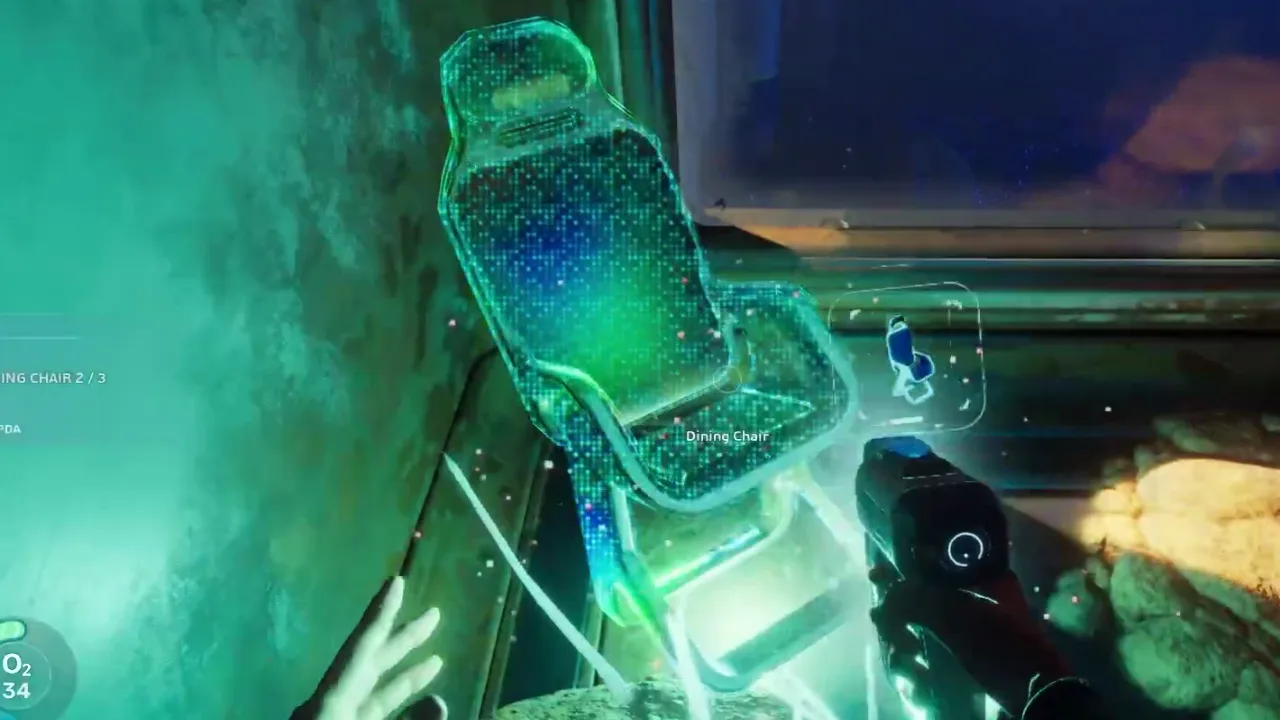
Dining Chair Blueprint Guide
A Dining Chair blueprint guide for Old Habitat furniture scans, menu confirmation, and compact decoration cleanup.
Use a short Old Habitat furniture route for the Dining Chair: scan the target, confirm the build menu, and mark the room complete before continuing to nearby furniture only if the exit stays clear.

Lab Chair Blueprint Guide
A Lab Chair blueprint route for furniture completion, Old Habitat room proof, and clean menu verification.
Unlock the Lab Chair by treating it as a specific room scan. Confirm the scan, check the build menu, and update the furniture checklist before moving on.

Trashcan Blueprint Guide
A Trashcan blueprint route for quick Old Habitat pickup confirmation, build-menu proof, and short base decoration cleanup.
Find the Trashcan as a quick blueprint stop: reach the correct room, unlock or scan it, confirm the build menu, and leave unless the next target is inside the same safe cluster.
Sign and Wall Rack Blueprint Guide
A Sign and Wall Rack blueprint route for base organization, fragment checks, and practical storage labeling.
Unlock Sign and Wall Rack pieces when base organization needs them. Scan the fragments, confirm build-menu proof, then use them to label storage or tools rather than decorating first.
Early Access Ending Guide
A spoiler-controlled Early Access ending route covering final objectives, Axum-related blockers, and when to stop chasing side content.
Reach the Early Access ending by clearing the required story blockers in order: stabilize routes, solve the Axum and power-state objectives, confirm the final door or vision state, then stop before optional cleanup distracts from the ending path.
Story and Lore Guide
A spoiler-aware story and lore guide for colonist logs, Axum clues, Old Habitat context, and what Early Access currently explains.
Follow lore as a route chain: collect logs and Blackboxes, read Old Habitat and Axum clues, then separate confirmed story facts from theory or future-update speculation.
Copper Farming Route Guide
A repeatable Copper farming route for wiring, starter crafting, short hauls, and avoiding mixed-material clutter in early Subnautica 2 runs.
Farm Copper only when a recipe needs it: enter from a known starter landmark, confirm the node proof, collect the target count, and return before the route becomes a random material sweep.

Titanium Farming Route Guide
A Titanium farming route for base pieces, repair loops, power setup, and keeping common-material storage useful instead of noisy.
Farm Titanium as a base-workflow loop. Decide which build piece needs it, collect the exact haul, return, place the structure, then reassess before gathering more.

Quartz Farming Route Guide
A Quartz farming route focused on crystal recognition, visibility, recipe counts, and safe returns from early cave bands.
Farm Quartz from a visible route band: match the cave or wall landmark, confirm crystal proof, collect the recipe amount, and leave before visibility drift breaks the return.

Gold Farming Route Guide
A Gold farming route for mid-game recipe blockers, node proof, inventory discipline, and safe repeat notes in Subnautica 2.
Farm Gold only when it blocks a craft. Use the known route start, confirm the node, collect the required amount, and store it separately from common materials.

Triloite Farming Route Guide
A Triloite farming route for rare repair and power blockers, with biome-entry proof, pickup confirmation, and safe exits.
Farm Triloite as a rare-material route. Enter from the correct biome edge, confirm the pickup proof, take the recipe amount, and leave before widening the search.

Celestine Farming Route Guide
A Celestine farming route for advanced crafting blockers, node recognition, inventory checks, and repeatable rare-material notes.
Farm Celestine with a narrow route band. Confirm the node visually, collect the recipe amount, and return before a rare-material run turns into an open-ended search.

Necrolei Cyst Farming Route Guide
A Necrolei Cyst farming route for source recognition, recipe timing, safe loops, and avoiding risky overcollection.
Farm Necrolei Cyst only when a craft needs it. Confirm the source route, collect the target amount, and return before the pickup loop pulls you into unsafe terrain.

Pent Farming Route Guide
A Pent farming route for rare recipe blockers, conservative route confidence, and repeatable pickup evidence in Early Access.
Farm Pent as a tracked rare route: confirm the recipe, match the route band, take the blocker amount, and treat the route as tracking until it is repeatable across dives.

Rare Material Farming Route Guide
A rare-material farming framework for Gold, Triloite, Celestine, Pent, Creature Enamel, Necrolei Cyst, and other recipe blockers.
Farm rare materials only from a current blocker. Use a route band, visual proof, target count, labeled storage, and a retest note instead of hoarding every rare item you see.
Scanner Station Blueprint Location Guide
A Scanner Station blueprint guide for filter unlocks, fragment checks, station placement, and reducing blind material searches.
Unlock the Scanner Station when blind material hunting is slowing progress. Scan the blueprint route, confirm the station or filters, then place it where it supports repeated resource paths.

Feedback Resonator Upgrade Guide
A Feedback Resonator upgrade guide for unlock-site recognition, Sonic route planning, and checking whether the upgrade changes the next route.
Unlock the Feedback Resonator only when the next route needs the ability. Confirm the upgrade site, check the module state, then test it on a known blocker before deeper exploration.

Sonic Resonator Upgrade Guide
A Sonic Resonator upgrade guide for blueprint routing, Old Habitat blockers, and safe ability testing before advanced puzzles.
Get the Sonic Resonator before routes that require sonic interactions. Confirm the blueprint or upgrade state, craft it, then test on a safe objective before using it in deeper structures.

Repair Tool Blueprint Route
A Repair Tool blueprint route for fragment progress, Sulfur dependency, early repairs, and avoiding mixed scan-and-material confusion.
Split the Repair Tool route into two jobs: finish fragment or blueprint progress first, then collect Sulfur and craft only after the recipe state is clear.

Modification Station Fragments Route
A Modification Station fragment route for upgrade crafting, blueprint progress, and deciding which tool or module should be improved first.
Unlock the Modification Station when upgrades are the blocker. Scan fragments, check blueprint progress, build the station, then craft the upgrade that changes the next route.

All Equipment Blueprints Guide
An equipment blueprint checklist for tools, stations, modules, scan routes, and upgrade priorities across Subnautica 2 Early Access.
Clear equipment blueprints by priority: oxygen, scanner, repair, mobility, station upgrades, then optional comfort. Check progress after every scan and stop when the next route blocker is solved.

All Tadpole Modules Guide
A Tadpole modules checklist for depth, cargo, chassis, armor, mobility, testing routes, and deciding which upgrade matters next.
Unlock Tadpole modules by route need: depth for deeper objectives, cargo for repeated hauls, armor for threat routes, and mobility when travel time blocks progress.

Tadpole Depth MK2 Guide
A Tadpole Depth MK2 guide for deeper routes, module progression, safety tests, and knowing when the next depth band is actually ready.
Get Depth MK2 only when a known objective needs the deeper band. Confirm the module route, install it, and test depth on familiar terrain before pushing into new threats.
Collector Leviathan Scan Guide
A focused Collector Leviathan scan route covering cover approach, scan distance, behavior reads, and when to abort before contact.
Scan the Collector Leviathan only from a prepared cover route. Watch its pass, keep the exit visible, start the scan during a readable window, and leave immediately after proof.

Collector Leviathan Avoidance Guide
A Collector Leviathan avoidance guide for route spacing, terrain cover, retreat angles, and avoiding accidental patrol crossings.
Avoid the Collector by treating its zone as a patrol route, not a shortcut. Stay on terrain edges, keep a retreat angle, and leave when movement or visibility changes.

Shiver Leviathan Location Guide
A Shiver Leviathan location and scan planning guide for shelter routes, scan windows, retreat lines, and safe observation.
Find the Shiver Leviathan from a shelter-first route. Confirm the landmark, watch the scan window, and retreat on the same line before the route becomes a chase.

Great Jaw Location Guide
A Great Jaw location guide for landmark sightings, distance control, safe exit planning, and route notes around the giant eye-clam style creature.
Find the Great Jaw by following landmark-led route notes, not by sweeping open water. Confirm the sighting, keep distance, and leave before curiosity turns into a route risk.

Deepwing Brooder Location Guide
A Deepwing Brooder location guide for deep-route threat reads, egg-clump context, size recognition, and abort timing.
Find the Deepwing Brooder only with a deep-route plan. Confirm the creature or egg-clump context, watch the abort line, and exit before pickup goals override safety.

All Creatures Scan Guide
A creature scanning checklist for BioMods, safe scan windows, passive versus hostile behavior, and knowing when a scan route should stop.
Scan creatures by route value: upgrade the Bio Scanner, choose the BioMod or database target, approach from safety, complete the scan, then leave instead of chasing a full roster in one dive.

Deadly Creatures Guide
A deadly-creatures safety guide for hostile cues, route risk, scan timing, and deciding when to avoid rather than engage.
Treat deadly creatures as route modifiers. Identify the hostile cue, protect the exit, avoid unnecessary scans, and return later with the right tool or BioMod if the route becomes unstable.

Tadpole Pens Door Code Guide
A Tadpole Pens door code guide for clue reading, keycode confirmation, locked-door state changes, and safe route resets.
Open the Tadpole Pens door by finding the clue first, confirming the keycode path, entering it once, and checking the door state before exploring deeper.

Alien Power Plant Walkthrough
An Alien Power Plant walkthrough for deep entry, power devices, activation rooms, route safety, and final state confirmation.
Clear the Alien Power Plant by treating it as a staged puzzle route: enter with a return plan, identify each power device, confirm the activation state, and leave before side routes dilute the objective.

Observatory Door Puzzle Guide
An Observatory Door puzzle guide for objective panels, symbols, turbine activation, and verifying the unlocked path.
Solve the Observatory Door puzzle by reading the objective panel, identifying the symbol or turbine state, changing one device, and checking the door response before moving on.

Blackbox Quaker Walkthrough
A Blackbox Quaker walkthrough for route entry, log pickup proof, room-state checks, and avoiding repeated Old Habitat cleanup.
Clear Blackbox Quaker as a focused log route: enter from the correct landmark, confirm the Blackbox or log pickup, mark the room complete, and leave before the sweep expands.

Blackbox Ruby Walkthrough
A Blackbox Ruby walkthrough for log-route clustering, pickup proof, return planning, and story evidence tracking.
Clear Blackbox Ruby by treating it as one collectible route cluster. Confirm entry, collect the log, check proof, and leave before the route turns into a full structure sweep.
Axum Power Plant Puzzle Guide
An Axum Power Plant puzzle guide for final power states, Axum Vision context, door checks, and controlled deep-route progression.
Solve the Axum Power Plant puzzle by separating route safety from puzzle state: confirm the blocked state, change one power device, check the door or vision response, then continue only after proof.

First Hour Route Checklist
A first-hour Subnautica 2 checklist for turning early video routes into oxygen, scanner, materials, shelter, and safe-return progress.
Treat the first hour as five short loops: confirm shelter, solve the first oxygen blocker, scan one useful unlock, gather one recipe set, and return before route memory fades.

Day One Material Order Guide
A day-one material order guide for Copper, Titanium, Quartz, Silver, Lead, Sulfur, storage, and avoiding early hoarding traps.
Gather day-one materials by unlock value: survival and scanner crafts first, storage and power second, mobility fragments third, and rare reserves only when a recipe demands them.
Safe Deep Exploration Guide
A safe deep exploration guide for oxygen margins, Tadpole readiness, route anchors, screenshots, and knowing when to abort a Subnautica 2 dive.
Go deep only after a shallow route is repeatable. Bring the right oxygen, vehicle support, storage space, and a visible return anchor, then abort as soon as the proof or route safety changes.

Base Power Planning Guide
A base power planning guide for night reliability, scanner uptime, fabricator workflow, storage placement, and testing power before expansion.
Plan power around the job the base performs. Keep fabricator, storage, scanner, and route staging stable before adding decorative rooms or long expansions.

Base Storage Workflow Guide
A base storage workflow guide for labeled lockers, recipe blockers, vehicle cargo, common reserves, and clean post-route sorting.
Organize storage by route job, not by random inventory dumps. Keep common reserves small, rare blockers labeled, and vehicle cargo cleared after every route.

Multiplayer Role Split Guide
A multiplayer role split guide for four-player co-op, shared discoveries, base jobs, resource routing, scan ownership, and avoiding duplicated work.
Split co-op by route job: one player navigates, one scans, one handles storage and crafting, and one watches threats or oxygen. Rotate roles after each objective.
Patch Route Retest Guide
A patch route retest guide for checking old Subnautica 2 videos after hotfixes, creature tuning, resource-area changes, and progression fixes.
After a patch, retest routes by checking what system changed, repeating only the route entry and proof point, and updating notes before trusting older footage.
Failed Route Recovery Guide
A failed route recovery guide for lost routes, stuck states, bad oxygen timing, missing tools, full inventory, and restarting a dive without repeating the same mistake.
Recover a failed route by naming the failure first: missing tool, unclear landmark, full inventory, threat pressure, or bad timing. Fix one variable, then retry from the last reliable anchor.