Video walkthrough
Watch the route, then match the frames
Video references
Watch or inspect the route before you dive
Click YouTube cards to load the player. Open frame cards to compare local screenshot notes. Use the evidence to confirm landmarks, movement, and encounter pacing, then follow the written checklist below.
Collector-focused video reference
Watch for: Collector location notes and encounter context.
Collector route comparison
Watch for: Cross-checking route landmarks and approach safety.
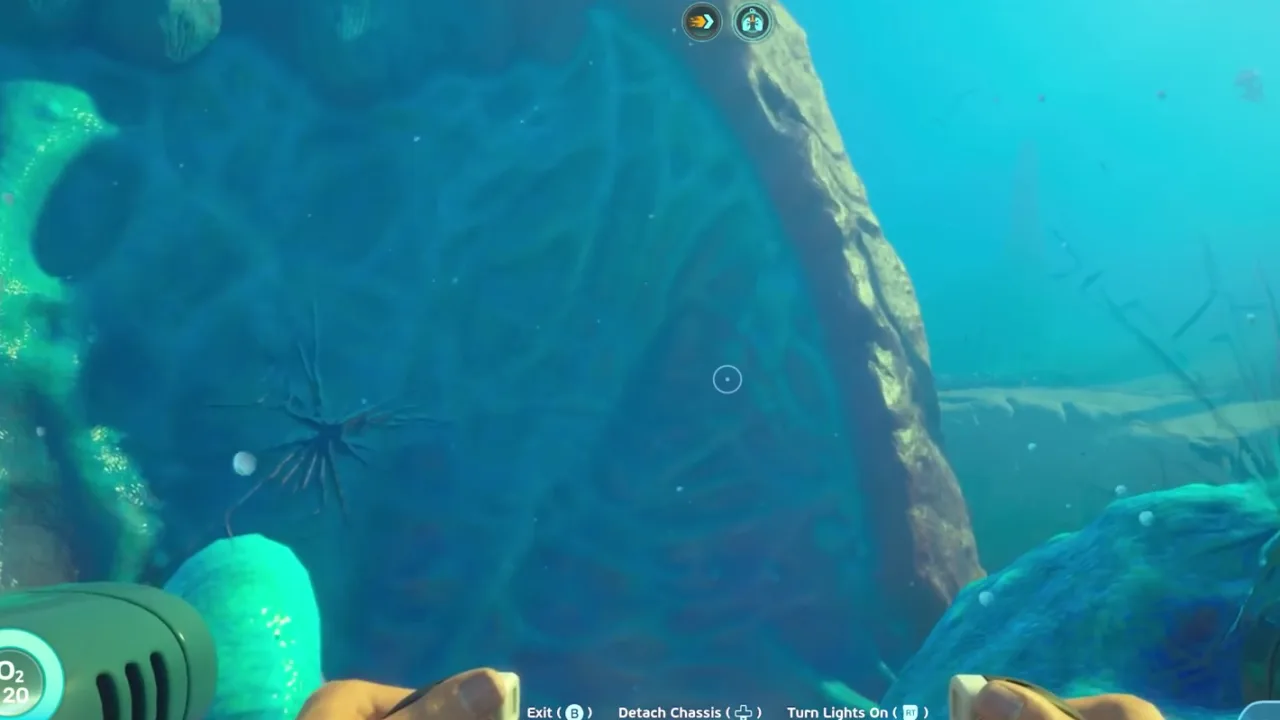
Approach line frame review
Watch for: Start with Collector Leviathan bio scan guide at 00:06. Compare the screenshot cue, route note, and player action before following the guide in-game.
Video watch notes
What to pause, compare, and write down
Do not watch the video like entertainment only. Use these notes as a second-screen checklist: pause on landmarks, confirm the player action, then return to the written route.
Watchlist
Watch the distance between scanner range and creature turn speed. That gap defines whether a scan attempt is realistic.
Look for the moment the player has cover on one side and open water on the other; that is the safest scanning lane.
Pay attention to what happens after the scan, because the retreat path is the part many short videos skip too quickly.
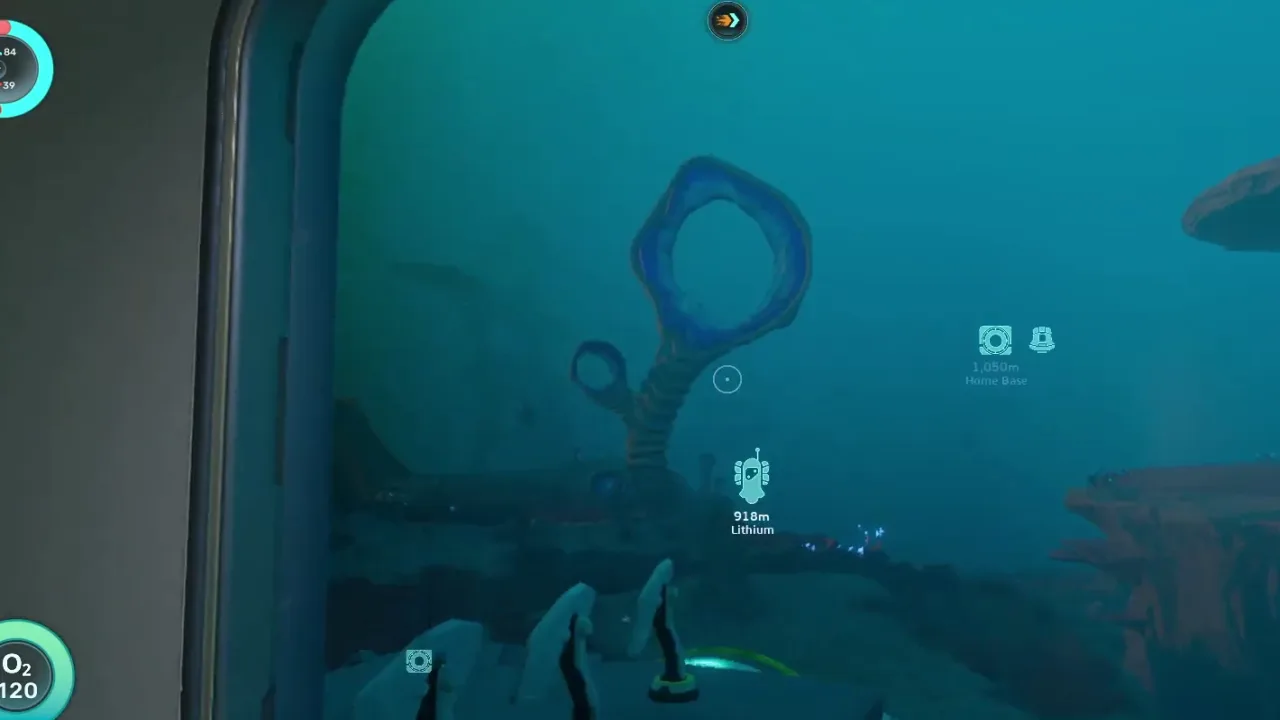
Approach line
The route starts with readable terrain and a clear forward lane, not with the Collector already filling the whole screen.
Action: Slow down at the landmark, check oxygen and vehicle angle, then decide whether to continue the approach.
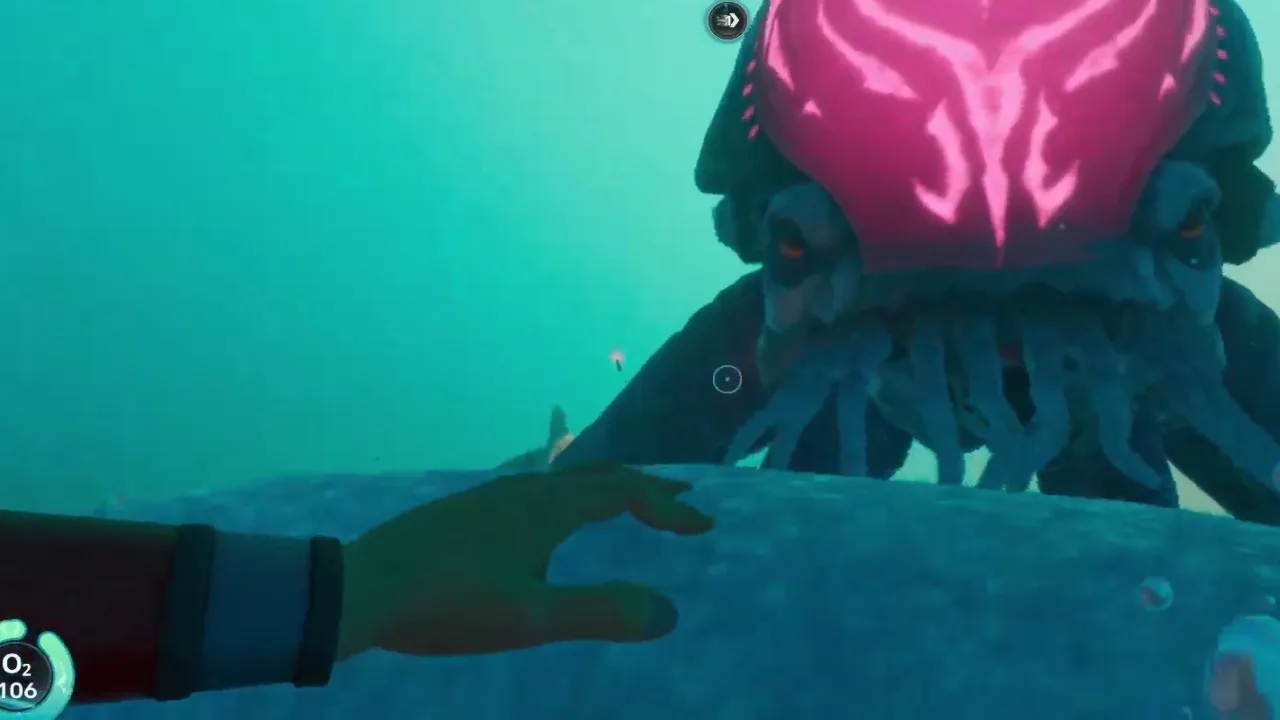
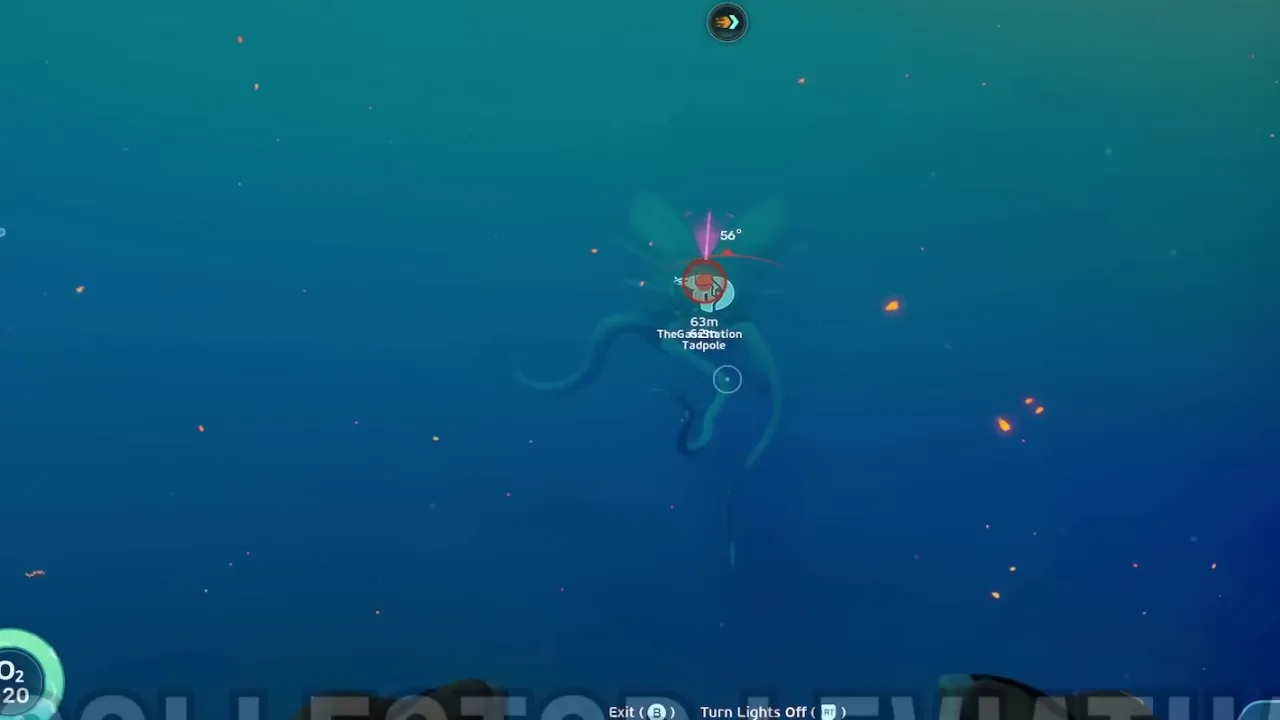
Scan distance
The scan frame shows the player close enough to work, but still far enough to react if the creature turns.
Action: Start the scan only when the scanner is already equipped and the escape line is visible.
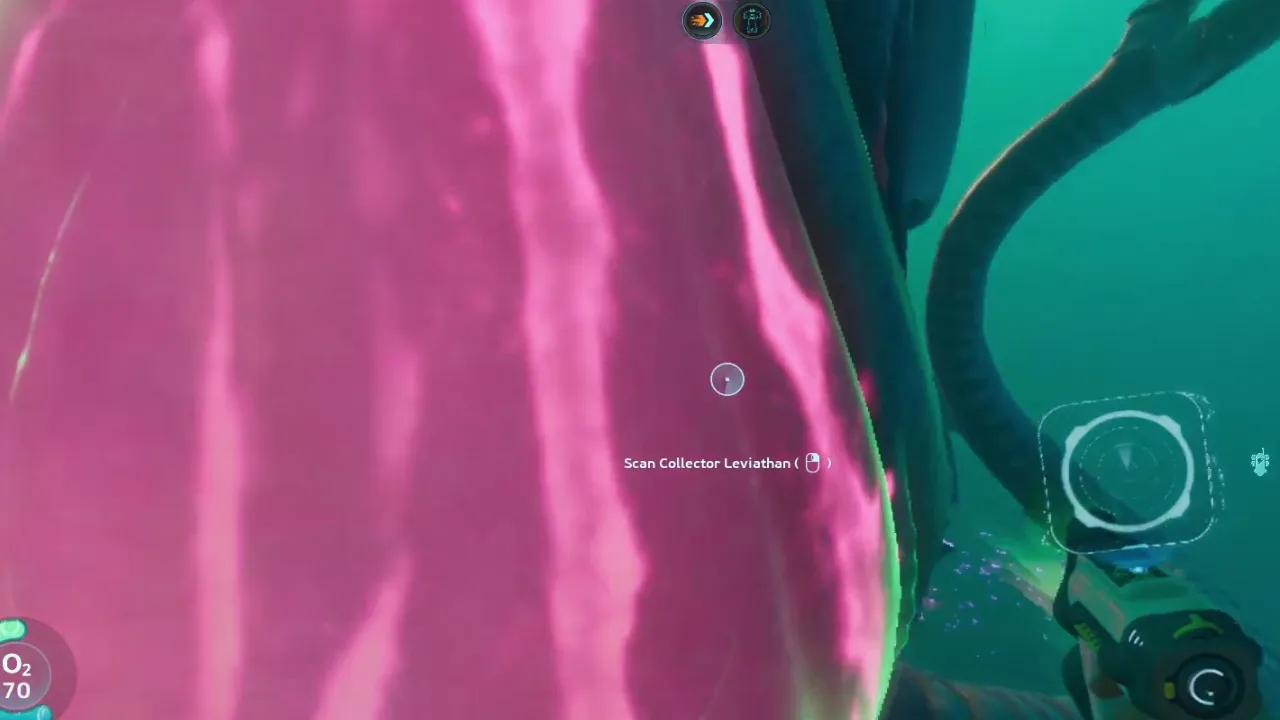
Retreat angle
A bright body wall or close pass means the safe action has changed from scanning to leaving.
Action: Break away along the original route, avoid circling, and write the failed/successful scan timing later.
Video route timeline
Turn the video into playable checkpoints
Use this section like a second-screen route sheet. Open each checkpoint, compare the frame, do the action, then stop if your route no longer matches the video evidence. It keeps the guide useful even when Early Access shifts small placements or creature behavior.
00:06Checkpoint 1: Check the latest version notes before using an older location video.The route starts with readable terrain and a clear forward lane, not with the Collector already filling the whole screen.Expand
Approach line
Enter from a stable landmark instead of swimming straight toward the scan target.
Player action
Check the latest version notes before using an older location video.
Proof before moving on
The route starts with readable terrain and a clear forward lane, not with the Collector already filling the whole screen.
Watch this timestampIf this fails
Back out and re-enter from a wider angle. Do not trade route awareness for a closer screenshot.
00:17Checkpoint 2: Approach the reported biome edge instead of diving straight into the center.The scan frame shows the player close enough to work, but still far enough to react if the creature turns.Expand
Scan distance
Use the scanner only when the body angle is readable and the route back is still open.
Player action
Approach the reported biome edge instead of diving straight into the center.
Proof before moving on
The scan frame shows the player close enough to work, but still far enough to react if the creature turns.
Watch this timestampIf this fails
Cancel the attempt. A partial scan is not worth losing the route or vehicle.
00:55Checkpoint 3: Use terrain and open water to preserve one clean exit vector.A bright body wall or close pass means the safe action has changed from scanning to leaving.Expand
Retreat angle
Break away toward cover after the scan instead of trying to circle the creature.
Player action
Use terrain and open water to preserve one clean exit vector.
Proof before moving on
A bright body wall or close pass means the safe action has changed from scanning to leaving.
Watch this timestampIf this fails
Leave immediately, then update your note with approach landmark, scan distance, and retreat direction.
00:06Checkpoint 4: Scan only if the creature path gives enough time for a failed attempt.The route starts with readable terrain and a clear forward lane, not with the Collector already filling the whole screen.Expand
Approach line
Enter from a stable landmark instead of swimming straight toward the scan target.
Player action
Scan only if the creature path gives enough time for a failed attempt.
Proof before moving on
The route starts with readable terrain and a clear forward lane, not with the Collector already filling the whole screen.
Watch this timestampIf this fails
Back out and re-enter from a wider angle. Do not trade route awareness for a closer screenshot.
00:17Checkpoint 5: Return to base and write the route note before attempting deeper follow-up.The scan frame shows the player close enough to work, but still far enough to react if the creature turns.Expand
Scan distance
Use the scanner only when the body angle is readable and the route back is still open.
Player action
Return to base and write the route note before attempting deeper follow-up.
Proof before moving on
The scan frame shows the player close enough to work, but still far enough to react if the creature turns.
Watch this timestampIf this fails
Cancel the attempt. A partial scan is not worth losing the route or vehicle.
Gameplay evidence
Screenshots to match before you keep swimming
Use these frames as visual checkpoints. If the terrain, lighting, or landmark does not match, slow down and re-check the route instead of forcing the next step.
Approach line
Enter from a stable landmark instead of swimming straight toward the scan target.
Scan distance
Use the scanner only when the body angle is readable and the route back is still open.
Retreat angle
Break away toward cover after the scan instead of trying to circle the creature.
Route decision lab
Decide if this route is worth running now
This section turns the video into a practical in-game decision. Use it before leaving base, after the first landmark, and again before entering a deeper or darker area.
Route purpose
Approach Collector reports as a high-risk scouting route: enter with vehicle support, observe from the edge, avoid tunnel vision on the scan, and leave before the route closes behind you.
Visual checkpoint
Enter from a stable landmark instead of swimming straight toward the scan target.
Map anchor
Collector Leviathan Scan Approach in Kelp Trench outer wall. Use it for use this marker to plan the approach angle, not to charge straight at the creature.
Abort rule
Following a video route without checking patch date.
Field manual translation
The Collector route should be played like a timed field scan. Enter from a stable landmark, keep a single retreat vector, and use the first sighting to judge whether the scan is possible. The safest version of this guide is not "swim at the creature"; it is a sequence of approach, readable body angle, short scan window, and immediate retreat.
Primary job
Bio scan safely - The scan is the goal, but the route is successful even if the first trip only confirms a safe approach line.
Best entry habit
Rock-line approach - Use rock or coral shapes as visual anchors, but never park so tightly that the vehicle cannot turn out.
Stop condition
Body angle closes - If the Collector turns into your path, the scan window is gone. Retreat and retry from the edge.
Patch-safe reading
Exact item positions can shift during Early Access. The useful part of this page is the route logic: what to prepare, what visual cue to confirm, what objective to finish, and when to turn back.
Updated
2026-06-12 / tracking / Early Access
What this guide covers
Requirements
- Vehicle support
- Beacon route
- Empty inventory
Use this if
You want a route you can follow from video evidence without needing exact official coordinates. The screenshots and steps are written to help you recognize areas, landmarks, and decisions while playing.
Early Access can move details. Treat this as a video-based walkthrough and verify landmarks in your own build.
Step-by-step walkthrough
Follow the video route without guessing
Check the latest version notes before using an older location video.
Use this step as a route checkpoint, not as a promise that every object spawns in one exact coordinate. Match the landmark, compare the screenshot, then continue only if the return path is still clear.
If your game build looks different, stay with the same decision: keep oxygen safe, scan or collect the current blocker, and return before pushing into the next unknown area.
Enter from a stable landmark instead of swimming straight toward the scan target.
Approach the reported biome edge instead of diving straight into the center.
Use this step as a route checkpoint, not as a promise that every object spawns in one exact coordinate. Match the landmark, compare the screenshot, then continue only if the return path is still clear.
If your game build looks different, stay with the same decision: keep oxygen safe, scan or collect the current blocker, and return before pushing into the next unknown area.
Use the scanner only when the body angle is readable and the route back is still open.
Use terrain and open water to preserve one clean exit vector.
Use this step as a route checkpoint, not as a promise that every object spawns in one exact coordinate. Match the landmark, compare the screenshot, then continue only if the return path is still clear.
If your game build looks different, stay with the same decision: keep oxygen safe, scan or collect the current blocker, and return before pushing into the next unknown area.
Break away toward cover after the scan instead of trying to circle the creature.
Scan only if the creature path gives enough time for a failed attempt.
Use this step as a route checkpoint, not as a promise that every object spawns in one exact coordinate. Match the landmark, compare the screenshot, then continue only if the return path is still clear.
If your game build looks different, stay with the same decision: keep oxygen safe, scan or collect the current blocker, and return before pushing into the next unknown area.
Enter from a stable landmark instead of swimming straight toward the scan target.
Return to base and write the route note before attempting deeper follow-up.
Use this step as a route checkpoint, not as a promise that every object spawns in one exact coordinate. Match the landmark, compare the screenshot, then continue only if the return path is still clear.
If your game build looks different, stay with the same decision: keep oxygen safe, scan or collect the current blocker, and return before pushing into the next unknown area.
Use the scanner only when the body angle is readable and the route back is still open.
After-action plan
What to do after the guide works
Bank the result
Return to base and write the route note before attempting deeper follow-up.
Clean the inventory
Move route-critical materials into labeled storage so the next dive starts with empty space and a clear job.
Pick the next guide
A versioned Leviathan index for Collector, Shiver, Great Jaw, and Deepwing Brooder routes, with safer scouting habits for Early Access.
Next route queue
Use these as the next blockers to solve after this route. Each queue card keeps the same evidence style: source video, gameplay frames, and a written checklist.
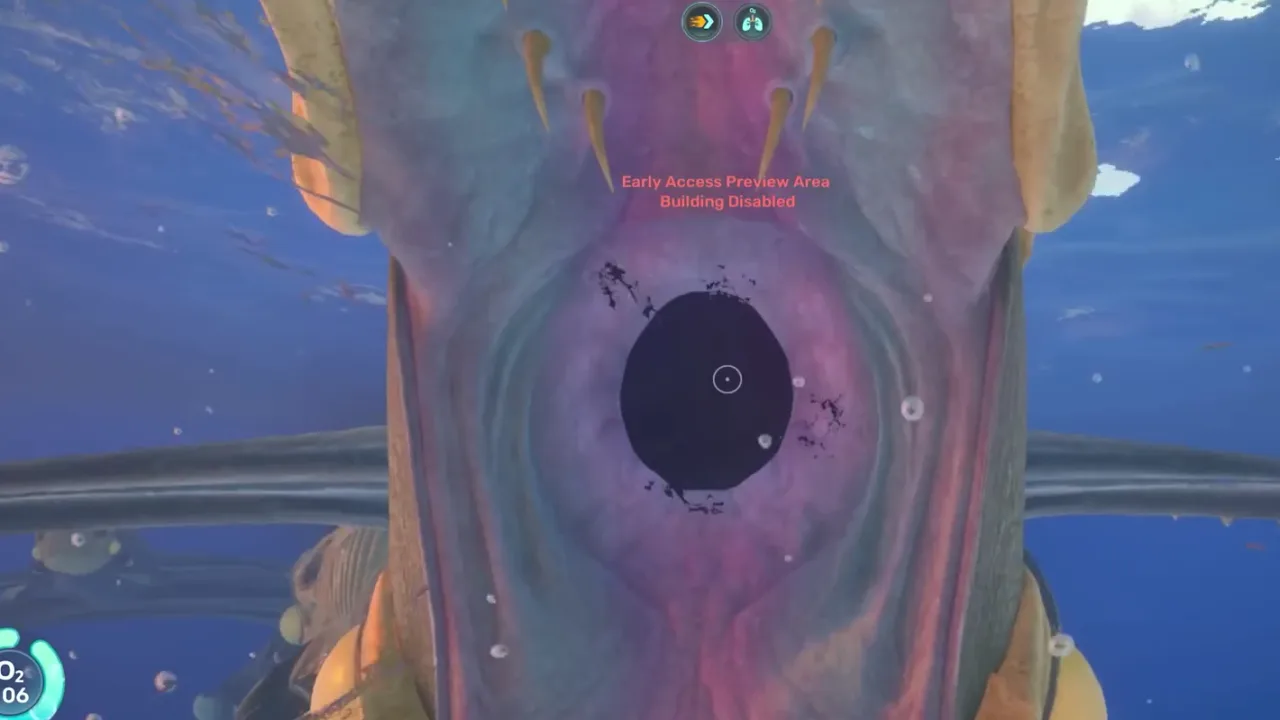 Best immediate follow-up
All Leviathans and Where to Find Them
A versioned Leviathan index for Collector, Shiver, Great Jaw, and Deepwing Brooder routes, with safer scouting habits for Early Access.
 Use if the route branches
Leviathan-Class Threats
How to approach large predator and leviathan-class threat zones without losing scans, resources, or your return route.
 Save for the next dive
Creature Safety Index
A compact creature safety database for deciding whether to observe, avoid, scan from cover, or abort a route.
Detailed notes
Collector route discipline
The Collector deserves a scouting trip, not a completion trip. The first visit should answer where the route starts, how visibility behaves, and what exit line stays open.
How to use this in-game
Turn this note into one action before leaving base: decide the objective, keep only the materials or tools that support it, then stop the route once the scan, pickup, or landmark is confirmed. This keeps the guide useful even when Early Access patches move small details.
What to record
Record approach direction, depth band, nearby landmarks, creature path, damage risk, and whether mitigation tools changed the encounter.
How to use this in-game
Turn this note into one action before leaving base: decide the objective, keep only the materials or tools that support it, then stop the route once the scan, pickup, or landmark is confirmed. This keeps the guide useful even when Early Access patches move small details.
Safe scan window
A scan attempt is only worth taking when three things are true: the creature is readable, your scanner is already out, and the escape lane is still open. If any one of those fails, the better play is to retreat and turn the sighting into a route note.
Readable target
Scanner ready
Exit lane open
How to use this in-game
Turn this note into one action before leaving base: decide the objective, keep only the materials or tools that support it, then stop the route once the scan, pickup, or landmark is confirmed. This keeps the guide useful even when Early Access patches move small details.
How to use rock cover
Do not wedge the vehicle into tight terrain. Use rock cover as a temporary visual break, then leave along the same line you used to enter. The moment cover becomes a trap, the route has stopped being safe.
How to use this in-game
Turn this note into one action before leaving base: decide the objective, keep only the materials or tools that support it, then stop the route once the scan, pickup, or landmark is confirmed. This keeps the guide useful even when Early Access patches move small details.
Collector Leviathan scan patience
The safest scan attempt is built around cover, timing, and an exit lane. Do not approach as if the goal is bravery. Approach until the behavior is readable, use terrain to break the line, scan only during a safe window, and abort earlier than your nerves want to.
How to use this in-game
Turn this note into one action before leaving base: decide the objective, keep only the materials or tools that support it, then stop the route once the scan, pickup, or landmark is confirmed. This keeps the guide useful even when Early Access patches move small details.
Failed attempts still teach the route
If a scan fails, note where the creature turned, where visibility dropped, and where the escape line became unclear. Those details are more useful than repeating the exact same approach. Improve the route, not just the courage level.
How to use this in-game
Turn this note into one action before leaving base: decide the objective, keep only the materials or tools that support it, then stop the route once the scan, pickup, or landmark is confirmed. This keeps the guide useful even when Early Access patches move small details.
Video route notes
Collector Leviathan Guide should be followed as a threat route, not as a memory test. Start by watching the first route movement and naming the entry condition before copying the path in-game. Check the latest version notes before using an older location video. Then pause again when the video reaches the first visible proof point, because that is where the guide changes from general advice into an action you can repeat. Approach the reported biome edge instead of diving straight into the center. If the route starts to feel different in your build, keep the same player goal: recognize the danger window before committing to the approach.
Entry check: Vehicle support
Route action: Check the latest version notes before using an older location video.
Proof to look for: creature behavior proof
Version note: Early Access / tracking
How to use this in-game
Turn this note into one action before leaving base: decide the objective, keep only the materials or tools that support it, then stop the route once the scan, pickup, or landmark is confirmed. This keeps the guide useful even when Early Access patches move small details.
Screenshot checkpoints
Use screenshots as checkpoints instead of decoration. The first image should answer where the route begins, the second should show what confirms progress, and the third should explain what to do after the scan, pickup, puzzle state, or threat read is visible. Use terrain and open water to preserve one clean exit vector. This is especially important in Early Access because exact positions can drift while landmarks, depth bands, room states, and player decisions stay useful. A good screenshot lets you say, "I am at the right kind of place," before you risk oxygen, storage space, or vehicle safety.
Entry frame: match the landmark before moving deeper
Proof frame: confirm creature behavior proof
Exit frame: know the return direction before adding side goals
Loadout frame: check Beacon route
How to use this in-game
Turn this note into one action before leaving base: decide the objective, keep only the materials or tools that support it, then stop the route once the scan, pickup, or landmark is confirmed. This keeps the guide useful even when Early Access patches move small details.
Stop rule and next dive
The most useful part of this page is the stop rule. Following a video route without checking patch date. Trying to force a scan on first contact. When the objective is confirmed, return and convert it into progress: craft the upgrade, sort the material, save the route note, or mark the blocker as solved. If the route fails, do not repeat the same swim blindly. Change one variable at a time: enter from a clearer landmark, reduce inventory clutter, bring the missing tool, or wait until oxygen and vehicle support match the route. That turns a failed threat route into better field knowledge instead of another late retreat.
How to use this in-game
Turn this note into one action before leaving base: decide the objective, keep only the materials or tools that support it, then stop the route once the scan, pickup, or landmark is confirmed. This keeps the guide useful even when Early Access patches move small details.
Common mistakes
Following a video route without checking patch date.
Trying to force a scan on first contact.
Turning the vehicle away from the escape route to watch the creature longer.
FAQ
Is this guide for the current Subnautica 2 build?
This page is written for Early Access and includes a visible update date. Treat exact values as tracking notes until the current build is field-tested.
Does this page use official screenshots?
Pages combine attributed official Steam / Unknown Worlds media, local gameplay frame captures, and source-video evidence cards. New player-submitted captures should keep the route, timestamp, and build context attached.
Community notes
Add a field report
Player reports enter a moderation queue. Approved notes can load from Supabase; pending drafts stay visible in this browser for follow-up.
Near starter shallows
Approx. 70-120m from pod
Confirm oxygen before leaving the first landmark. The route is much safer when you mark the return path before collecting side materials.
Guide-wide
N/A
Creature patrol ranges and fragment placement can shift between builds, so treat exact distances as field estimates until multiple players confirm them.