Resources
Video guides to find and farm every resource in Subnautica 2.
12 of 38 guides shown
Silver Location Guide
Where to start looking for Silver in Subnautica 2, including the early green-light cave route north of the Lifepod.
Includes playable video evidence, screenshot checkpoints, and a step route you can follow in-game.
Route value
Early Silver route used for tool and upgrade planning.
Lead Location Guide
A practical early Lead route focused on the ravine northeast of the Lifepod, the caves below it, and safe repeat farming.
Includes playable video evidence, screenshot checkpoints, and a step route you can follow in-game.
Route value
Lead farming anchor for base and power progression.
Sulfur Location Guide
How to look for Sulfur near early volcanic terrain, thermal features, and the southeastern Welcome Center route.
Includes playable video evidence, screenshot checkpoints, and a step route you can follow in-game.
Route value
Sulfur route for repair and early tool crafting checks.
Gold Location Guide
A practical Gold route page for recipe blockers, node recognition, inventory planning, and safe return habits.
Includes playable video evidence, screenshot checkpoints, and a step route you can follow in-game.
Route value
Gold node route for recipe-blocker farming and storage planning.
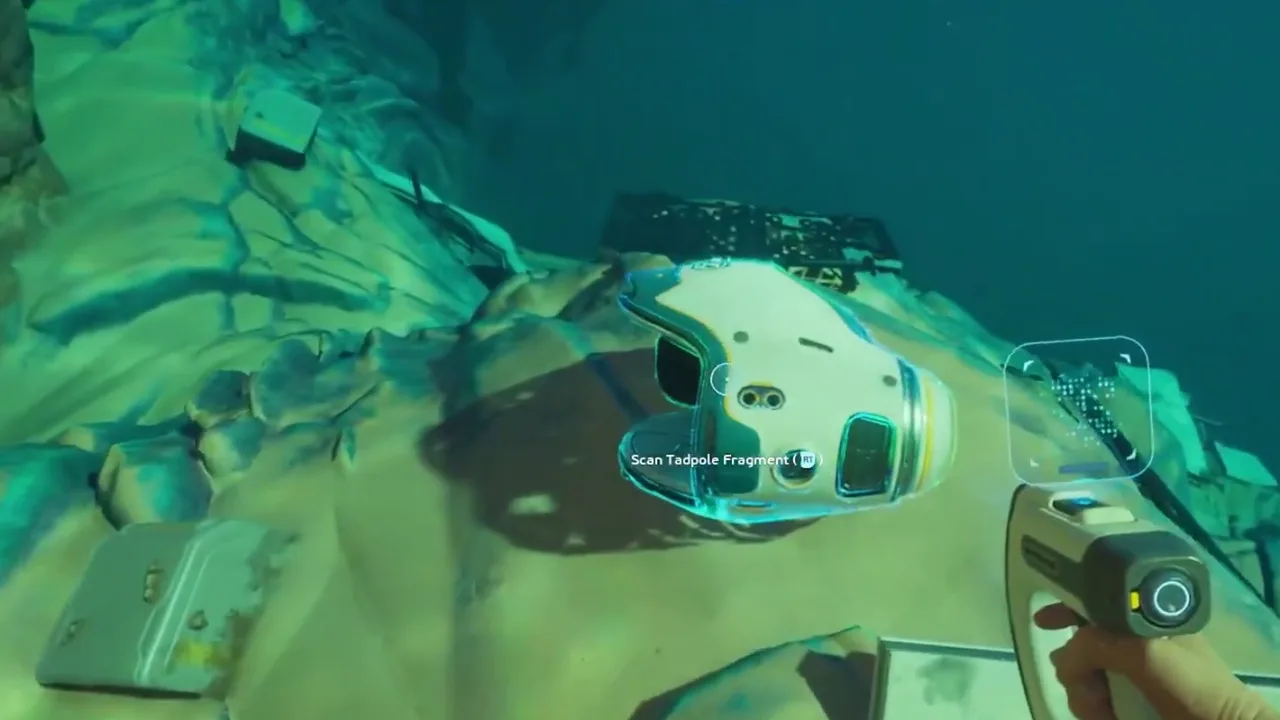
Wakemaker Fragments Guide
Where to start looking for Wakemaker fragments, how to scan them cleanly, and when the mobility unlock should change your route plan.
Includes playable video evidence, screenshot checkpoints, and a step route you can follow in-game.
Route value
Wakemaker fragment anchor for mobility progression and route compression.
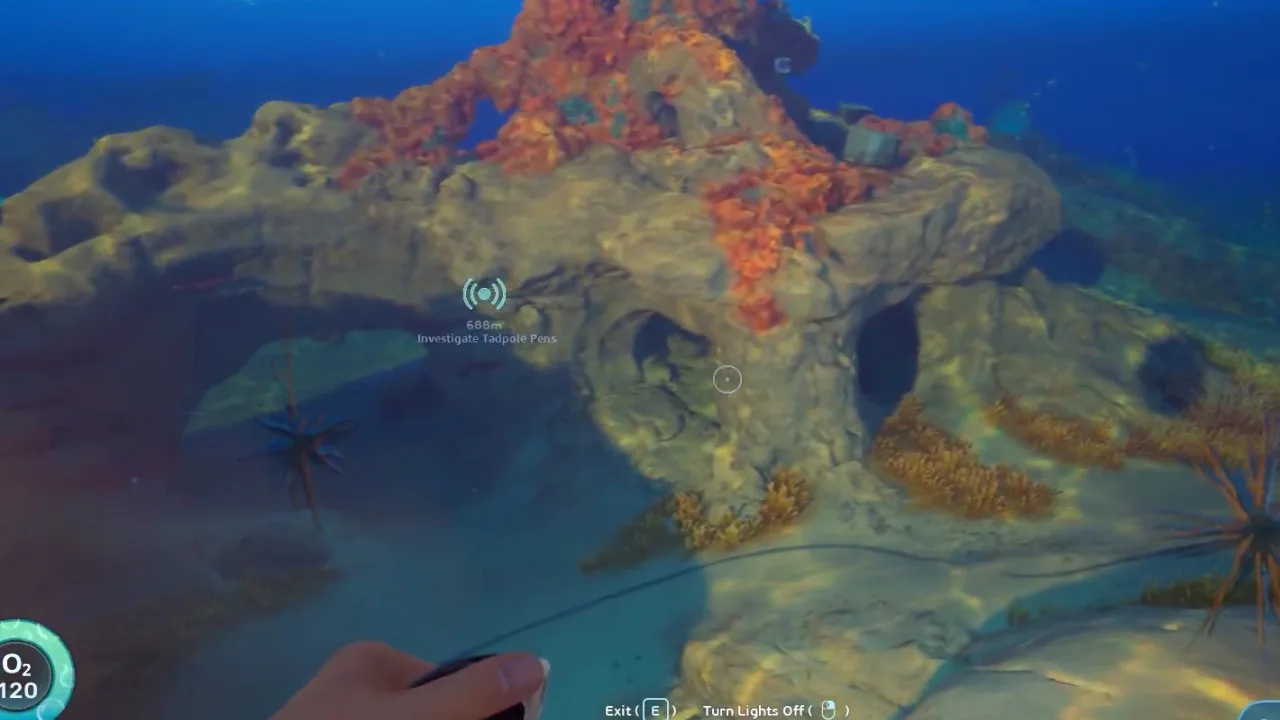
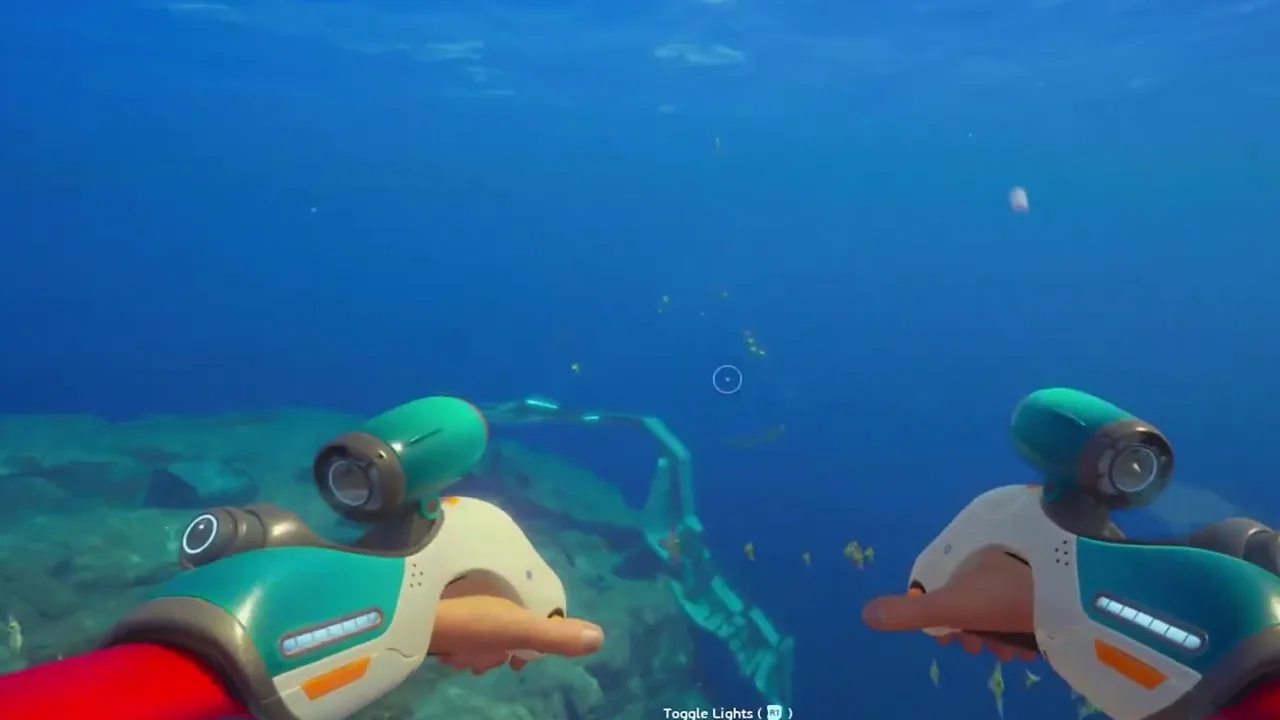
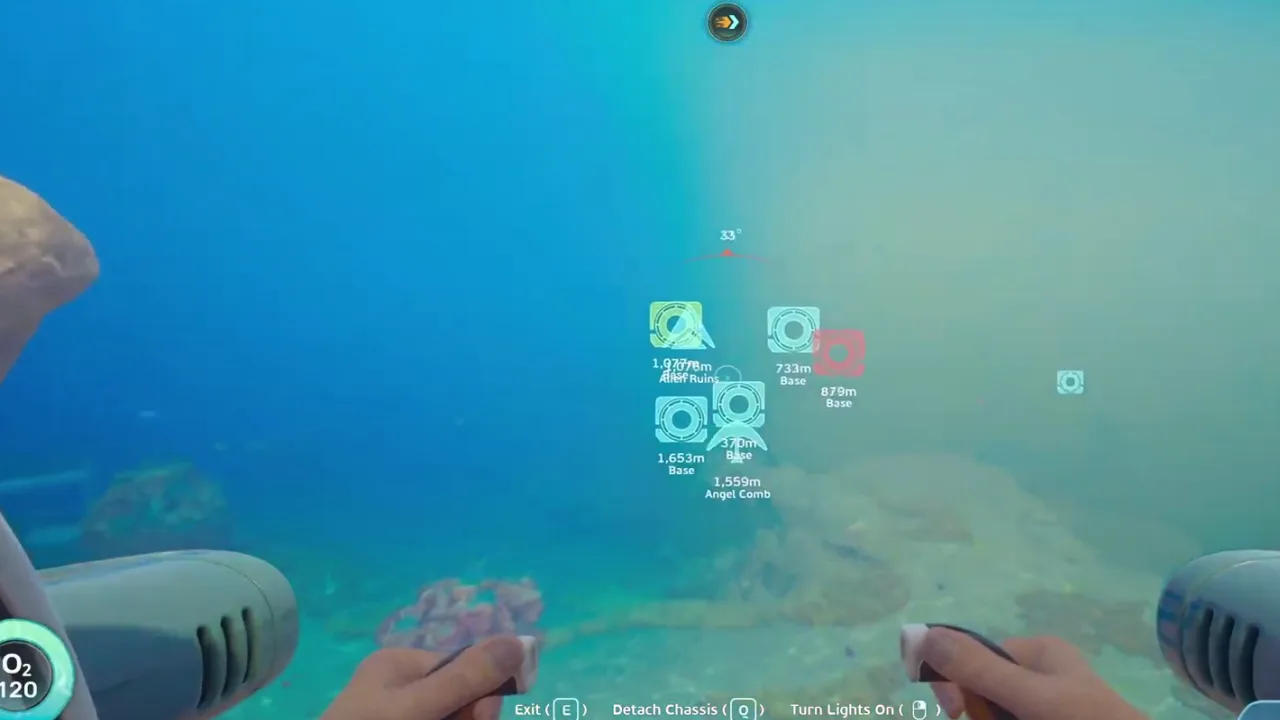
Tadpole Submersible Guide
How to use the Tadpole as a route-planning anchor for biome pushes, co-op hauling, vehicle safety, and threat retreats.
Includes playable video evidence, screenshot checkpoints, and a step route you can follow in-game.
Route value
Mobility anchor for using the Tadpole as route support rather than a random travel toy.
Tadpole Fragments Location Guide
A route-first Tadpole fragments guide for finding, scanning, and turning the vehicle unlock into safer deeper exploration.
Includes playable video evidence, screenshot checkpoints, and a step route you can follow in-game.
Route value
Shortest practical marker chain for Tadpole fragment scans.
Tadpole Upgrades Guide
A Tadpole upgrade checklist for depth modules, route expansion, module priorities, and safer vehicle planning.
Includes playable video evidence, screenshot checkpoints, and a step route you can follow in-game.
Route value
Tadpole module and depth-upgrade planning anchor.
Resource Priority List
Which resources to prioritize first, which to store, and which to avoid hoarding until a recipe proves they matter.
Includes playable video evidence, screenshot checkpoints, and a step route you can follow in-game.
Route value
Storage and resource-priority anchor for deciding what deserves inventory space.

Resource Route Matrix
A route-first material matrix for Silver, Lead, Sulfur, Gold, Triloite, Celestine, Necrolei Cyst, and Metal Farm planning.
Includes playable video evidence, screenshot checkpoints, and a step route you can follow in-game.
Route value
Material route matrix anchor for comparing resources by blocker, proof, risk, and storage rule.
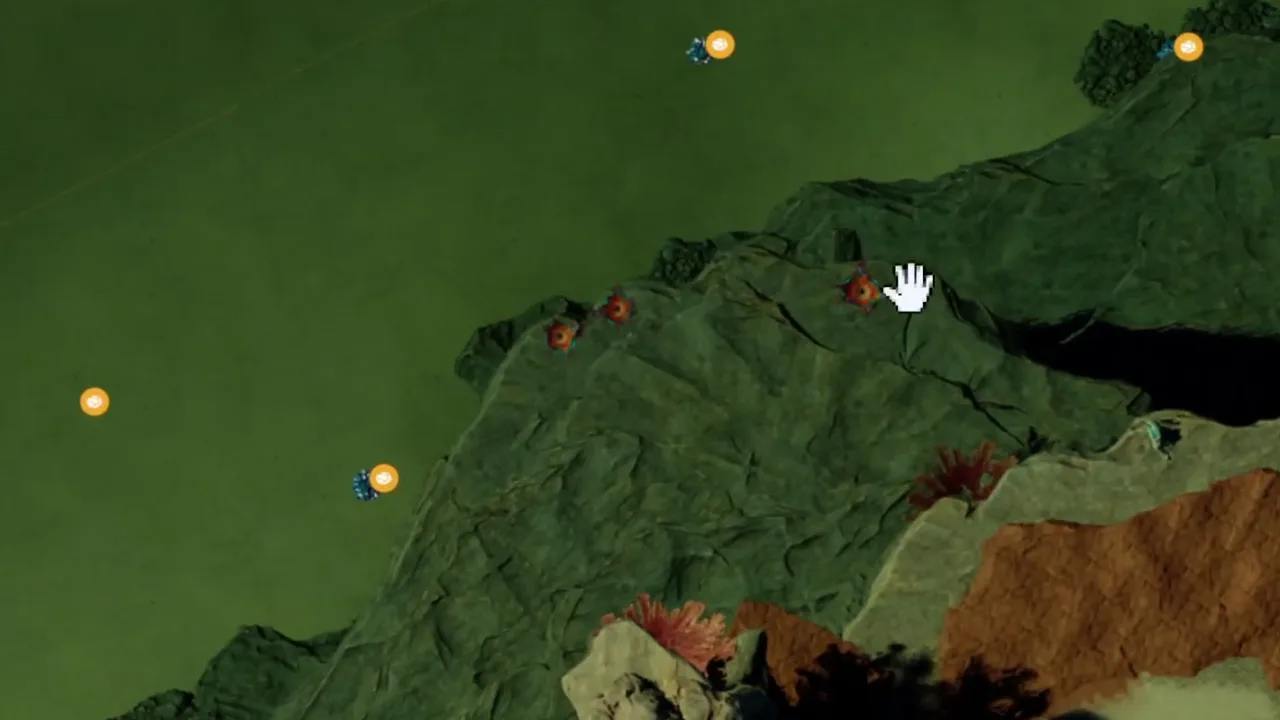
Biomes Map and Secret Locations
A map-first guide to biome landmarks, route bands, secret locations, and spoiler-controlled exploration notes.
Includes playable video evidence, screenshot checkpoints, and a step route you can follow in-game.
Route value
Biome and secret-location anchor for landmark-based exploration rather than blind coordinate chasing.
Celestine Farming Route Guide
A Celestine farming route for advanced crafting blockers, node recognition, inventory checks, and repeatable rare-material notes.
Includes playable video evidence, screenshot checkpoints, and a step route you can follow in-game.
Route value
Celestine route anchor for crystal recognition and rare-material recipe checks.
Reference cards
Quick notes for names you will see in these guides
These cards are lightweight reference notes, not precision map claims. Open a guide when you need the full video-based route.

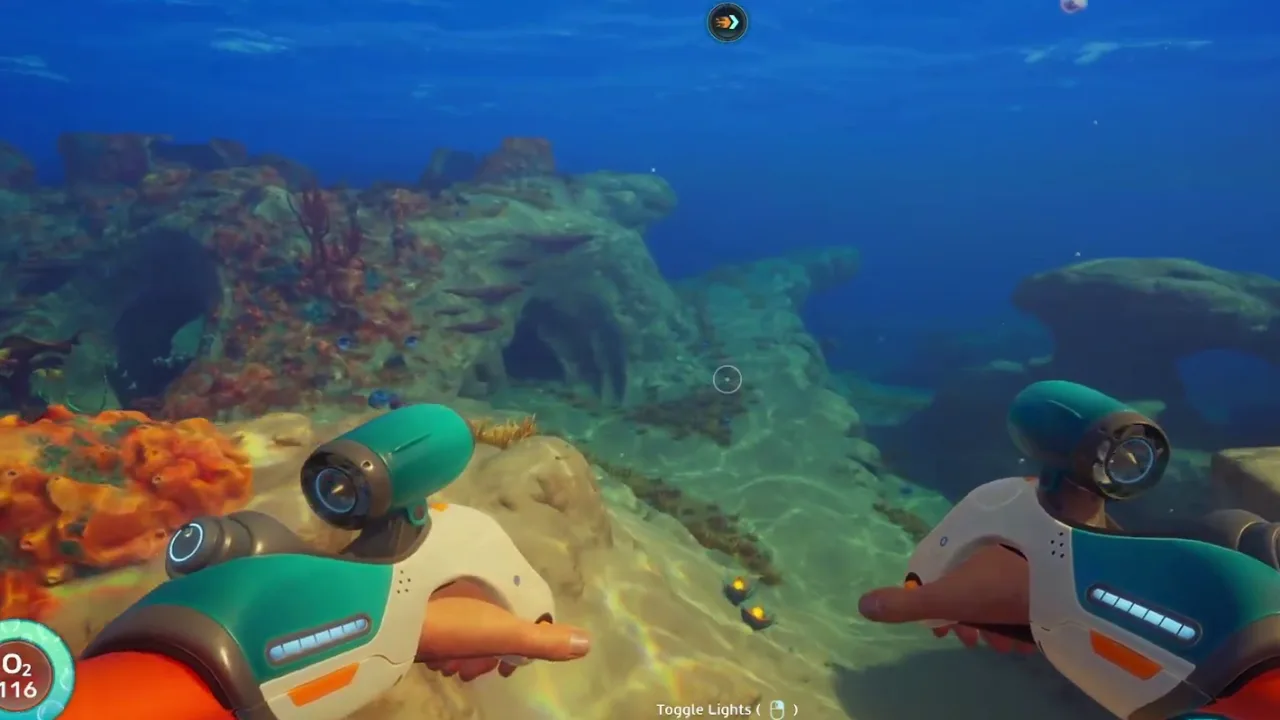
Tadpole submersible
Primary mobility reference for deeper biome pushes and co-op hauling.

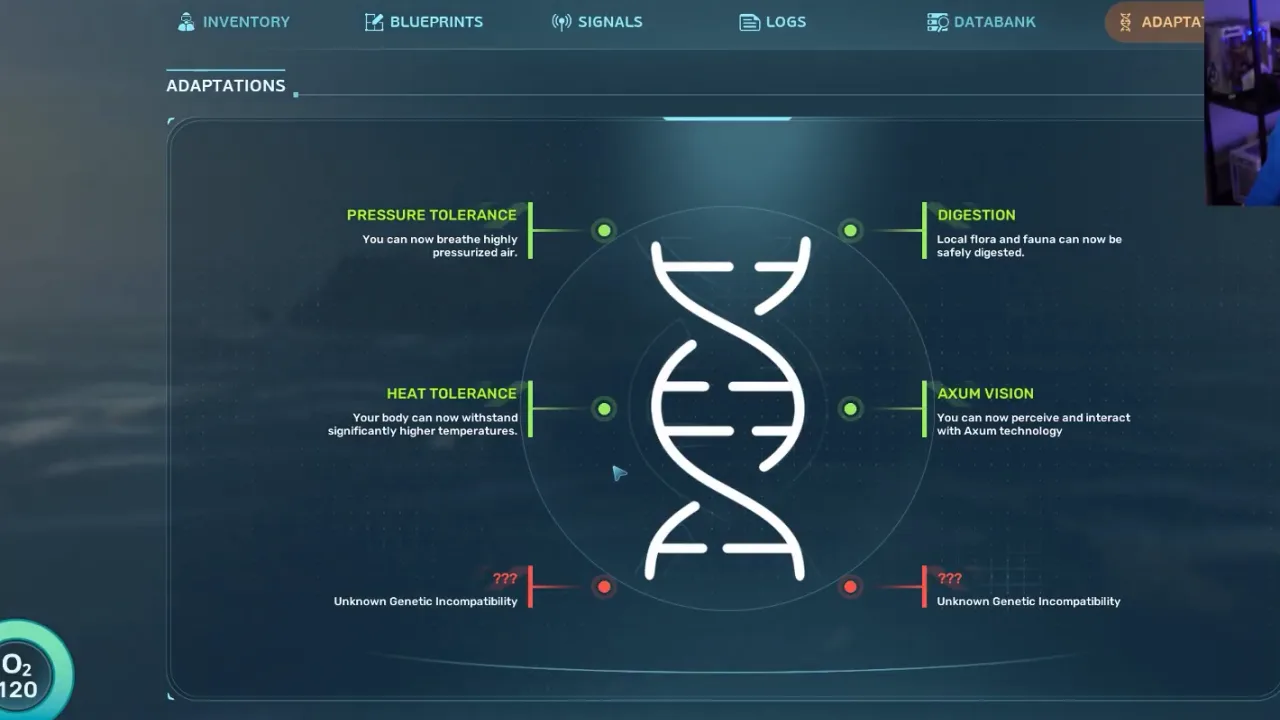
Scanner fragments
Unlock path for tools, vehicles, base modules, and progression-critical blueprints.
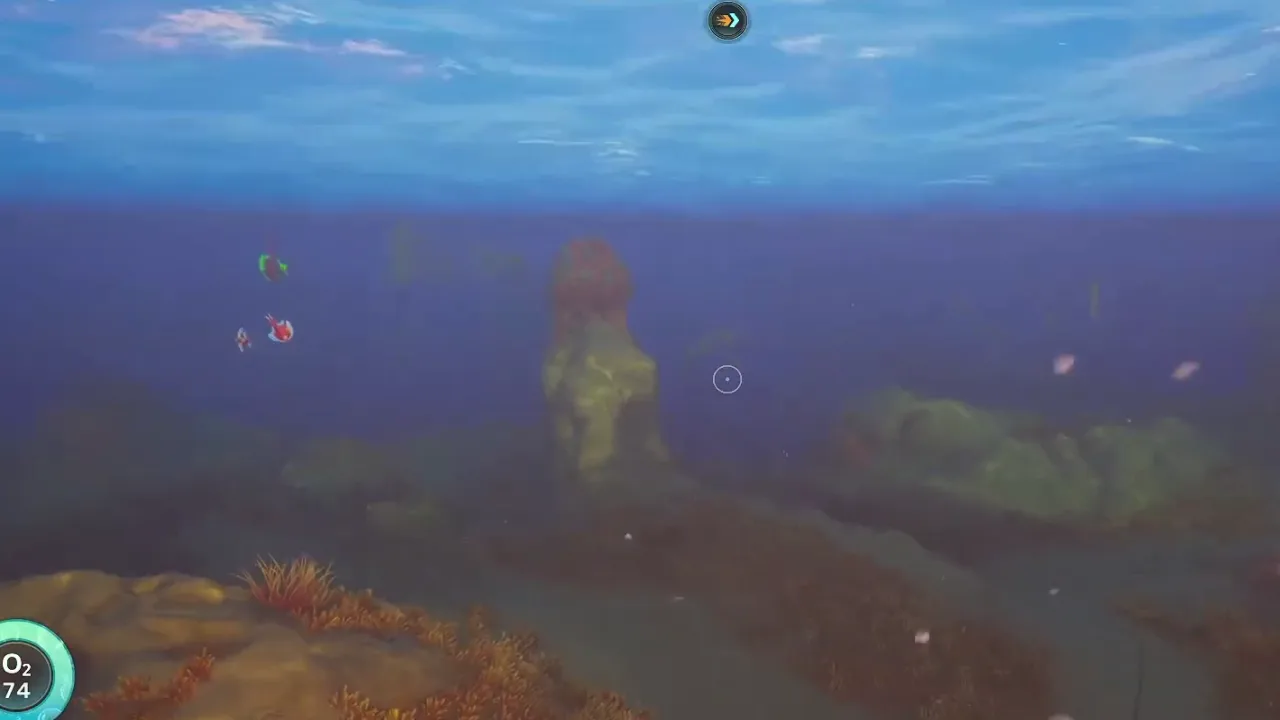
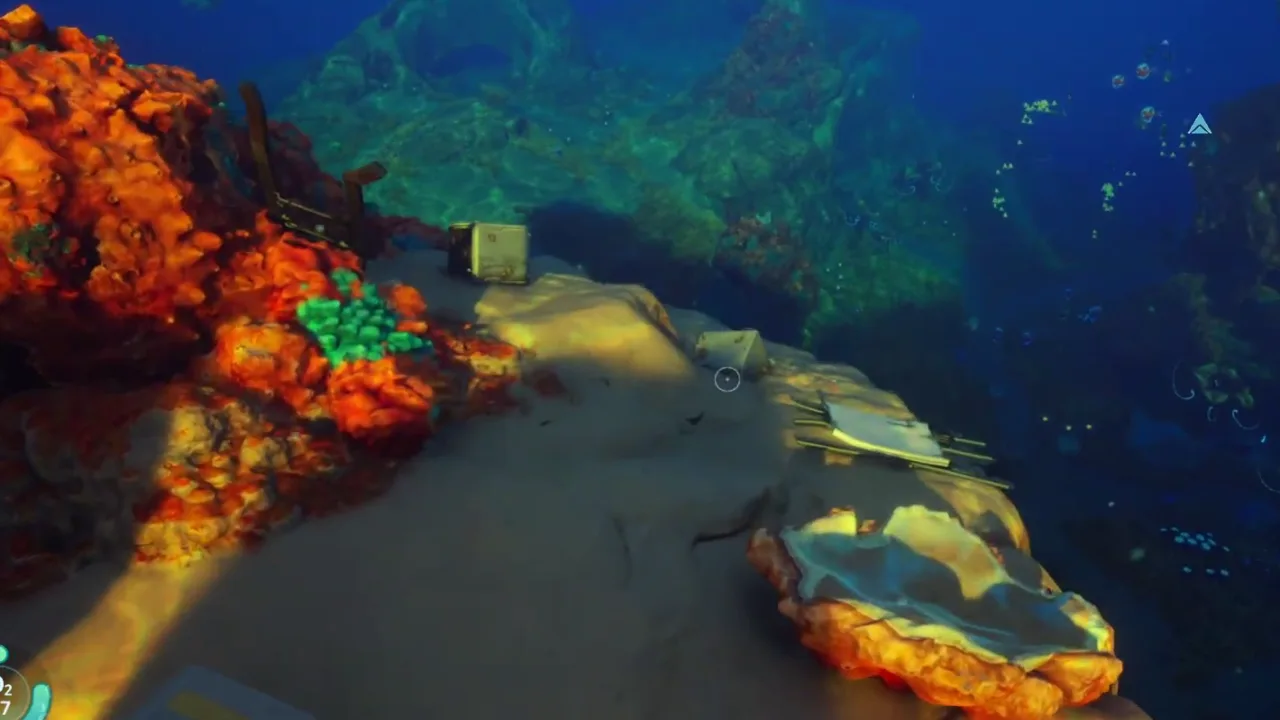
Silver
Early valuable crafting material commonly searched around green-lit cave routes north of the Lifepod.
Lead
Early material often routed through the northeast ravine and the caves below it.

Sulfur
Material commonly associated with early thermal or volcanic terrain and the Welcome Center route direction.
Tadpole Depth Module
Vehicle depth upgrade that opens deeper objective and material bands.