Collectibles and Completion
Subnautica 2 collectible guides for PDA logs, lore, blueprints, rare materials, base modules, and completion tracking.
12 of 54 guides shown
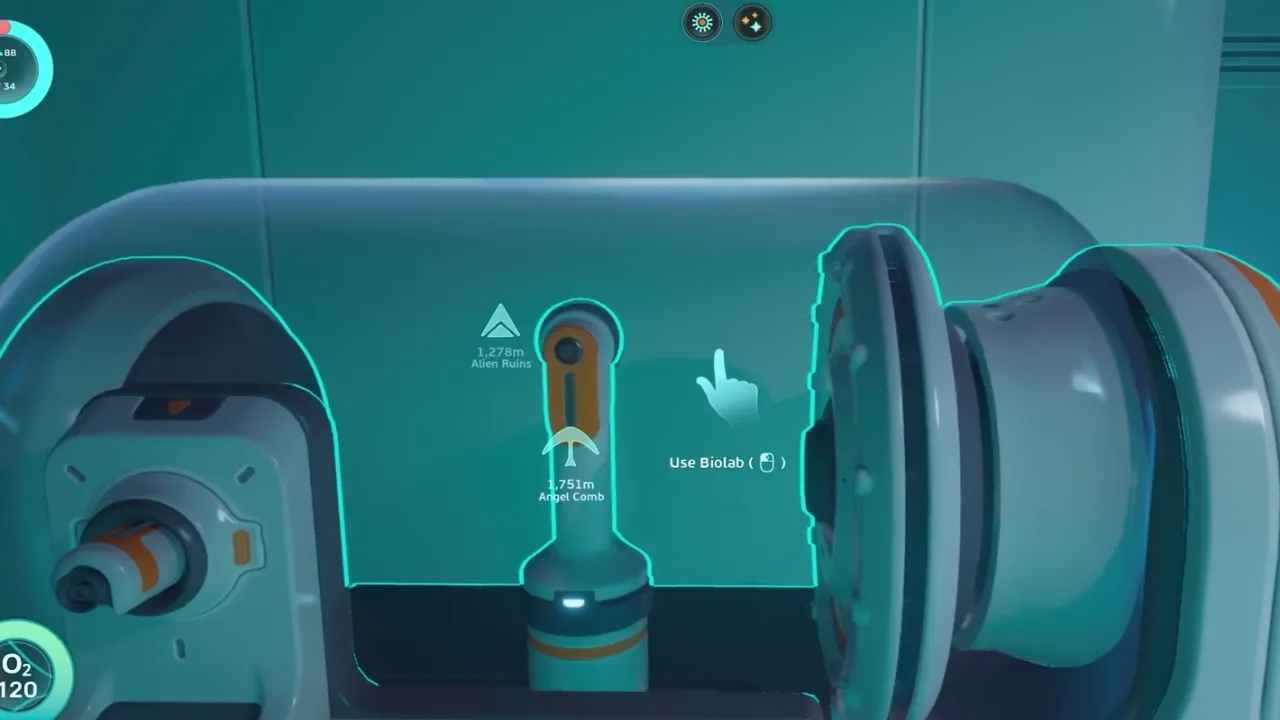
Bio Scanner Upgrade Guide
A Bio Scanner upgrade guide for scanner progression, BioMod unlock routes, creature-scan planning, and avoiding repeated search loops.
Includes playable video evidence, screenshot checkpoints, and a step route you can follow in-game.
Route value
Bio Scanner upgrade anchor for BioMod unlock planning and scan-target selection.
High Capacity Oxygen Tank Guide
A route-first guide to finding and using the High Capacity Oxygen Tank so early dives have more decision time and fewer panic returns.
Includes playable video evidence, screenshot checkpoints, and a step route you can follow in-game.
Route value
Oxygen upgrade anchor for longer first-hour dives and safer turn-back timing.
Wakemaker Blueprint Location Guide
A Wakemaker blueprint route for mobility progress, fragment confirmation, faster early travel, and safer testing after the unlock.
Includes playable video evidence, screenshot checkpoints, and a step route you can follow in-game.
Route value
Wakemaker blueprint anchor for faster swimming and early mobility route planning.

All BioMods and Adaptations Guide
A practical BioMods and adaptations guide for tracking unlocks, route value, hazard answers, and upgrade priorities.
Includes playable video evidence, screenshot checkpoints, and a step route you can follow in-game.
Route value
BioMod and adaptation planning anchor for unlocks that change route tolerance.
All Blackbox Locations
A completion-focused Blackbox route guide for log pickups, route order, screenshot checkpoints, and avoiding repeated cleanup sweeps.
Includes playable video evidence, screenshot checkpoints, and a step route you can follow in-game.
Route value
Blackbox checklist anchor for log pickups, completion proof, and route-cluster planning.
All Equipment Blueprints Guide
An equipment blueprint checklist for tools, stations, modules, scan routes, and upgrade priorities across Subnautica 2 Early Access.
Includes playable video evidence, screenshot checkpoints, and a step route you can follow in-game.
Route value
Equipment blueprint checklist anchor for scan proof, databox proof, and route batching.
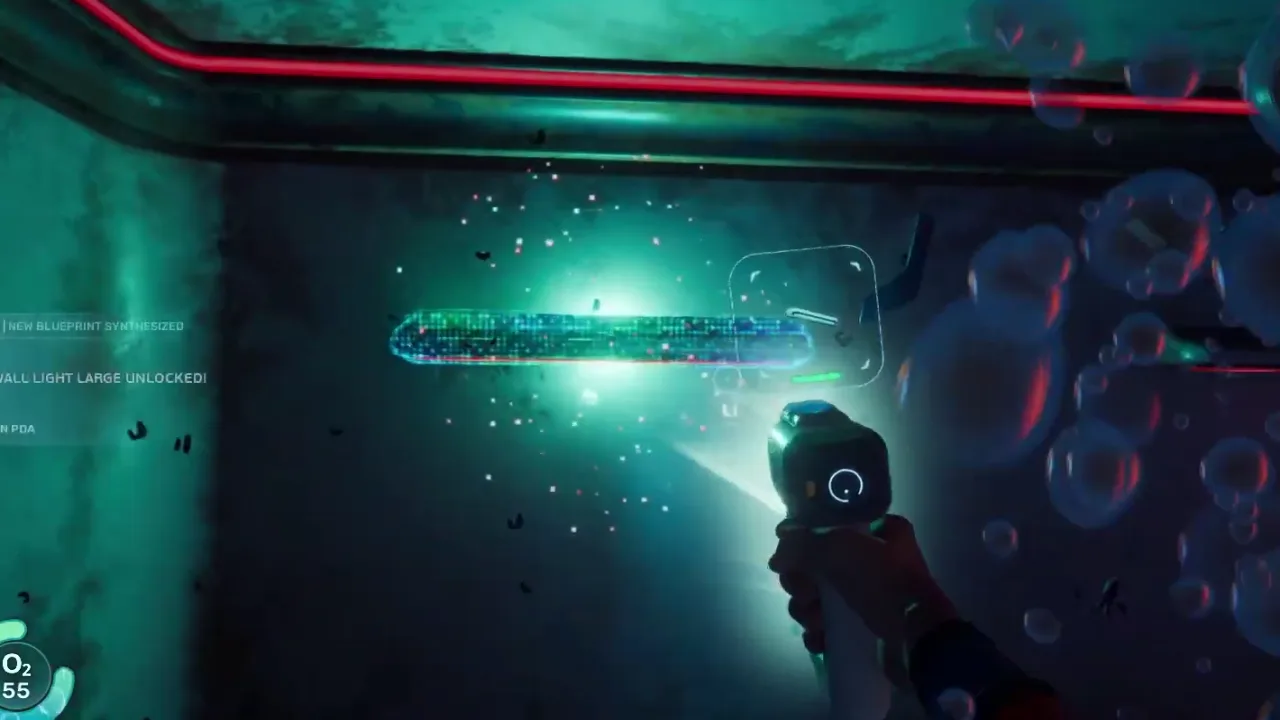
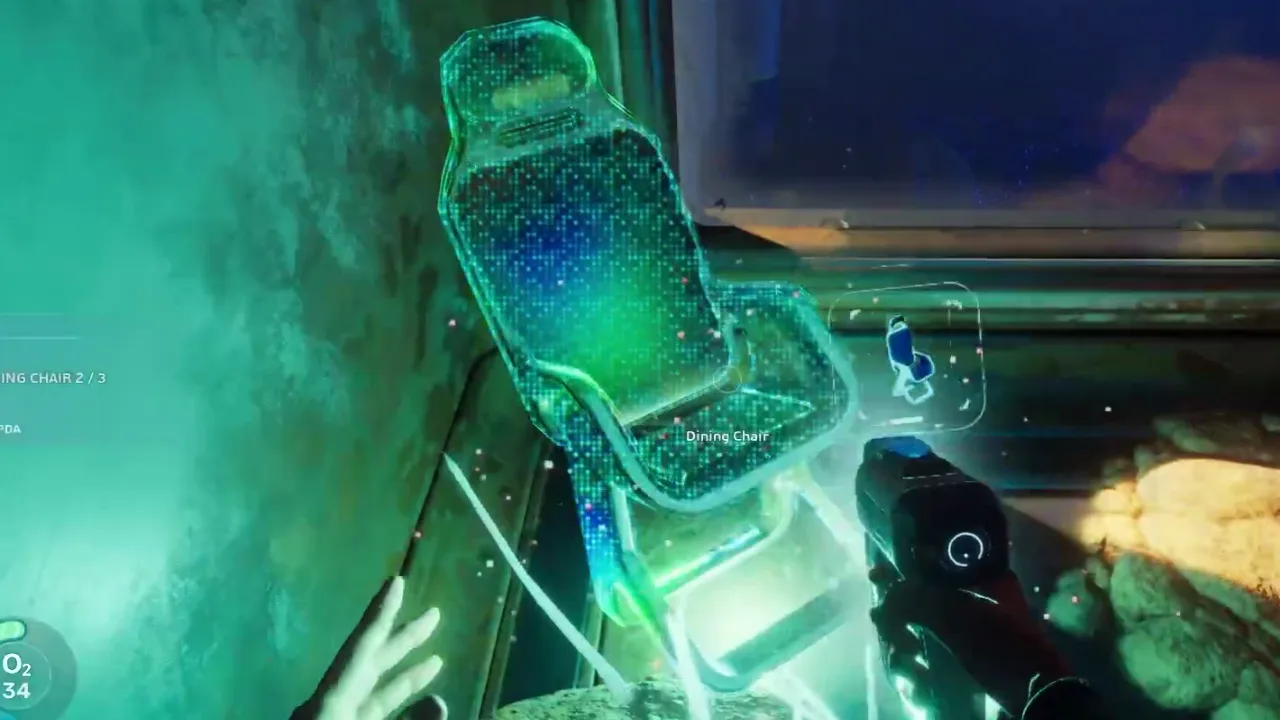
All Habitat Blueprints Guide
A habitat blueprint checklist for rooms, furniture, storage, grow beds, power pieces, and practical base-building unlock value.
Includes playable video evidence, screenshot checkpoints, and a step route you can follow in-game.
Route value
Habitat blueprint anchor for databox proof, room unlocks, farming, storage, and base workflow value.
All Tadpole Modules Guide
A Tadpole modules checklist for depth, cargo, chassis, armor, mobility, testing routes, and deciding which upgrade matters next.
Includes playable video evidence, screenshot checkpoints, and a step route you can follow in-game.
Route value
Tadpole module anchor for module order, chassis roles, and depth-gate planning.
Aquarium Blueprint Guide
An Aquarium blueprint guide for base utility, creature storage decisions, and when the unlock is worth the route time.
Includes playable video evidence, screenshot checkpoints, and a step route you can follow in-game.
Route value
Aquarium blueprint anchor for base module planning and creature-storage decisions.
Axum Vision Adaptation Guide
An Axum Vision adaptation guide for alien-language reads, power-plant control, upgrade proof, and late progression planning.
Includes playable video evidence, screenshot checkpoints, and a step route you can follow in-game.
Route value
Axum Vision anchor for alien clue reading, adaptation proof, and late-route device control.
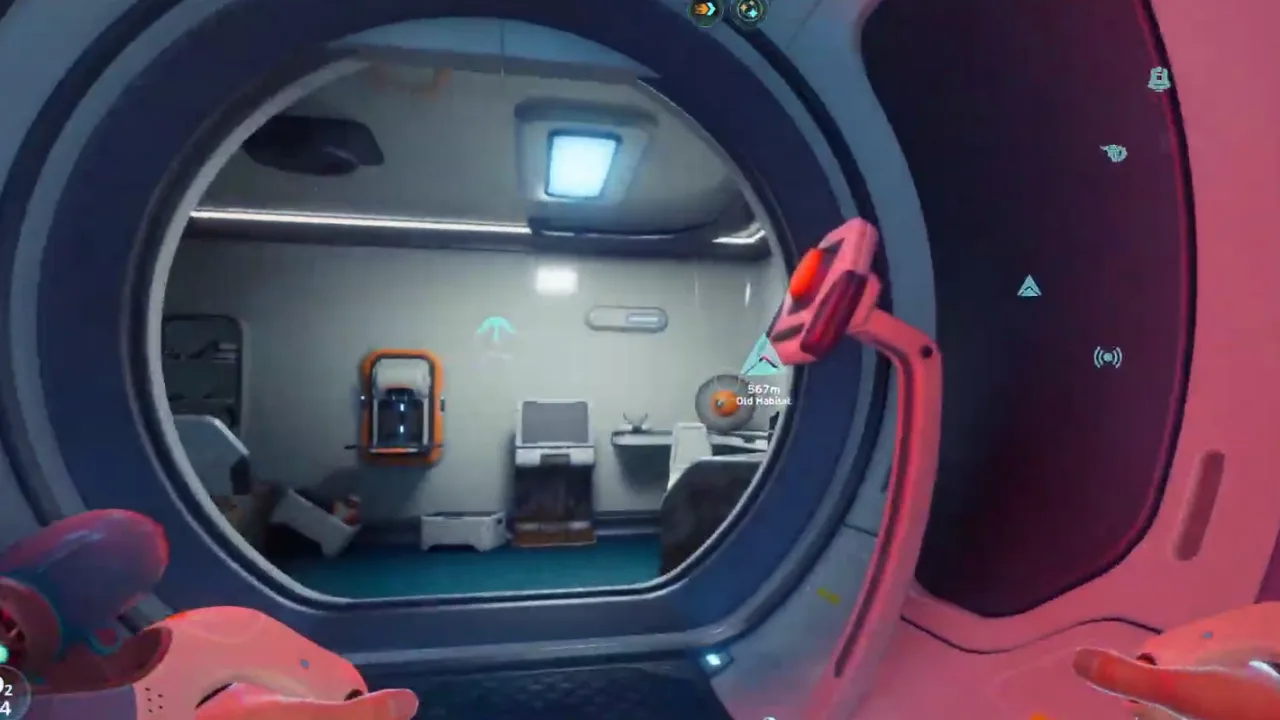
Base Module Collectibles
How to track base module scans, useful habitat unlocks, and the difference between comfort modules and progression modules.
Includes playable video evidence, screenshot checkpoints, and a step route you can follow in-game.
Route value
Base-module completion anchor for rooms, utility parts, and workflow upgrades.

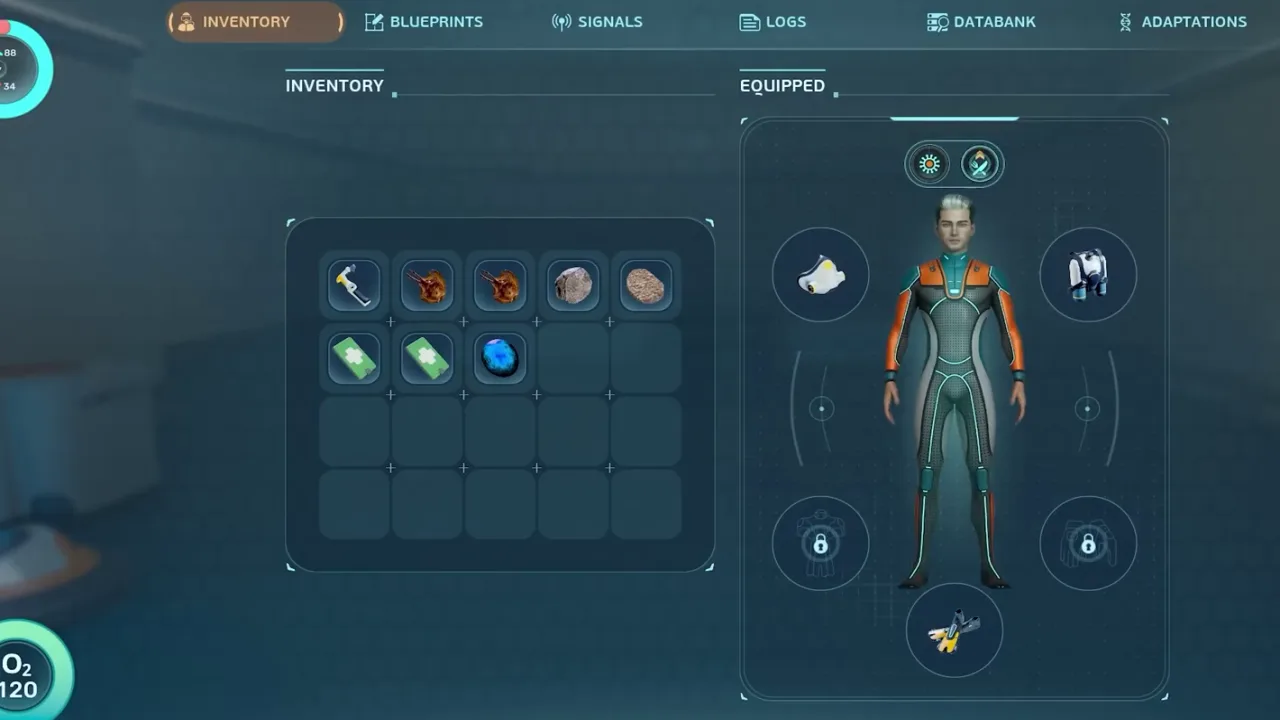
Biobed Inventory Upgrades Guide
A Biobed inventory upgrade route for hidden upgrade rooms, carry-space planning, checklist proof, and route efficiency.
Includes playable video evidence, screenshot checkpoints, and a step route you can follow in-game.
Route value
Biobed upgrade anchor for inventory expansion, hidden rooms, and carry-space planning.
Reference cards
Quick notes for names you will see in these guides
These cards are lightweight reference notes, not precision map claims. Open a guide when you need the full video-based route.

Rare materials
Crafting bottlenecks that should be tracked by biome and recipe value.

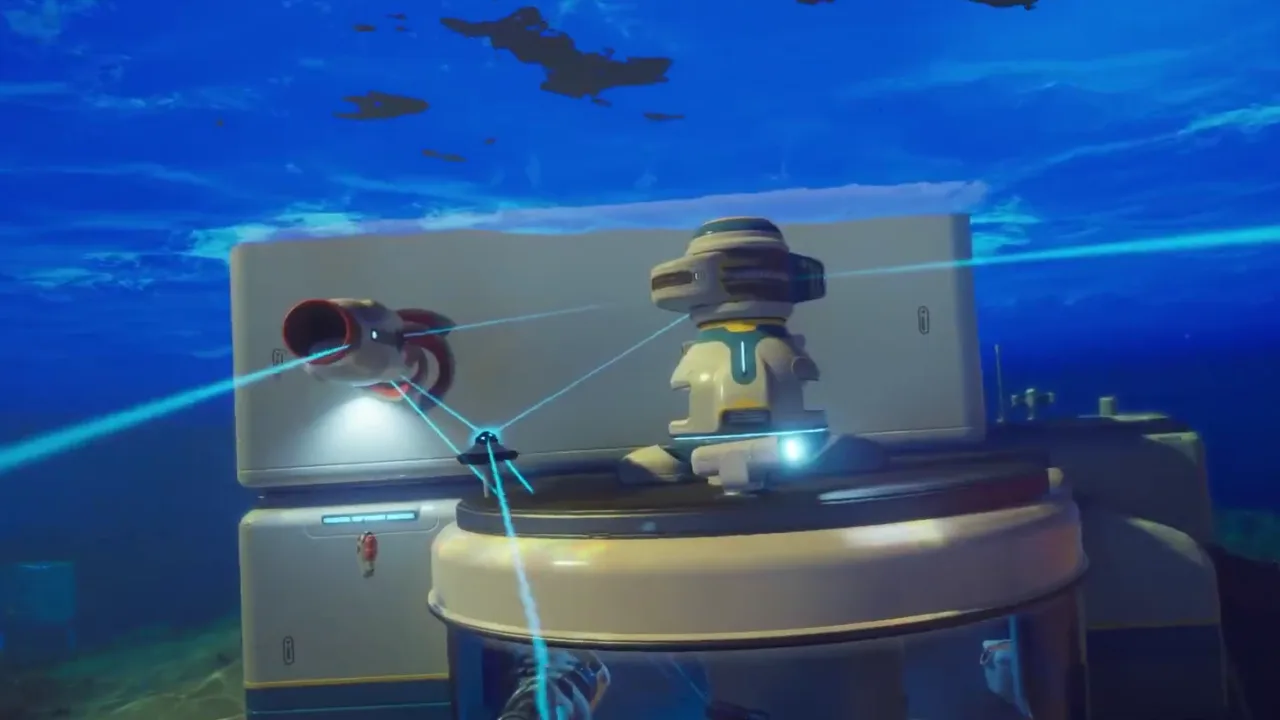
Modification Station
Upgrade crafting station that converts fragments and materials into route-changing equipment.

Square Room
Base expansion unlock for storage, Biolab planning, and less cramped crafting workflow.