Video walkthrough
Watch the route, then match the frames
Video chapters
5 stepsVideo references
Watch or inspect the route before you dive
Click YouTube cards to load the player. Open frame cards to compare local screenshot notes. Use the evidence to confirm landmarks, movement, and encounter pacing, then follow the written checklist below.
Alien Observatory door and turbine walkthrough
Watch for: Door state, turbine activation, symbol-room reads, and puzzle sequence verification.
Objective list frame review
Watch for: Start with Alien Observatory walkthrough at 02:18. Compare the screenshot cue, route note, and player action before following the guide in-game.
Symbol room frame review
Watch for: Start with Alien Observatory walkthrough at 07:40. Compare the screenshot cue, route note, and player action before following the guide in-game.
Video watch notes
What to pause, compare, and write down
Do not watch the video like entertainment only. Use these notes as a second-screen checklist: pause on landmarks, confirm the player action, then return to the written route.
Watchlist
Pause on Objective list and identify the landmark, depth band, or objective state before following the next step.
Use Symbol room to confirm what changed; if the video only shows a close-up, rebuild the route from the previous landmark.
Treat Door check as the exit rule: finish the objective, return, and update storage or crafting before adding side goals.
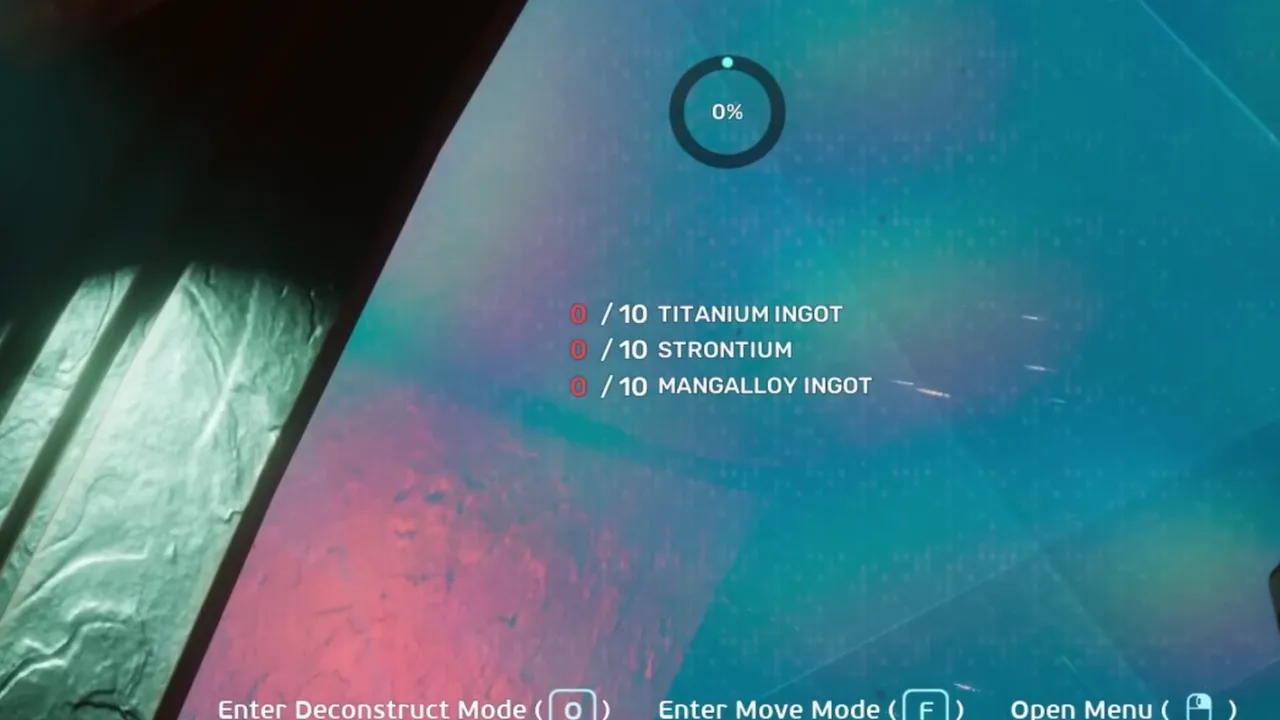
Objective list
Read the objective state before touching turbine or door interactions.
Action: Read the active objective and room state before interacting.
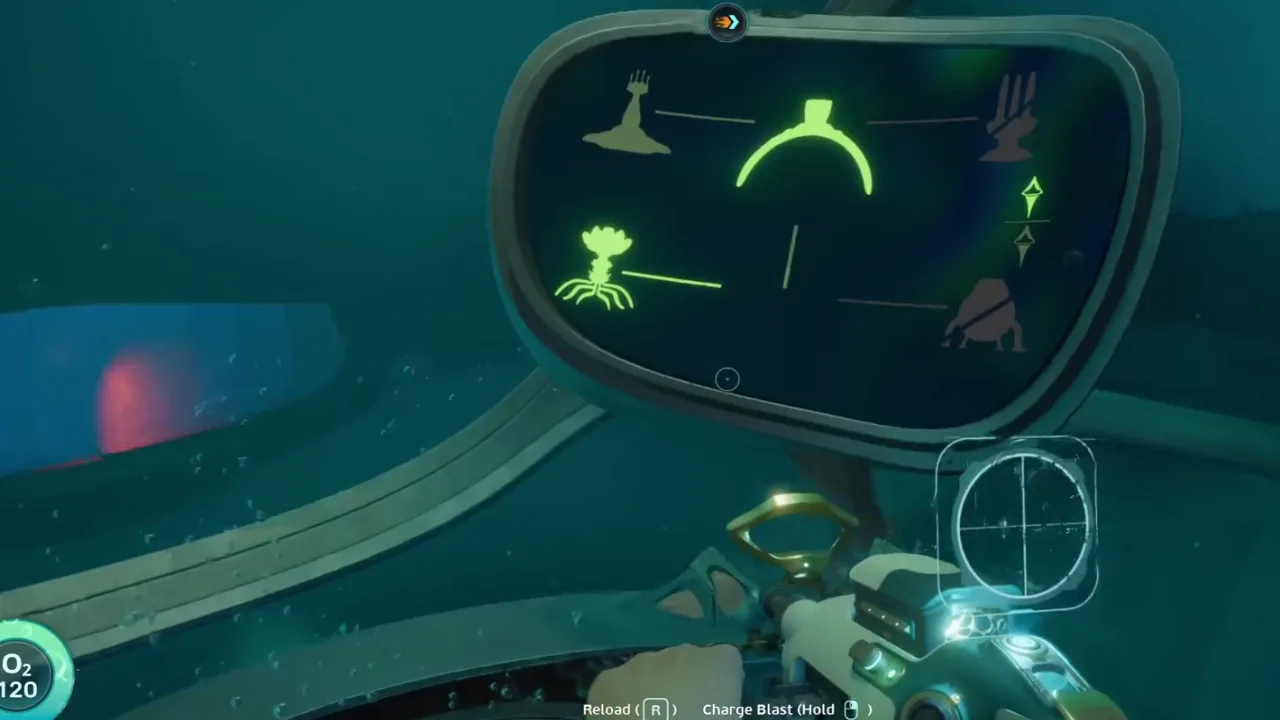
Symbol room
Alien rooms should be solved by reading symbols and device order first.
Action: Identify turbine, door, symbol, and power devices separately.
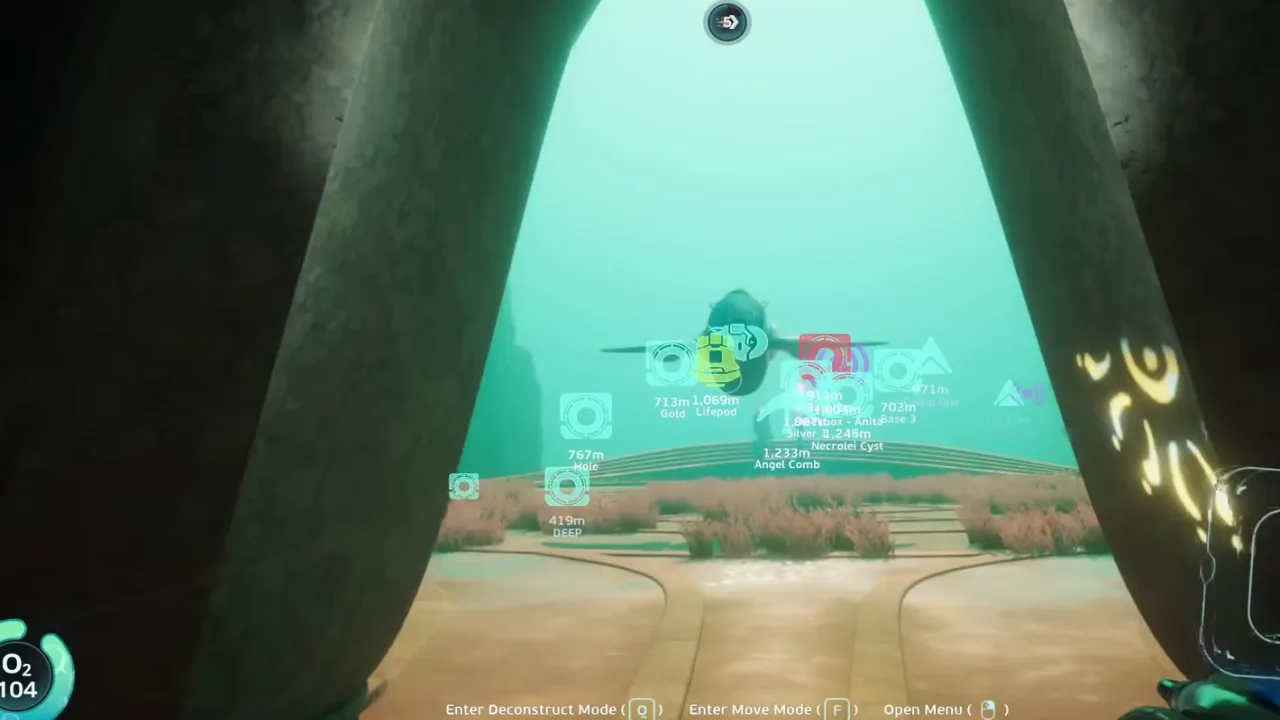
Door check
After the turbine step, verify what changed before moving to the next room.
Action: Change one device state, then verify what changed.
Video route timeline
Turn the video into playable checkpoints
Use this section like a second-screen route sheet. Open each checkpoint, compare the frame, do the action, then stop if your route no longer matches the video evidence. It keeps the guide useful even when Early Access shifts small placements or creature behavior.
02:18Checkpoint 1: Read the active objective and room state before interacting.Read the objective state before touching turbine or door interactions.Expand
Objective list
Read the objective state before touching turbine or door interactions.
Player action
Read the active objective and room state before interacting.
Proof before moving on
Read the objective state before touching turbine or door interactions.
Watch this timestampIf this fails
Reset to the last confirmed landmark or objective state, then repeat only the route-critical step.
07:40Checkpoint 2: Identify turbine, door, symbol, and power devices separately.Alien rooms should be solved by reading symbols and device order first.Expand
Symbol room
Alien rooms should be solved by reading symbols and device order first.
Player action
Identify turbine, door, symbol, and power devices separately.
Proof before moving on
Alien rooms should be solved by reading symbols and device order first.
Watch this timestampIf this fails
Use the video frame as evidence, but record entry, proof, and exit as separate notes.
09:12Checkpoint 3: Change one device state, then verify what changed.After the turbine step, verify what changed before moving to the next room.Expand
Door check
After the turbine step, verify what changed before moving to the next room.
Player action
Change one device state, then verify what changed.
Proof before moving on
After the turbine step, verify what changed before moving to the next room.
Watch this timestampIf this fails
Return, craft, sort storage, or retest the route before turning this page into a longer objective chain.
02:18Checkpoint 4: Avoid repeating the same interaction if the room asks for another step.Read the objective state before touching turbine or door interactions.Expand
Objective list
Read the objective state before touching turbine or door interactions.
Player action
Avoid repeating the same interaction if the room asks for another step.
Proof before moving on
Read the objective state before touching turbine or door interactions.
Watch this timestampIf this fails
Reset to the last confirmed landmark or objective state, then repeat only the route-critical step.
07:40Checkpoint 5: Leave and return if the puzzle clearly needs a later unlock.Alien rooms should be solved by reading symbols and device order first.Expand
Symbol room
Alien rooms should be solved by reading symbols and device order first.
Player action
Leave and return if the puzzle clearly needs a later unlock.
Proof before moving on
Alien rooms should be solved by reading symbols and device order first.
Watch this timestampIf this fails
Use the video frame as evidence, but record entry, proof, and exit as separate notes.
Gameplay evidence
Screenshots to match before you keep swimming
Use these frames as visual checkpoints. If the terrain, lighting, or landmark does not match, slow down and re-check the route instead of forcing the next step.
Objective list
Read the objective state before touching turbine or door interactions.
Symbol room
Alien rooms should be solved by reading symbols and device order first.
Door check
After the turbine step, verify what changed before moving to the next room.
Route decision lab
Decide if this route is worth running now
This section turns the video into a practical in-game decision. Use it before leaving base, after the first landmark, and again before entering a deeper or darker area.
Route purpose
For the Alien Observatory, read the objective state first, interact with turbine or door devices in order, and verify what changed before leaving the room or forcing another action.
Visual checkpoint
Read the objective state before touching turbine or door interactions.
Map anchor
Alien Observatory Turbine Room in Alien observatory route. Use it for use this when the puzzle is about room state, turbine activation, and verifying what changed.
Abort rule
Touching devices before reading the objective state.
Field manual translation
For the Alien Observatory, read the objective state first, interact with turbine or door devices in order, and verify what changed before leaving the room or forcing another action. Use this state-change route manual as a second-screen checklist: identify the entry condition, confirm the objective with a visual proof point, then stop when the return rule is met. This keeps the article practical for Early Access patches without pretending every coordinate or state is final.
Primary job
Observatory - Read the active objective and room state before interacting.
Best entry habit
Scanner - Identify turbine, door, symbol, and power devices separately.
Stop condition
Touching devices before reading the objective state. - Change one device state, then verify what changed.
Patch-safe reading
Exact item positions can shift during Early Access. The useful part of this page is the route logic: what to prepare, what visual cue to confirm, what objective to finish, and when to turn back.
Updated
2026-06-12 / tracking / Early Access
What this guide covers
Requirements
- Scanner
- Objective tracking
- Safe route back
Use this if
You want a route you can follow from video evidence without needing exact official coordinates. The screenshots and steps are written to help you recognize areas, landmarks, and decisions while playing.
Early Access can move details. Treat this as a video-based walkthrough and verify landmarks in your own build.
Step-by-step walkthrough
Follow the video route without guessing
Read the active objective and room state before interacting.
Use this step as a route checkpoint, not as a promise that every object spawns in one exact coordinate. Match the landmark, compare the screenshot, then continue only if the return path is still clear.
If your game build looks different, stay with the same decision: keep oxygen safe, scan or collect the current blocker, and return before pushing into the next unknown area.
Read the objective state before touching turbine or door interactions.
Identify turbine, door, symbol, and power devices separately.
Use this step as a route checkpoint, not as a promise that every object spawns in one exact coordinate. Match the landmark, compare the screenshot, then continue only if the return path is still clear.
If your game build looks different, stay with the same decision: keep oxygen safe, scan or collect the current blocker, and return before pushing into the next unknown area.
Alien rooms should be solved by reading symbols and device order first.
Change one device state, then verify what changed.
Use this step as a route checkpoint, not as a promise that every object spawns in one exact coordinate. Match the landmark, compare the screenshot, then continue only if the return path is still clear.
If your game build looks different, stay with the same decision: keep oxygen safe, scan or collect the current blocker, and return before pushing into the next unknown area.
After the turbine step, verify what changed before moving to the next room.
Avoid repeating the same interaction if the room asks for another step.
Use this step as a route checkpoint, not as a promise that every object spawns in one exact coordinate. Match the landmark, compare the screenshot, then continue only if the return path is still clear.
If your game build looks different, stay with the same decision: keep oxygen safe, scan or collect the current blocker, and return before pushing into the next unknown area.
Read the objective state before touching turbine or door interactions.
Leave and return if the puzzle clearly needs a later unlock.
Use this step as a route checkpoint, not as a promise that every object spawns in one exact coordinate. Match the landmark, compare the screenshot, then continue only if the return path is still clear.
If your game build looks different, stay with the same decision: keep oxygen safe, scan or collect the current blocker, and return before pushing into the next unknown area.
Alien rooms should be solved by reading symbols and device order first.
After-action plan
What to do after the guide works
Bank the result
Leave and return if the puzzle clearly needs a later unlock.
Clean the inventory
Move route-critical materials into labeled storage so the next dive starts with empty space and a clear job.
Pick the next guide
A careful route framework for reading alien structures, terminals, symbols, and locked interior routes in Subnautica 2.
Next route queue
Use these as the next blockers to solve after this route. Each queue card keeps the same evidence style: source video, gameplay frames, and a written checklist.
Best immediate follow-upAlien Structure Puzzles
A careful route framework for reading alien structures, terminals, symbols, and locked interior routes in Subnautica 2.
 Use if the route branches
Power Routing Puzzles
How to read power-flow rooms, cable paths, terminals, and inactive devices without burning oxygen or missing progression clues.
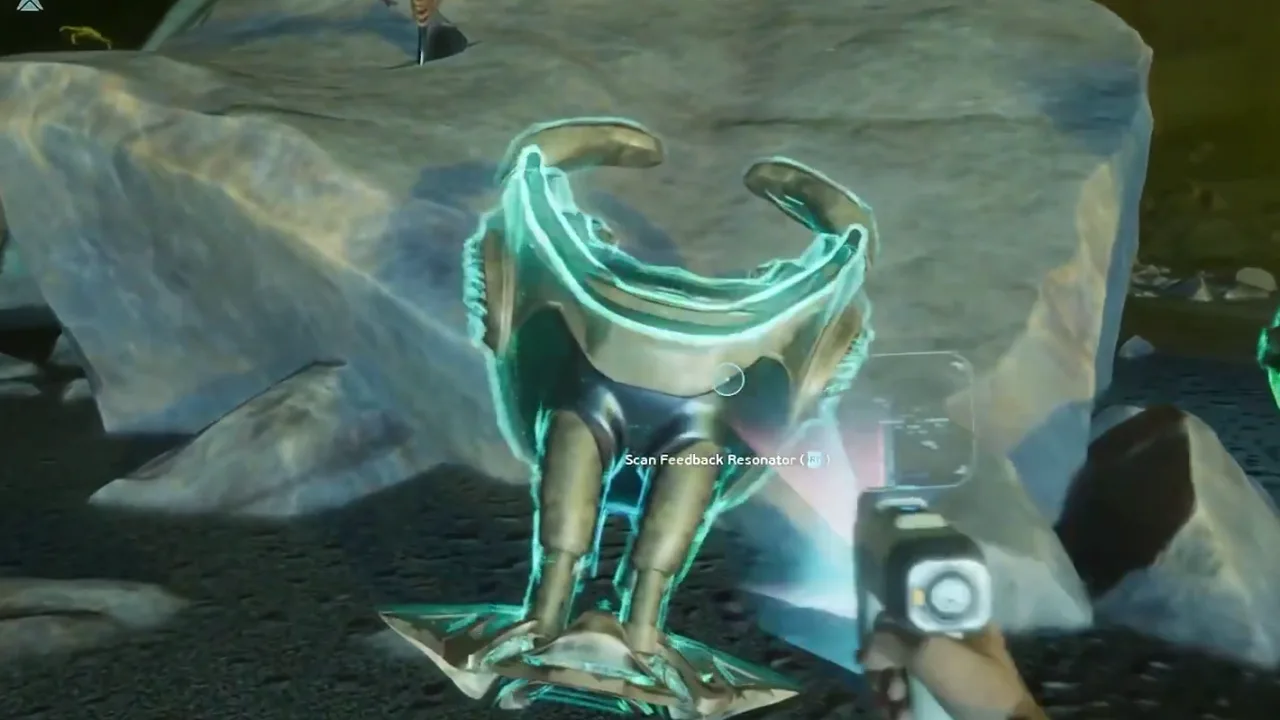 Save for the next dive
Giant Alien Power Plant Guide
A route and puzzle guide for starting the Giant Alien Power Plant, reading activation rooms, and preserving the return path.
Detailed notes
Puzzle order matters
Alien rooms are easier when you name the parts first. Door, turbine, symbol, power source, and exit should each have a job in the note.
Door
Turbine
Symbol
Power
How to use this in-game
Turn this note into one action before leaving base: decide the objective, keep only the materials or tools that support it, then stop the route once the scan, pickup, or landmark is confirmed. This keeps the guide useful even when Early Access patches move small details.
Verify every state change
After each interaction, stop and look for what changed. A door sound, new light, objective update, or inactive device tells you which step comes next.
How to use this in-game
Turn this note into one action before leaving base: decide the objective, keep only the materials or tools that support it, then stop the route once the scan, pickup, or landmark is confirmed. This keeps the guide useful even when Early Access patches move small details.
Spoiler-controlled notes
This page should give enough structure to solve the room without dumping every reveal. Frame captions act as visual confirmation points, not full story summaries.
How to use this in-game
Turn this note into one action before leaving base: decide the objective, keep only the materials or tools that support it, then stop the route once the scan, pickup, or landmark is confirmed. This keeps the guide useful even when Early Access patches move small details.
Observatory puzzle route rhythm
Observatory and turbine puzzles should be handled as short puzzle dives. Confirm the entrance, identify the interaction rule, solve one state change, then decide whether oxygen and route memory are still strong enough to continue. If not, exit and repeat with the clue already learned.
How to use this in-game
Turn this note into one action before leaving base: decide the objective, keep only the materials or tools that support it, then stop the route once the scan, pickup, or landmark is confirmed. This keeps the guide useful even when Early Access patches move small details.
What counts as progress
Progress is not only a completed puzzle. A confirmed route, a solved interaction rule, or a known failure state all make the next attempt faster. Write the clue in practical language: what changed, what did not, and what tool or adaptation seemed relevant.
How to use this in-game
Turn this note into one action before leaving base: decide the objective, keep only the materials or tools that support it, then stop the route once the scan, pickup, or landmark is confirmed. This keeps the guide useful even when Early Access patches move small details.
Video route notes
Alien Observatory Door and Turbine Guide should be followed as a puzzle route, not as a memory test. Start by watching the first route movement and naming the entry condition before copying the path in-game. Read the active objective and room state before interacting. Then pause again when the video reaches the first visible proof point, because that is where the guide changes from general advice into an action you can repeat. Identify turbine, door, symbol, and power devices separately. If the route starts to feel different in your build, keep the same player goal: separate room reading, device order, and exit timing.
Entry check: Scanner
Route action: Read the active objective and room state before interacting.
Proof to look for: state-change proof
Version note: Early Access / tracking
How to use this in-game
Turn this note into one action before leaving base: decide the objective, keep only the materials or tools that support it, then stop the route once the scan, pickup, or landmark is confirmed. This keeps the guide useful even when Early Access patches move small details.
Screenshot checkpoints
Use screenshots as checkpoints instead of decoration. The first image should answer where the route begins, the second should show what confirms progress, and the third should explain what to do after the scan, pickup, puzzle state, or threat read is visible. Change one device state, then verify what changed. This is especially important in Early Access because exact positions can drift while landmarks, depth bands, room states, and player decisions stay useful. A good screenshot lets you say, "I am at the right kind of place," before you risk oxygen, storage space, or vehicle safety.
Entry frame: match the landmark before moving deeper
Proof frame: confirm state-change proof
Exit frame: know the return direction before adding side goals
Loadout frame: check Objective tracking
How to use this in-game
Turn this note into one action before leaving base: decide the objective, keep only the materials or tools that support it, then stop the route once the scan, pickup, or landmark is confirmed. This keeps the guide useful even when Early Access patches move small details.
Stop rule and next dive
The most useful part of this page is the stop rule. Touching devices before reading the objective state. Missing the visual change after a turbine step. When the objective is confirmed, return and convert it into progress: craft the upgrade, sort the material, save the route note, or mark the blocker as solved. If the route fails, do not repeat the same swim blindly. Change one variable at a time: enter from a clearer landmark, reduce inventory clutter, bring the missing tool, or wait until oxygen and vehicle support match the route. That turns a failed puzzle route into better field knowledge instead of another random interaction loop.
How to use this in-game
Turn this note into one action before leaving base: decide the objective, keep only the materials or tools that support it, then stop the route once the scan, pickup, or landmark is confirmed. This keeps the guide useful even when Early Access patches move small details.
Common mistakes
Touching devices before reading the objective state.
Missing the visual change after a turbine step.
Forcing the door before the room state is ready.
FAQ
Is this guide for the current Subnautica 2 build?
This page is written for Early Access and includes a visible update date. Treat exact values as tracking notes until the current build is field-tested.
Does this page use official screenshots?
Pages combine attributed official Steam / Unknown Worlds media, local gameplay frame captures, and source-video evidence cards. New player-submitted captures should keep the route, timestamp, and build context attached.
Community notes
Add a field report
Player reports enter a moderation queue. Approved notes can load from Supabase; pending drafts stay visible in this browser for follow-up.
Near starter shallows
Approx. 70-120m from pod
Confirm oxygen before leaving the first landmark. The route is much safer when you mark the return path before collecting side materials.
Guide-wide
N/A
Creature patrol ranges and fragment placement can shift between builds, so treat exact distances as field estimates until multiple players confirm them.