Search the Subnautica 2 field database
Filter guides by route type, field status, difficulty, map marker, biome clues, resources, threats, fragments, puzzles, and quick answers.
Indexed pages
66
Map anchored
66
Matching results
20
Version
Early Access
Jump straight from this search to the map panel, with the matching marker selected and its route notes open.
Story anchor
Biome Overview Center
Use this as the mental map hub before choosing a resource, fragment, or puzzle direction.
Biome
Central route band
Depth
250m - 700m
Distance
1.2 km
Story anchor
Biomes and Secret Locations Grid
Use this when you know a secret exists but need recognition clues for terrain and depth.
Biome
Secret location route grid
Depth
400m - 950m
Distance
1.9 km
Resources anchor
Metal Farm Blueprint Route
Use this when repeated metal runs are slowing progression more than the unlock trip itself.
Biome
Mid-depth resource field
Depth
500m - 800m
Distance
1.8 km
Resources anchor
Resource Priority Cache
Use this when you are hoarding everything but still missing the one recipe-critical material.
Biome
Mixed material shelf
Depth
260m - 600m
Distance
1.1 km
Map and Biomes Overview
A spoiler-light map planning guide for thinking about biomes, depth, resources, hazards, and route escalation.
Use the map as a set of risk bands: starter safety, resource routes, deeper unlock paths, hazard zones, and late progression spaces. Versioned biome details can be added as the Early Access map stabilizes.
Marker
Story in Central route band
Depth / Distance
250m - 700m / 1.2 km
Confidence
Patch tracking
03:03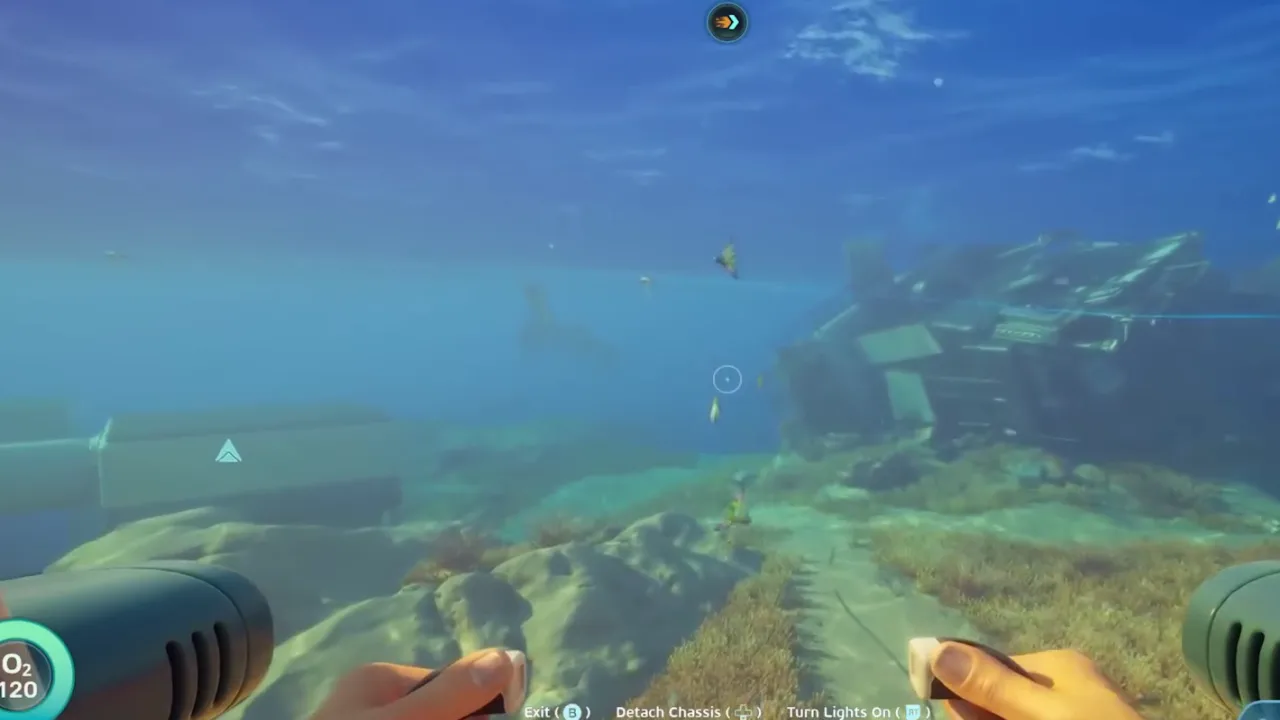 06:07
06:07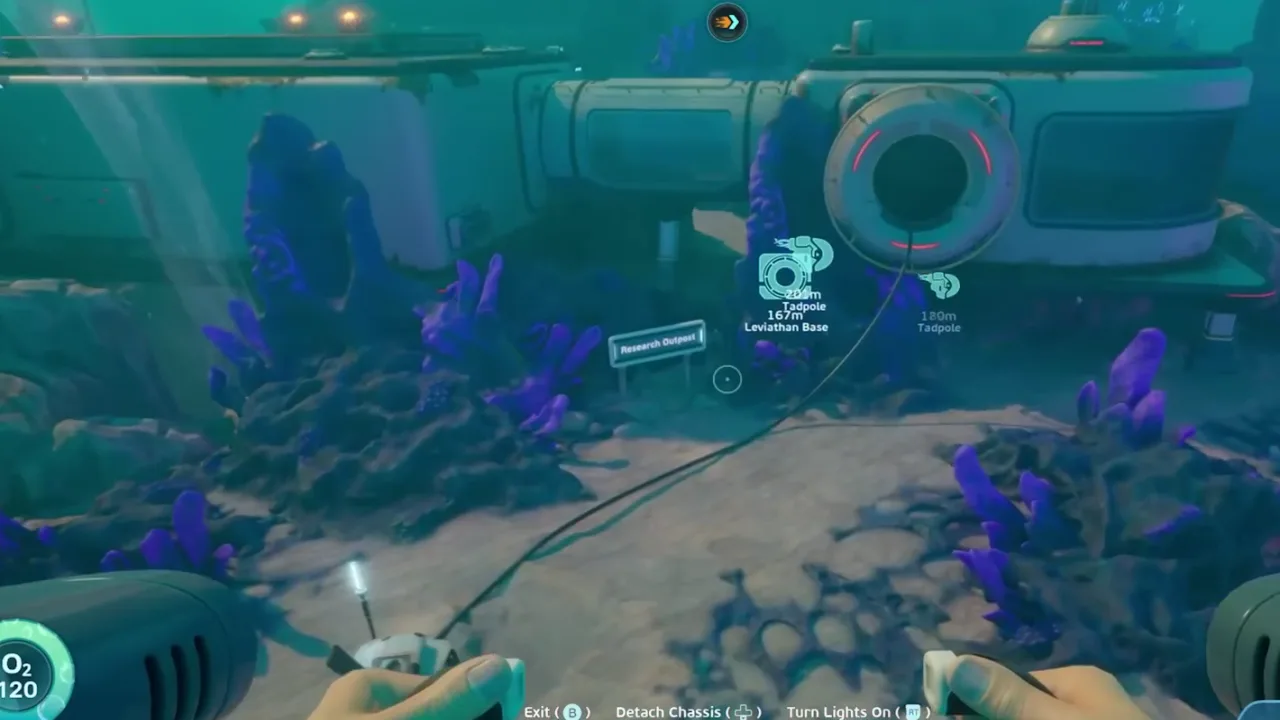 08:09
08:09Biomes Map and Secret Locations
A map-first guide to biome landmarks, route bands, secret locations, and spoiler-controlled exploration notes.
Use biome guides as landmark maps, not just coordinate dumps. Learn the terrain shape, route band, hazard level, and return path before chasing secret locations.
Marker
Story in Secret location route grid
Depth / Distance
400m - 950m / 1.9 km
Confidence
Patch tracking
03:0306:0708:09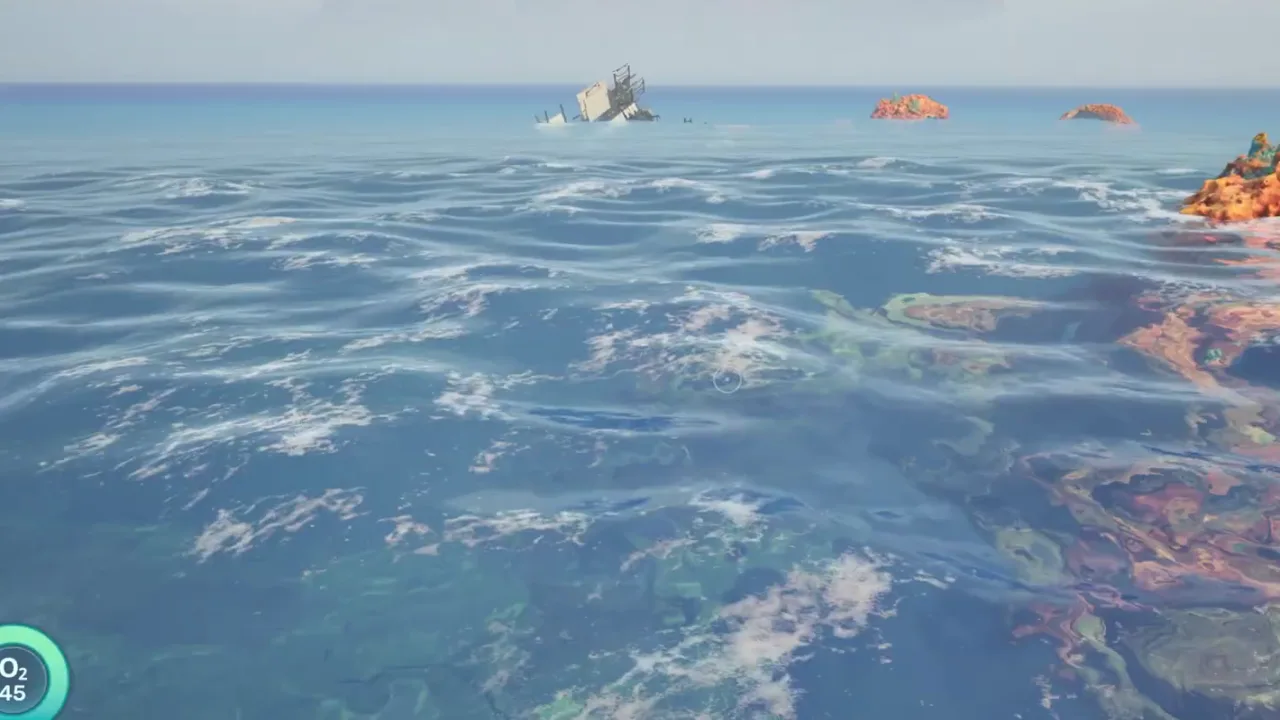
Resource Priority List
Which resources to prioritize first, which to store, and which to avoid hoarding until a recipe proves they matter.
Prioritize resources that unlock oxygen, scanning, storage, power, mobility, and base expansion. Keep a small reserve of common materials, but do not fill storage with unknown items before recipes demand them.
Marker
Resources in Mixed material shelf
Depth / Distance
260m - 600m / 1.1 km
Confidence
Field-tested
01:50 00:40
00:40 04:20
04:20Resource Route Matrix
A route-first material matrix for Silver, Lead, Sulfur, Gold, Triloite, Celestine, Necrolei Cyst, and Metal Farm planning.
Use the Resource Route Matrix to decide what to farm by blocker, not by curiosity. Prioritize oxygen, scanning, power, mobility, and base expansion materials before rare-material cleanup.
Marker
Resources in Material planning hub
Depth / Distance
All route bands / Lookup table
Confidence
Field-tested
00:4001:5004:20
Early Access Starting Route
A low-spoiler route for turning the first hour into tools, scans, storage, safer map knowledge, and repeatable early progression.
Use the opening hour to build a repeatable loop: scan nearby fragments, identify common resources, create storage, and only then follow distant signals.
Marker
Story in Opening route shelf
Depth / Distance
40m - 220m / 0.5 km
Confidence
Patch tracking
01:45 00:18
00:18 00:58
00:58
Rare Materials Tracker
A versioned tracker for rare materials, where to record them, when to spend them, and how to avoid waste.
Treat rare materials as route keys. Store them separately, label the source region, and spend them only when the recipe clearly unlocks depth, mobility, power, or story access.
Marker
Resources in Deep resource cleanup band
Depth / Distance
650m - 1,000m / 2.2 km
Confidence
Estimated
00:14 00:42
00:42 01:16
01:16
Scanner Station and Filters Guide
How to unlock, use, and think about Scanner Station filters so resource and blueprint routes become repeatable.
The Scanner Station is valuable when it turns guesswork into filter-driven routes. Use it to check what a biome can provide, then leave base with one target instead of sweeping randomly.
Marker
Bases in Scanner station staging
Depth / Distance
300m - 650m / 1.4 km
Confidence
Patch tracking
00:50 02:30
02:30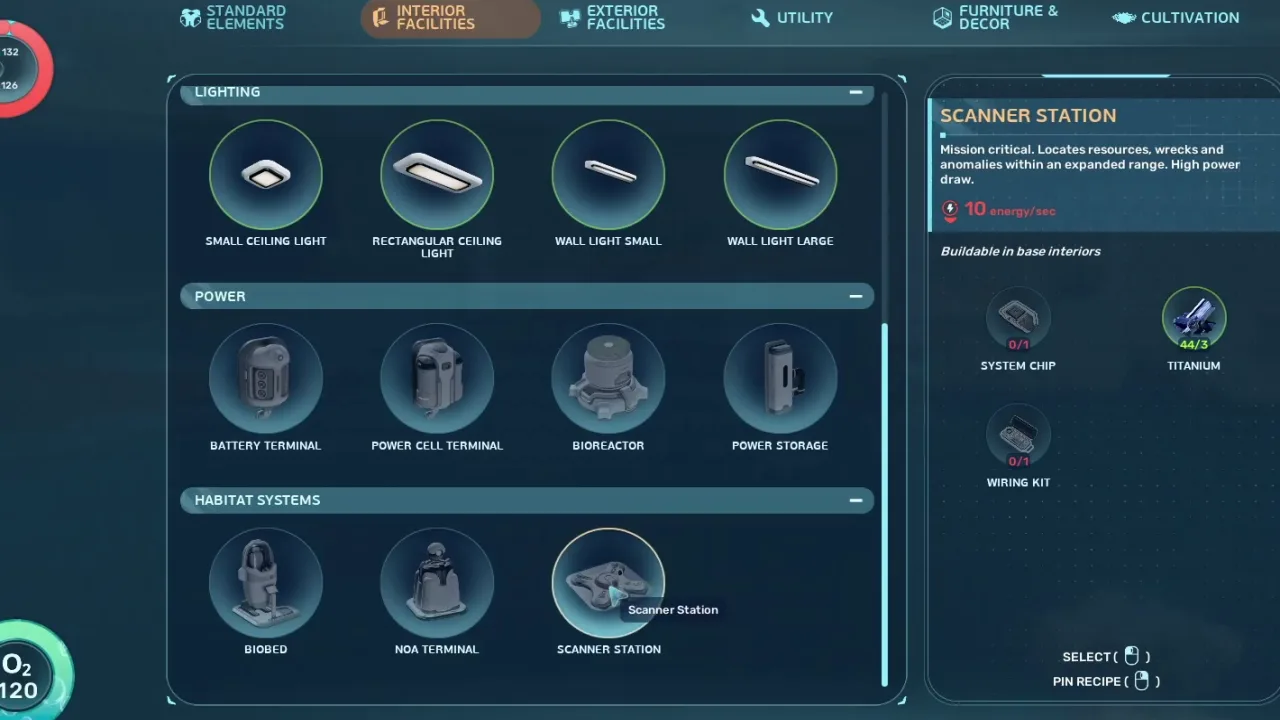 03:20
03:20
Metal Farm Blueprint Guide
How to evaluate Metal Farm unlock routes, resource loops, and repeatable farming value without overextending the first trip.
The Metal Farm is valuable when it shortens repeated resource loops. Find the blueprint, confirm the route, return to craft, and judge the farm by repeat value rather than one large material haul.
Marker
Resources in Mid-depth resource field
Depth / Distance
500m - 800m / 1.8 km
Confidence
Patch tracking
09:45 22:46
22:46 35:47
35:47Crafting Progression Guide
A practical crafting priority list for tools, storage, mobility, base modules, and safer exploration.
Crafting progression should remove the biggest blocker in front of you: oxygen, storage, mobility, power, or hazard access. Avoid spending rare materials until an unlock clearly expands your route.
Marker
Resources in Mid-shallow material hub
Depth / Distance
220m - 500m / 1.0 km
Confidence
Patch tracking
00:4001:5004:20Subnautica 2 Beginner Guide
A practical first-session route for oxygen, tools, scanning, shelter, and safe exploration in Subnautica 2 Early Access.
Start by stabilizing oxygen and food, scan anything that unlocks movement or storage, place an early base near repeatable resources, then push outward only after you can return safely.
Marker
Story in Starter Shelf
Depth / Distance
20m - 160m / 0.2 km
Confidence
Patch tracking
00:1800:5801:45
Alien Structure Puzzles
A careful route framework for reading alien structures, terminals, symbols, and locked interior routes in Subnautica 2.
Alien structures should be cleared methodically: scan first, map the room, identify locks, avoid wasting oxygen, and return when a missing tool or story trigger becomes obvious.
Marker
Puzzles in Deep Zone structure
Depth / Distance
900m+ / 1.9 km
Confidence
Estimated
07:40 02:18
02:18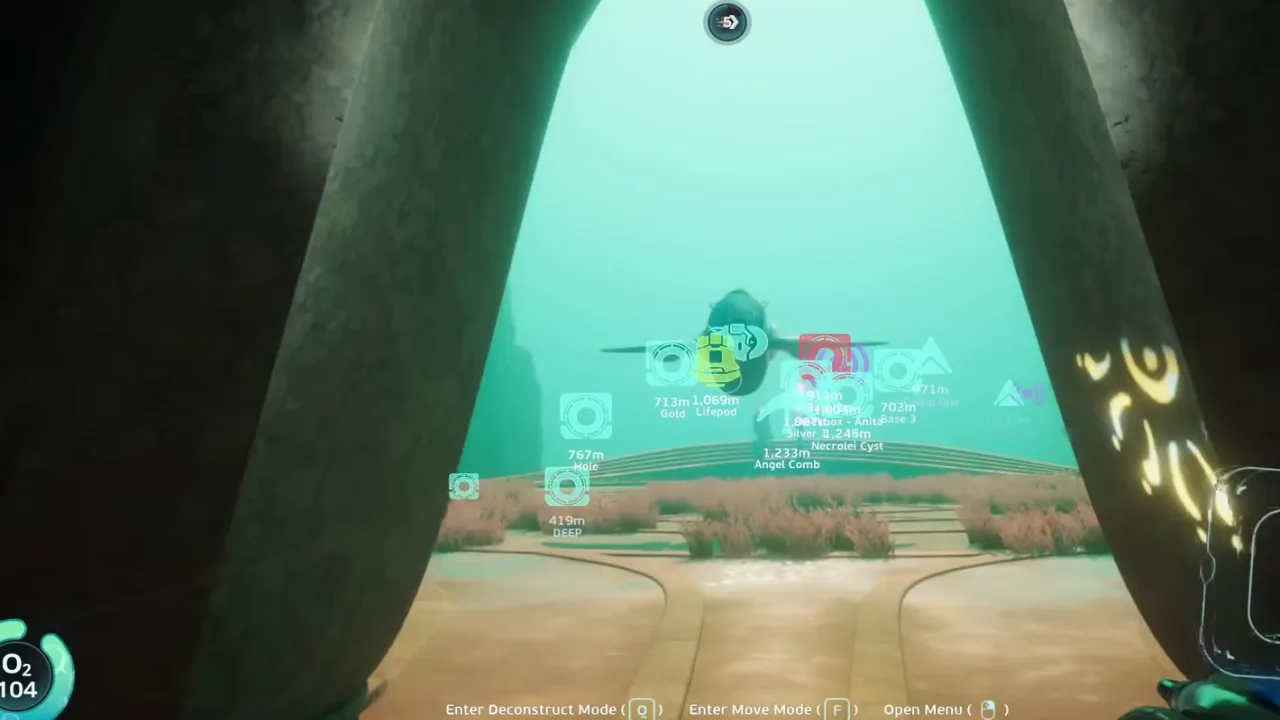 09:12
09:12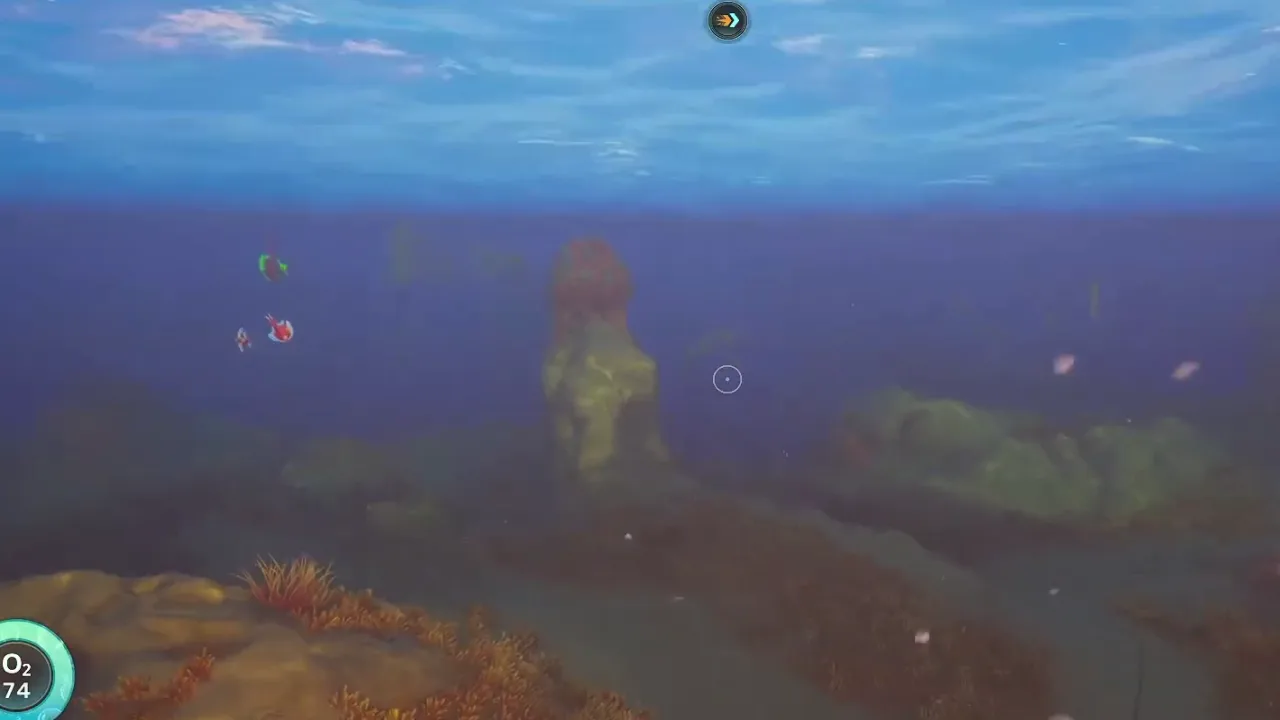
Silver Location Guide
Where to start looking for Silver in Subnautica 2, including the early green-light cave route north of the Lifepod.
A common early Silver route is north of the Lifepod, roughly 400 to 500 meters out, where green-lit cave systems and mineral nodes begin to appear. Bring oxygen margin and do not overstay the first trip.
Marker
Resources in Twilight Plateau edge
Depth / Distance
400m - 500m / 0.9 km
Confidence
Field-tested
00:50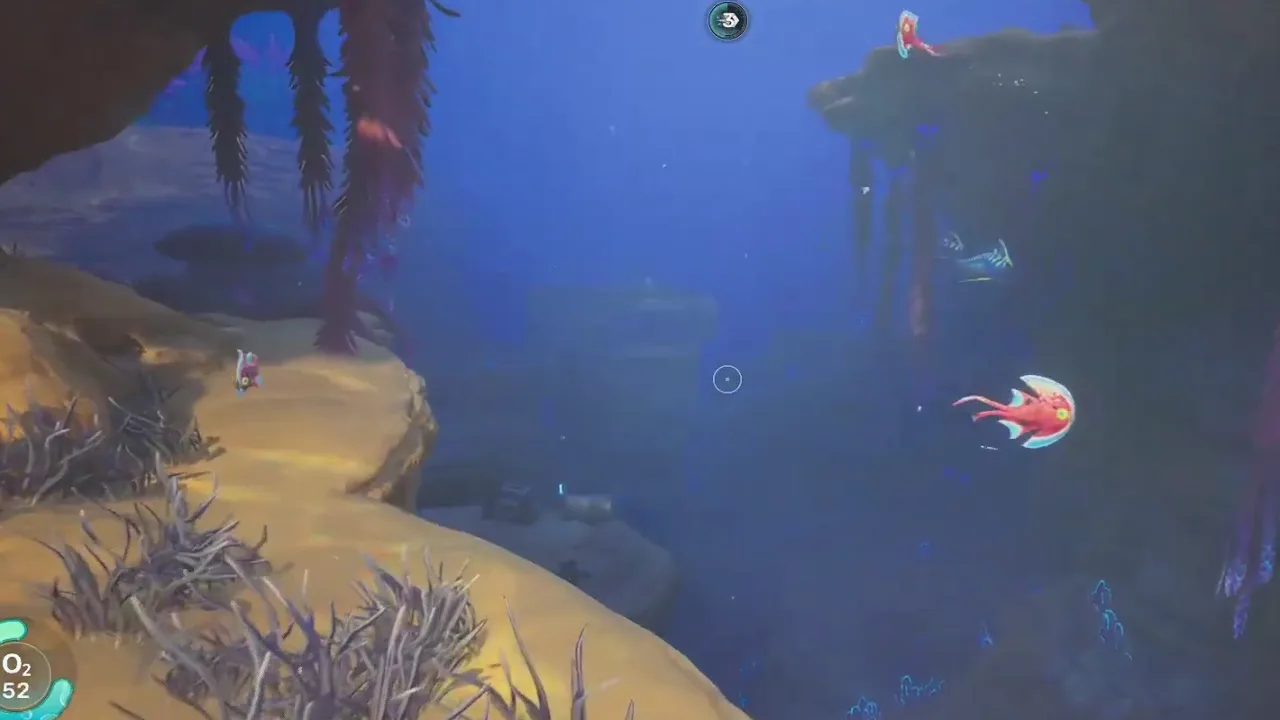 01:41
01:41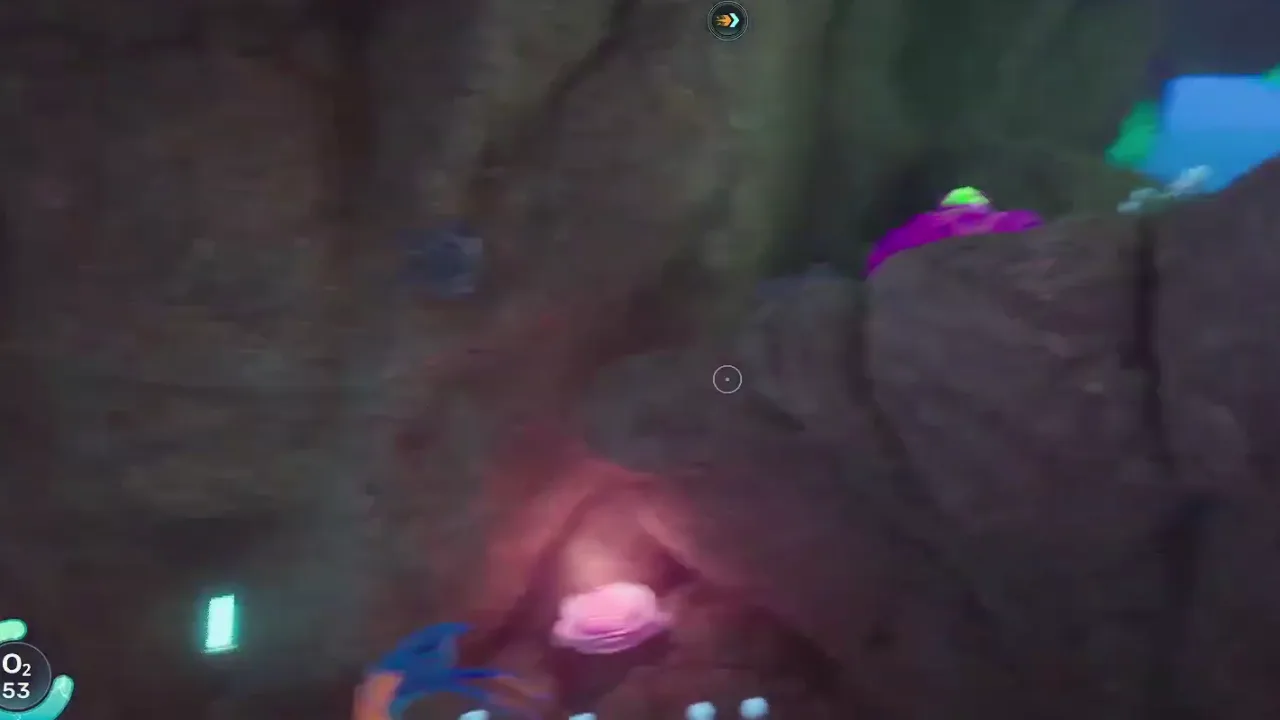 02:07
02:07
Gold Location Guide
A practical Gold route page for recipe blockers, node recognition, inventory planning, and safe return habits.
Farm Gold only after you know which recipe needs it. Start from a visible route band, confirm the Gold node, take a small target haul, and return before the search becomes mixed-resource wandering.
Marker
Resources in Mid-shallow mineral band
Depth / Distance
260m - 520m / 1.0 km
Confidence
Patch tracking
00:18 00:42
00:42 01:12
01:12Celestine Location Guide
A Celestine farming route guide focused on visual node confirmation, route bands, and inventory discipline.
Look for Celestine by route band and visual landmark first. Confirm the node, collect the recipe amount, then return before the run becomes a random rare-material sweep.
Marker
Resources in Rare material shelf
Depth / Distance
600m - 920m / 2.0 km
Confidence
Patch tracking
00:1400:4201:16
Multiplayer Co-op Guide
How to split jobs, share discoveries, avoid duplicated work, and keep co-op exploration organized in Subnautica 2.
In co-op, assign one player to route marking, one to scanning, one to resource hauling, and one to base preparation so the group progresses without four people chasing the same fragment.
Marker
Bases in Shared base staging shelf
Depth / Distance
120m - 300m / 0.8 km
Confidence
Estimated
00:12 00:44
00:44 01:31
01:31Puzzle Guide Overview
A spoiler-aware guide to reading Subnautica 2 puzzles, terminals, route locks, power routing, and alien structure clues.
Most progression puzzles should be approached as information problems: scan the room, identify power or access requirements, trace the route, then solve only the blocker in front of you.
Marker
Puzzles in Alien structure approach
Depth / Distance
650m - 950m / 1.9 km
Confidence
Patch tracking
02:1807:4009:12
Best Base Locations Expanded
A more detailed base-location framework for choosing safe, useful, and expandable starter and midgame bases.
The best base location is the place that shortens repeated routes: near useful materials, visible landmarks, manageable threats, power options, and enough open space for storage, crafting, and vehicle access.
Marker
Bases in Base candidate ring
Depth / Distance
120m - 600m / 1.2 km
Confidence
Patch tracking
00:52 01:45
01:45 09:36
09:36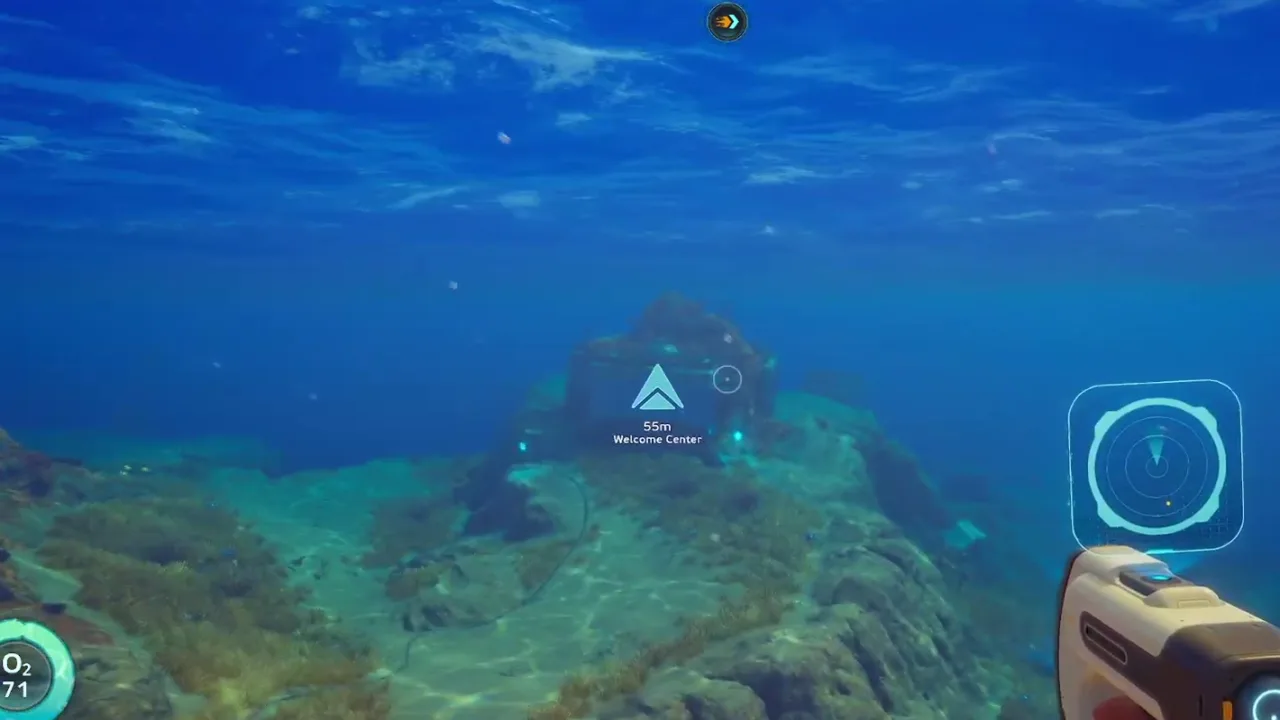
How to Unlock the Habitat Builder Early
A beginner-safe route for unlocking the Habitat Builder early and converting the first scan route into a useful starter base.
Unlock the Habitat Builder by treating the scan route as a short objective chain: stabilize supplies, reach the blueprint stop, scan what matters, return, and build a practical starter base before pushing deeper.
Marker
Bases in Starter route branch
Depth / Distance
100m - 260m / 0.7 km
Confidence
Patch tracking
00:34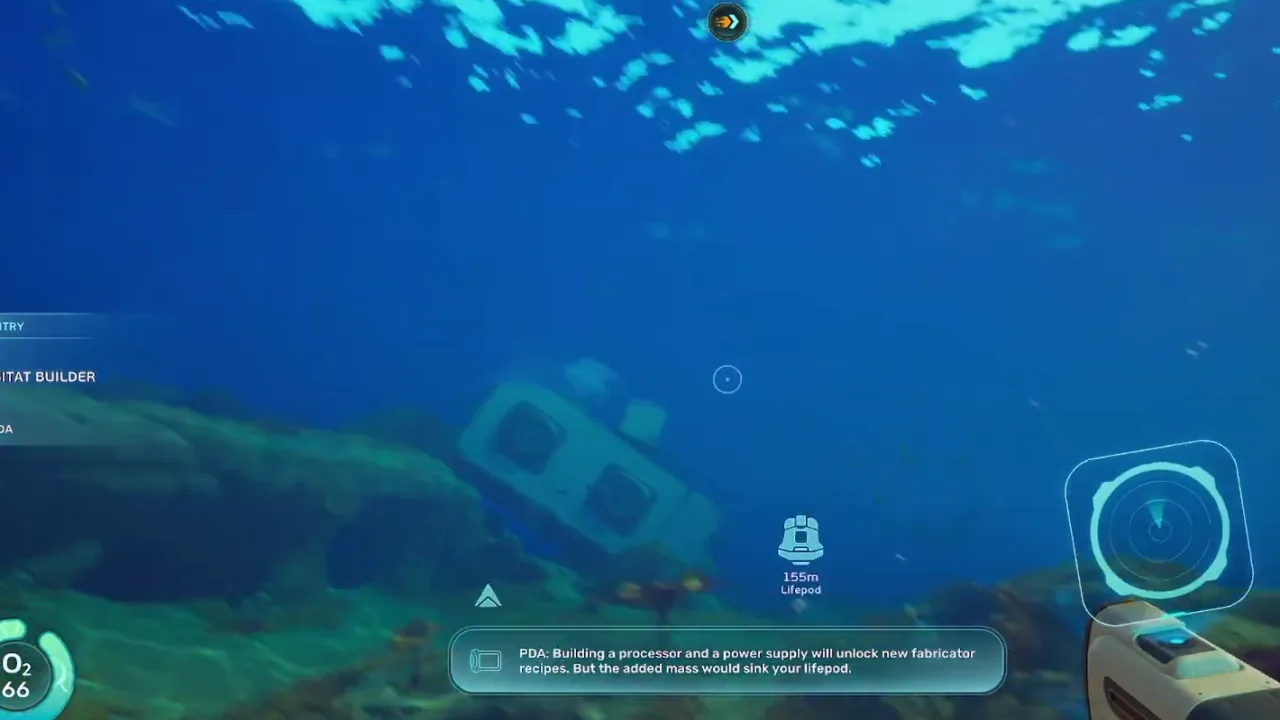 01:20
01:20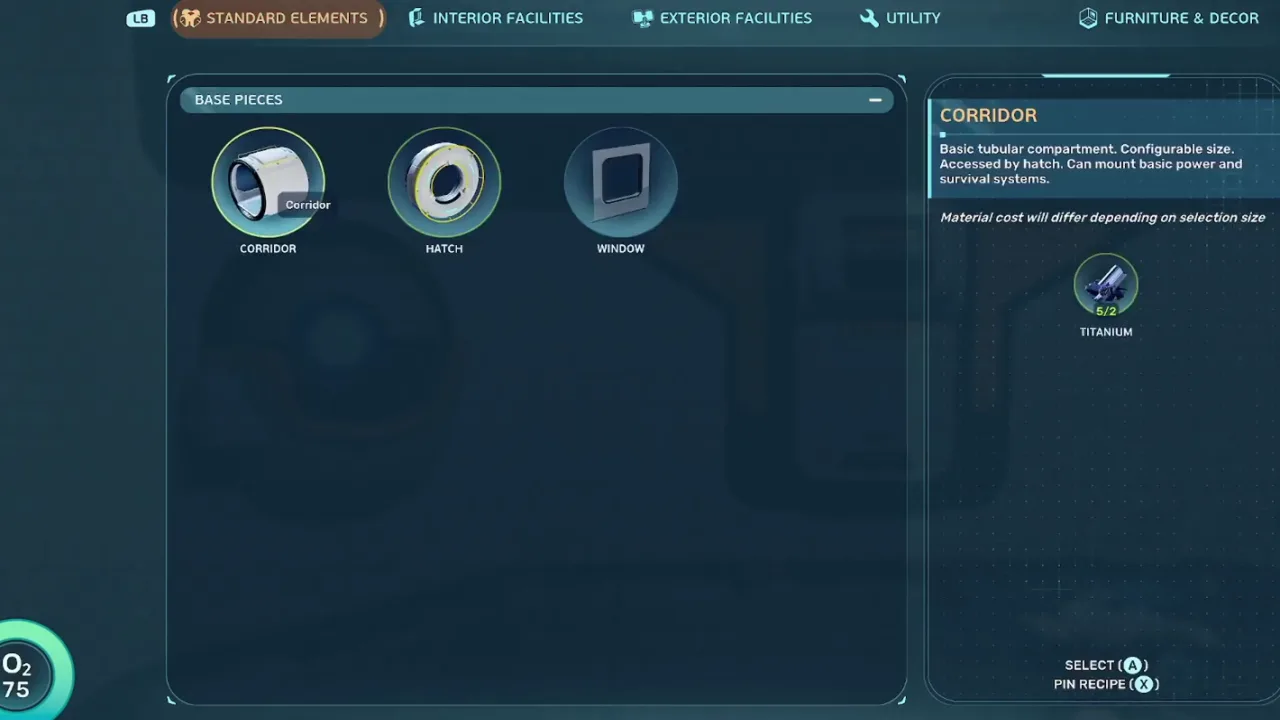 02:05
02:05Best First Base Location
How to choose a first base site with safe oxygen routes, repeatable resources, visibility, and room to expand.
Pick a first base near common resources, shallow return paths, clear sightlines, and at least one safe route into deeper exploration. Do not optimize for beauty before survival.
Marker
Bases in Starter basin edge
Depth / Distance
80m - 220m / 0.6 km
Confidence
Field-tested
00:5201:4509:36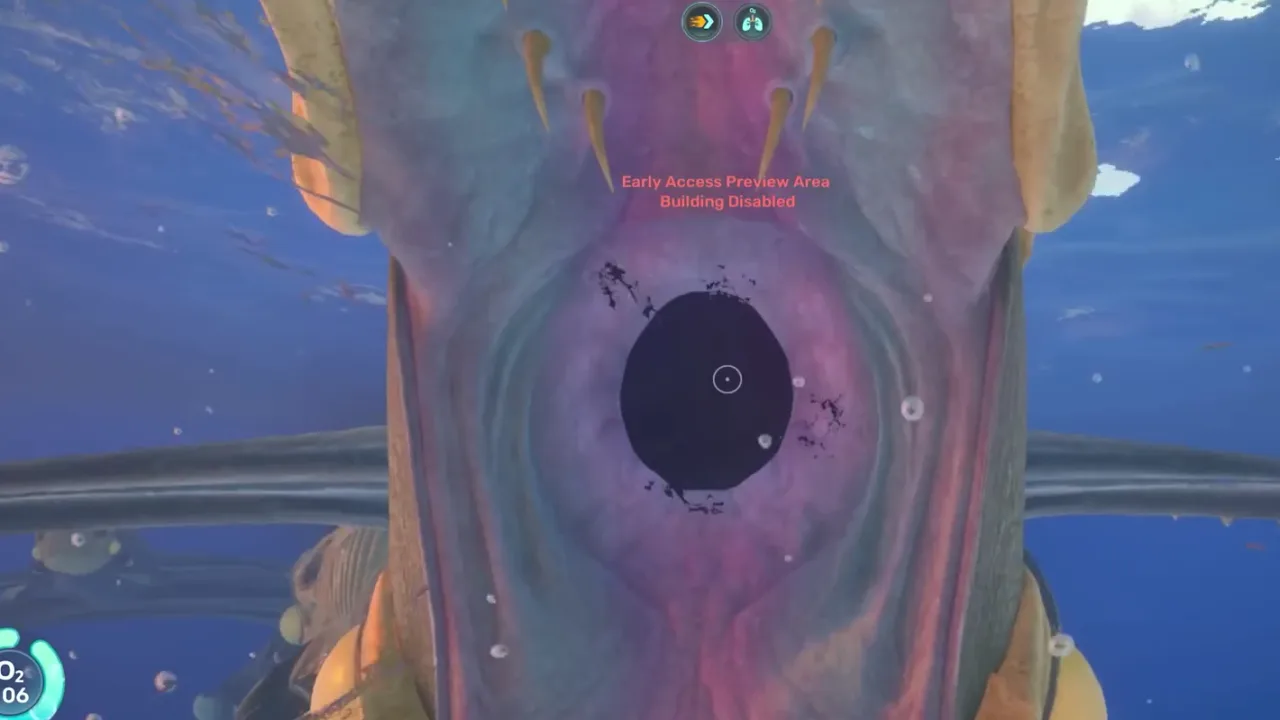
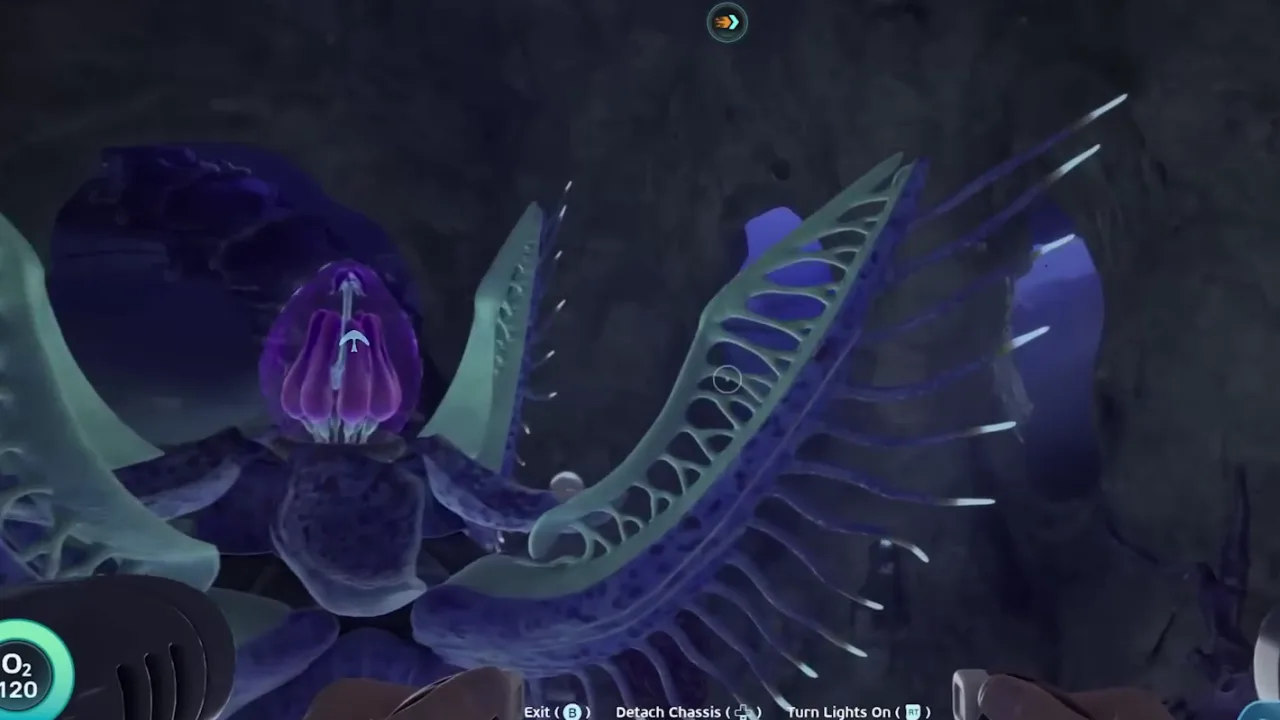
Leviathan-Class Threats
How to approach large predator and leviathan-class threat zones without losing scans, resources, or your return route.
Do not treat leviathan-class zones as normal resource routes. Enter with an exit plan, scan from controlled angles, and leave as soon as the objective is complete.
Marker
Leviathans in Outer leviathan patrol edge
Depth / Distance
650m - 1,000m / 2.0 km
Confidence
Estimated
00:26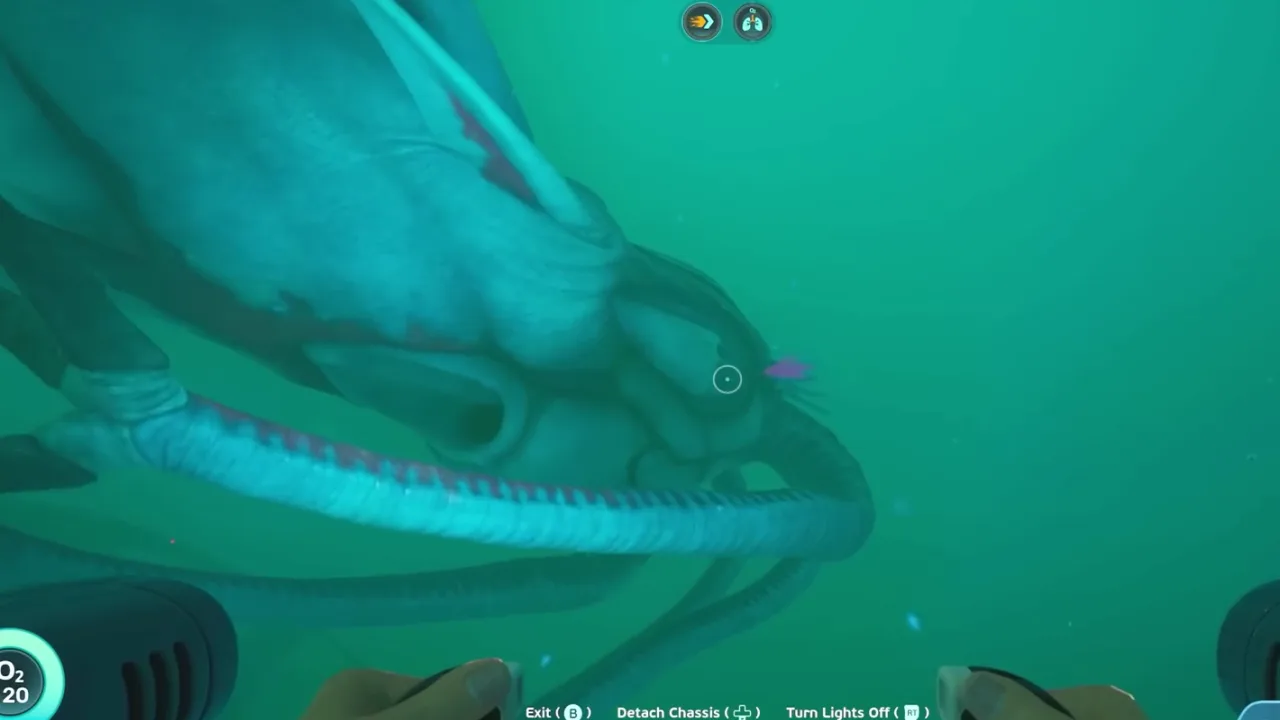 01:43
01:43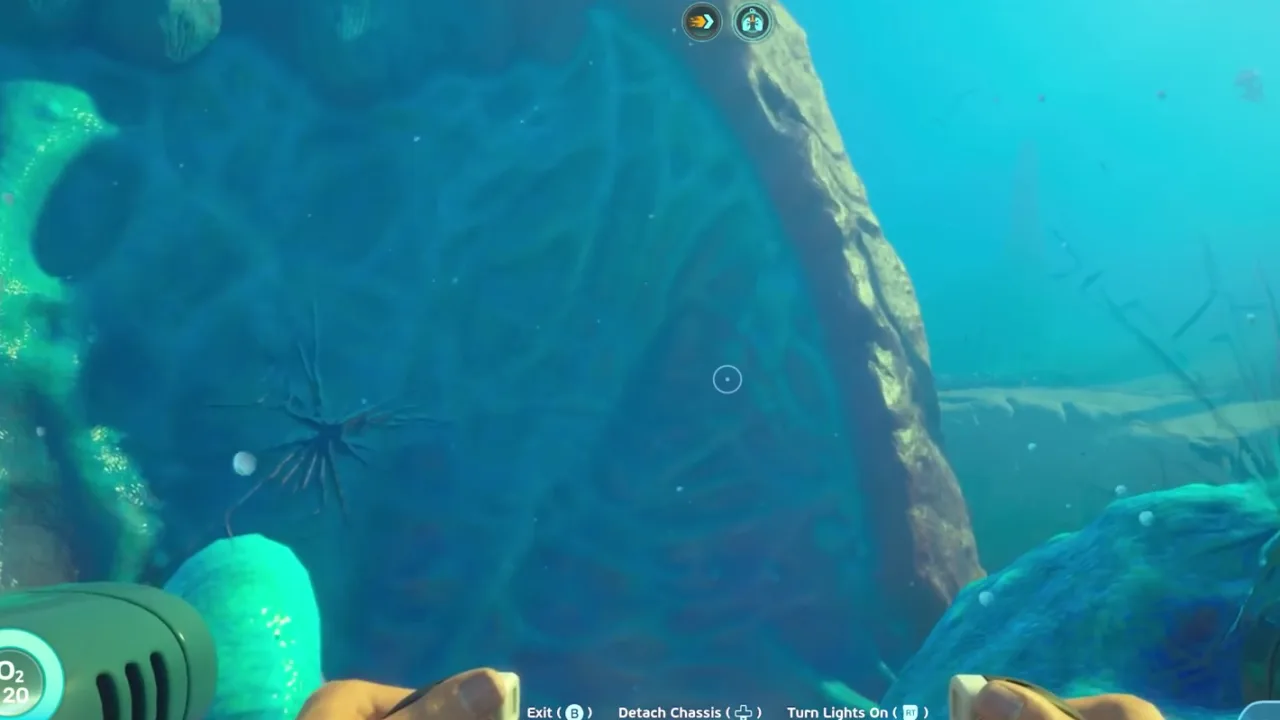 04:42
04:42