Bosses and Major Threats
Subnautica 2 boss and major threat guides focused on preparation, escape routes, scanning safety, and versioned encounter notes.
12 of 21 guides shown

All Creatures Scan Guide
A creature scanning checklist for BioMods, safe scan windows, passive versus hostile behavior, and knowing when a scan route should stop.
Includes playable video evidence, screenshot checkpoints, and a step route you can follow in-game.
Route value
Creature scan anchor for database completion, recognition, and safe scan-window planning.

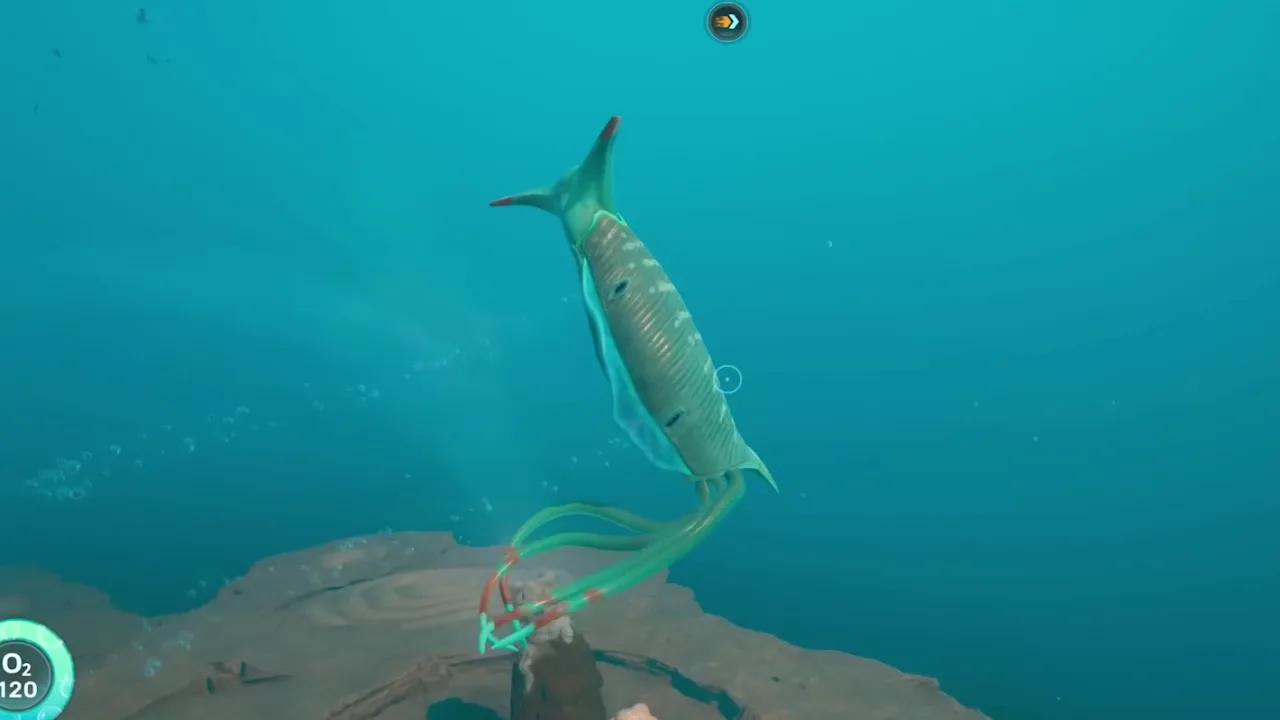
All Leviathans and Where to Find Them
A versioned Leviathan index for Collector, Shiver, Great Jaw, and Deepwing Brooder routes, with safer scouting habits for Early Access.
Includes playable video evidence, screenshot checkpoints, and a step route you can follow in-game.
Route value
Overview anchor for comparing current leviathan watchlist routes and scan safety.

Bosses and Threats Overview
A conservative encounter hub for major threats, boss-like moments, escape planning, and Early Access verification.
Includes playable video evidence, screenshot checkpoints, and a step route you can follow in-game.
Route value
General threat-planning anchor for entering predator routes with an exit plan.

Collector Leviathan Avoidance Guide
A Collector Leviathan avoidance guide for route spacing, terrain cover, retreat angles, and avoiding accidental patrol crossings.
Includes playable video evidence, screenshot checkpoints, and a step route you can follow in-game.
Route value
Avoidance anchor for using terrain cover and abort rules near the Collector route.

Collector Leviathan Guide
A spoiler-aware route and safety framework for finding, observing, and escaping the Collector Leviathan.
Includes playable video evidence, screenshot checkpoints, and a step route you can follow in-game.
Route value
Safe approach anchor for Collector Leviathan scouting and scans.

Collector Leviathan Scan Guide
A focused Collector Leviathan scan route covering cover approach, scan distance, behavior reads, and when to abort before contact.
Includes playable video evidence, screenshot checkpoints, and a step route you can follow in-game.
Route value
Collector scan anchor for Sonic Echo route planning, cover approach, and retreat timing.

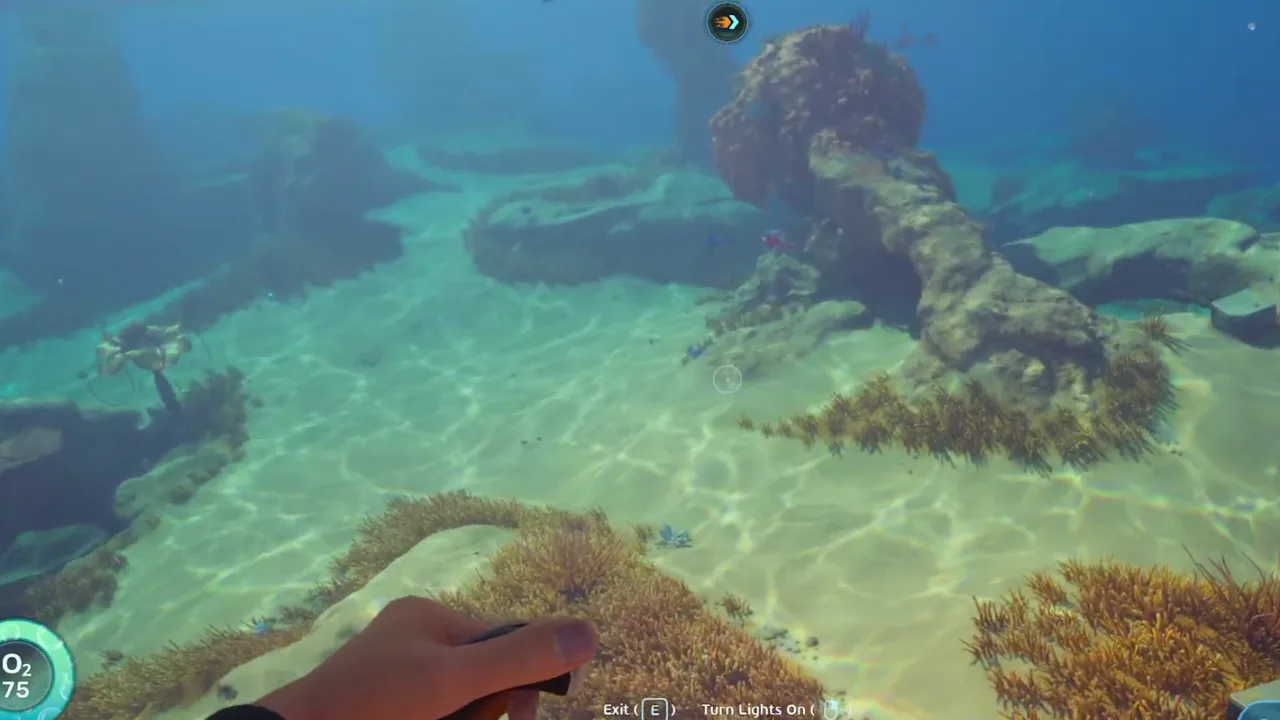
Creature Safety Index
A compact creature safety database for deciding whether to observe, avoid, scan from cover, or abort a route.
Includes playable video evidence, screenshot checkpoints, and a step route you can follow in-game.
Route value
Creature behavior lookup anchor for observe, avoid, scan, or abort decisions.

Creatures Database Guide
A creature database framework for scanning wildlife, reading behavior, separating harmless fauna from threats, and tracking Early Access changes.
Includes playable video evidence, screenshot checkpoints, and a step route you can follow in-game.
Route value
Creature database anchor for logging behavior, threat verbs, and safe scan notes.

Deadly Creatures Guide
A deadly-creatures safety guide for hostile cues, route risk, scan timing, and deciding when to avoid rather than engage.
Includes playable video evidence, screenshot checkpoints, and a step route you can follow in-game.
Route value
Risk anchor for identifying deadly creatures, abort windows, and route-safe behavior.
Deepwing Brooder Guide
A conservative Deepwing Brooder page for late-route threat scouting, route abortion, and patch-sensitive encounter notes.
Includes playable video evidence, screenshot checkpoints, and a step route you can follow in-game.
Route value
Late-route threat marker for deciding when Deepwing Brooder scouting should stop.

Deepwing Brooder Location Guide
A Deepwing Brooder location guide for deep-route threat reads, egg-clump context, size recognition, and abort timing.
Includes playable video evidence, screenshot checkpoints, and a step route you can follow in-game.
Route value
Deepwing anchor for creature identification, egg-clump routes, and safety notes.
Great Jaw Leviathan Guide
A route-safe Great Jaw Leviathan guide focused on landmark recognition, sighting discipline, and when not to chase the encounter.
Includes playable video evidence, screenshot checkpoints, and a step route you can follow in-game.
Route value
Recon marker for Great Jaw sighting discipline and route-band notes.
Reference cards
Quick notes for names you will see in these guides
These cards are lightweight reference notes, not precision map claims. Open a guide when you need the full video-based route.

Leviathan-class wildlife
High-danger creature tier that shapes scouting, avoidance, and retreat routes.
Collector Leviathan
Named Leviathan-class encounter tracked by community location guides.
Shiver Leviathan
Named Leviathan-class encounter that should be handled as a high-risk scouting target.
Great Jaw Leviathan
Named Leviathan-class encounter where route safety matters more than exact coordinates.
Deepwing Brooder
Named Leviathan-class encounter tracked as a late-route danger and spoiler-heavy target.
Hammerhead
Predator behavior currently affected by Early Access tuning.
Marrowbreach
Hostile creature with changing attack cadence and damage tuning.
Nibbler
Small hostile fauna where perception range, circling, speed, and tool sensitivity have changed.