Quick answer
Build your first Subnautica 2 base as a route tool: unlock Habitat Builder, place power and storage first, add fabricator access, then chase Square Room or Room blueprints only when cramped layout starts slowing progression.
Second-screen dive plan
What to do, what proves it, and when to leave
Unlock the Habitat Builder before overcommitting to long material runs.
Builder plan at 00:24
Build by job: power, storage, fabricator workflow, scanner support, room expansion, decoration last.
How to Unlock the Habitat Builder Early

Builder plan
A base route starts with the builder objective, not with a giant final-layout fantasy.
Approach
Build by job: power, storage, fabricator workflow, scanner support, room expansion, decoration last.
Objective
Base-building workflow anchor for power, storage, fabricator, scanner, and room expansion decisions.
Return
Use this when the base exists but still feels like scattered storage instead of a route hub.
Tactical brief
How to use this guide in a real dive
Base Building Route Planner is useful when the player needs a repeatable decision path, not just a short answer. Start with the page objective, then compare the map anchor, the first evidence frame, and the current Early Access status before committing to a longer dive. This keeps the guide practical when Subnautica 2 routes shift between patches.
On the atlas, this guide is tied to Base Building Route Planner Hub. Treat that marker as a route anchor: Base-building workflow anchor for power, storage, fabricator, scanner, and room expansion decisions. The important player action is not simply reaching the dot, but using it to decide when to approach, what to scan or gather, and how to leave cleanly.
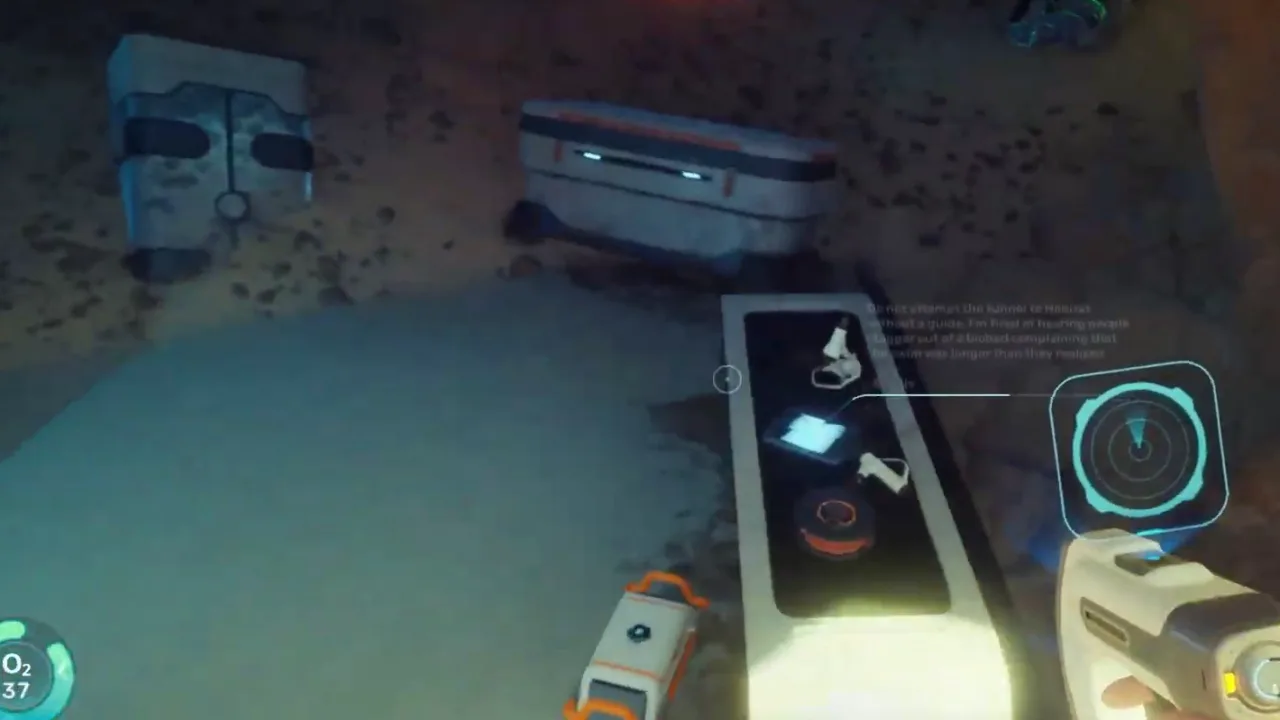
The first visual check is Builder plan (00:24). Use that frame as the reading order for the rest of the article: identify the landmark, confirm the objective, then watch for the mistake that would force a reset. A base route starts with the builder objective, not with a giant final-layout fantasy.
Route band
Starter base workflow shelf, 80m - 420m
Build by job: power, storage, fabricator workflow, scanner support, room expansion, decoration last.
Proof point
Builder plan (00:24)
A base route starts with the builder objective, not with a giant final-layout fantasy.
Abort rule
Building a beautiful base before it solves storage or crafting friction.
Use this when the base exists but still feels like scattered storage instead of a route hub.
After this
How to Unlock the Habitat Builder Early
A beginner-safe route for unlocking the Habitat Builder early and converting the first scan route into a useful starter base.
Visual route
Follow the guide by screenshot evidence
Use these frames as a quick watch order: landmark first, objective second, exit condition third. It keeps the article useful even before you read every paragraph.
Builder plan
A base route starts with the builder objective, not with a giant final-layout fantasy.
Player action
Habitat Builder plan

Power and storage
Power, storage, and fabricator workflow should come before room sprawl or decoration.
Player action
Unlock the Habitat Builder before overcommitting to long material runs.
Base layout
A useful starter layout shortens repeated routes and leaves room for scanner and vehicle flow.
Player action
Building a beautiful base before it solves storage or crafting friction.
Video references
Watch or inspect the route before you dive
Open frame cards to compare local screenshot notes. Use the evidence to confirm landmarks, movement, and encounter pacing, then follow the written checklist below.
Base-building route source footage
Watch for: Builder timing, power and storage order, compact layout, and when to expand rooms.
Builder plan frame review
Watch for: Start with Habitat Builder and habitats guide at 00:24. Compare the screenshot cue, route note, and player action before following the guide in-game.
Base layout frame review
Watch for: Start with Habitat Builder and habitats guide at 03:34. Compare the screenshot cue, route note, and player action before following the guide in-game.
Field manual
Base-building workflow manual
Built from the supplied route videos and local frame captures so the article teaches what to watch for, not only what to click.
Base-building footage is useful when it shows order of operations, not only finished rooms. Read the sequence as builder plan, power and storage, then layout. A good first base turns repeated dives into shorter routes and gives the player a place to sort blockers before pushing deeper.
Primary job
Build a route hub
The starter base should reduce storage, crafting, and return-path friction before it becomes decorative.
Best entry habit
Power and storage first
Power, storage, and fabricator workflow decide whether the base actually helps the next dive.
Stop condition
Overbuilding starts
Stop expanding when the next module does not solve a current route or crafting problem.
What to watch in the videos
Watch what the creator builds first and whether each piece solves power, storage, crafting, or travel time.
Pause when storage and power are visible; that is the real base foundation.
Compare compact layouts against travel distance to resources and vehicle access.
Decision table
The base looks good but storage is still chaotic.
Stop decorating and add labeled storage tied to resource, blueprint, and rare-material routes.
A larger room is available.
Build it only if cramped layout is slowing crafting, research, or storage access.
The site is far from repeatable resources.
Keep it as a future scenic base and build the working hub closer to route anchors.
Screenshot reading order
Builder plan
The first useful frame names the base job before materials are spent.
Player action: Decide whether this build solves storage, power, or route return before placing rooms.
Power and storage
This frame shows whether the base is functional enough to support repeat dives.
Player action: Label storage, route common materials, and keep expansion materials separate.
Base layout
The layout frame should show movement lanes and expansion room, not just decoration.
Player action: Leave space for scanner workflow, vehicle approach, and later room upgrades.
Map intel
Route anchors for this guide
Base Building Route Planner Hub
Base-building workflow anchor for power, storage, fabricator, scanner, and room expansion decisions.
Player use
Use this when the base exists but still feels like scattered storage instead of a route hub.
Route hint
Build by job: power, storage, fabricator workflow, scanner support, room expansion, decoration last.
Scan priority
Blueprint unlock matrix
What the unlock enables, where the route starts, and when to come back with better tools.
Blueprint pages work best when every scan has a job: base workflow, vehicle depth, scanner routing, or upgrade crafting.
Habitat Builder
Storage, fabricator workflow, power, and safer return loops
Route band
Early builder scan chain
Proof point
Blueprint unlock screen or builder menu
Return rule
Return immediately after the unlock and place a compact base.
Common mistake
Chaining another objective before converting the unlock into shelter.
Square Room
Biolab space, organized storage, and less cramped crafting flow
Route band
Base expansion databox route
Proof point
Room blueprint menu or databox confirmation
Return rule
Leave after the room unlock and build only if power can support it.
Common mistake
Treating room space as decoration before storage and power are stable.
Room Blueprint
Functional base expansion and specialized module layout
Route band
Room databox route
Proof point
Databox room and final blueprint check
Return rule
Confirm the room state, then return before side-room drift.
Common mistake
Scanning the room but forgetting whether the blueprint completed.
Modification Station
Upgrade crafting, stronger route prep, and deeper progression
Route band
Equipment blueprint sweep
Proof point
Fragment scan count and crafting station recipe
Return rule
Stop after the required fragments and craft the station before pushing deeper.
Common mistake
Missing a fragment count and repeating the same structure blindly.
Scanner Station
Targeted resource runs and blueprint cleanup from a working base
Route band
Base-linked scanner route
Proof point
Station console and filter list
Return rule
Use one filter per blocker and stop once that blocker is solved.
Common mistake
Leaving every filter active until the map becomes noise.
Metal Farm
Repeatable base expansion material flow
Route band
Mid-depth farm blueprint route
Proof point
Blueprint node and repeat route value
Return rule
Judge the farm by repeat value before spending base resources on it.
Common mistake
Building a farm that does not shorten real material loops.
Tadpole Depth Modules
Safer access to deeper objectives and late resource bands
Route band
Depth module fragment chain
Proof point
Module menu showing MK1 or MK2 depth unlock
Return rule
Install and test the module on a known route before opening a new depth band.
Common mistake
Diving into the new depth limit immediately after installation.
Wakemaker
Faster swim routing and safer return timing
Route band
Mobility fragment route
Proof point
Final blueprint check after required fragments
Return rule
Return once the blueprint completes and test mobility near base.
Common mistake
Continuing fragment hunting after the mobility unlock is already complete.
Field checklist
Before leaving base
Habitat Builder plan
Primary action
Unlock the Habitat Builder before overcommitting to long material runs.
Turn back when
Building a beautiful base before it solves storage or crafting friction.
Write down
Early Access / field-tested / 2026-06-12
Database cards
Entities in this guide
These cards give players the scan target, material, creature, or structure they should be watching for while following the guide.

Welcome Center
Early route anchor that turns the first objective chain into a readable progression path.
Found in: GameSpot walkthrough and first-route guides supplied by the user.
Action: Visit after stabilizing oxygen, food, water, and inventory, then return to craft after each new signal.

Habitat Builder
Core building tool that turns early routes into a working storage and fabricator loop.
Found in: Local base-building footage and early unlock guides supplied for content research.
Action: Unlock it, return, and build the minimum base that shortens the next material and scan routes.
Tadpole submersible
Primary mobility reference for deeper biome pushes and co-op hauling.
Found in: Official Steam store description and media.
Action: Plan routes around return oxygen, storage, and safe vehicle access.
Square Room
Base expansion unlock for storage, Biolab planning, and less cramped crafting workflow.
Found in: Local Square Room databox footage supplied for content research.
Action: Confirm the databox unlock, return to stable power, and build only when the room improves workflow.
Evidence board
Media and verification
Each guide now reserves space for footage, screenshots, map notes, and patch checks so the page can grow with real player evidence.
Tadpole Mobility
Official media for movement, vehicle routes, upgrades, and map pushes.
Video references
3 embedded source cards
Route checks
5 checkpoints
Screenshot queue
Ready for owned gameplay captures
Gameplay frame gallery
Visual checkpoints from source footage
Frames are center-cropped from local research footage to keep the article focused on landmarks, nodes, creatures, and route cues.
Builder plan
A base route starts with the builder objective, not with a giant final-layout fantasy.
Power and storage
Power, storage, and fabricator workflow should come before room sprawl or decoration.
Base layout
A useful starter layout shortens repeated routes and leaves room for scanner and vehicle flow.
Loadout and prerequisites
Route timeline
Follow the run in order
Built for second-screen use: complete each checkpoint, then move to the next landmark before detouring for extras.
Unlock the Habitat Builder before overcommitting to long material runs.
Place a compact base near repeatable early resources and safe return paths.
Add power, fabricator access, and labeled storage before decorative modules.
Use Square Room or Room unlocks when cramped layout starts wasting time.
Turn the base into a route hub for scanner, resource, and vehicle objectives.
Guide notes
A base is infrastructure
The first base should shorten the next ten dives. If a module does not improve storage, power, crafting, scanning, or vehicle workflow, it can wait until the route hub is stable.
Expansion order
Use a strict order: builder unlock, power, storage, fabricator workflow, scanner support, room expansion, then decoration. This keeps the base from becoming a material sink.
When Square Room matters
Square Room becomes high priority when hallway bases start hiding storage, stretching power, or slowing repeated craft trips. It is a workflow unlock, not just a larger shape.
Risk controls
Common mistakes
These are the actions most likely to waste oxygen, lose the route, or turn a clean scan into a failed attempt.
Building a beautiful base before it solves storage or crafting friction.
Expanding rooms before power and materials are stable.
Choosing a scenic location that makes every useful route longer.
FAQ
Fast answers before you dive
Is this guide for the current Subnautica 2 build?
This page is written for Early Access and includes a visible update date. Treat exact values as tracking notes until the current build is field-tested.
Does this page use official screenshots?
Pages combine attributed official Steam / Unknown Worlds media, local gameplay frame captures, and source-video evidence cards. New player-submitted captures should keep the route, timestamp, and build context attached.
Community notes
Add a field report
Player reports enter a moderation queue. Approved notes can load from Supabase; pending drafts stay visible in this browser for follow-up.
Near starter shallows
Approx. 70-120m from pod
Confirm oxygen before leaving the first landmark. The route is much safer when you mark the return path before collecting side materials.
Guide-wide
N/A
Creature patrol ranges and fragment placement can shift between builds, so treat exact distances as field estimates until multiple players confirm them.