Subnautica 2 Guides
Practical Subnautica 2 guides for new players who want a clear route through survival, crafting, base building, and early exploration.
12 of 26 guides shown

Base Building Route Planner
A practical base-building planner for Habitat Builder timing, Square Room unlocks, storage, power, fabricator workflow, and first expansion decisions.
Includes playable video evidence, screenshot checkpoints, and a step route you can follow in-game.
Route value
Base-building workflow anchor for power, storage, fabricator, scanner, and room expansion decisions.
Base Building Tips Guide
A compact base-building tips guide covering first rooms, power, storage, fabrication flow, expansion, and route-based design.
Includes playable video evidence, screenshot checkpoints, and a step route you can follow in-game.
Route value
Base-building tips anchor for power, storage, fabricator flow, and expansion discipline.
Best Base Locations Guide
A practical best-base-locations guide focused on starter safety, resource radius, power, storage, vehicle access, and upgrade pacing.
Includes playable video evidence, screenshot checkpoints, and a step route you can follow in-game.
Route value
Base-site anchor for resource radius, power, storage, and vehicle approach decisions.
How to Unlock the Habitat Builder Early
A beginner-safe route for unlocking the Habitat Builder early and converting the first scan route into a useful starter base.
Includes playable video evidence, screenshot checkpoints, and a step route you can follow in-game.
Route value
Early base-building unlock route for storage and fabricator setup.
Base Power Planning Guide
A base power planning guide for night reliability, scanner uptime, fabricator workflow, storage placement, and testing power before expansion.
Includes playable video evidence, screenshot checkpoints, and a step route you can follow in-game.
Route value
Base power anchor for fabricator flow, scanner uptime, storage placement, and full-cycle tests.

Base Storage Workflow Guide
A base storage workflow guide for labeled lockers, recipe blockers, vehicle cargo, common reserves, and clean post-route sorting.
Includes playable video evidence, screenshot checkpoints, and a step route you can follow in-game.
Route value
Storage workflow anchor for labeled lockers, rare blockers, vehicle cargo, and post-route sorting.
Beginner Mistakes Guide
The biggest Subnautica 2 beginner mistakes, including overfarming, weak return planning, skipped scanner checks, unsafe base sites, and poor route pacing.
Includes playable video evidence, screenshot checkpoints, and a step route you can follow in-game.
Route value
Beginner mistake anchor for one-blocker routing, scanner checks, and early turn-back rules.
Best Base Locations Expanded
A more detailed base-location framework for choosing safe, useful, and expandable starter and midgame bases.
Includes playable video evidence, screenshot checkpoints, and a step route you can follow in-game.
Route value
Base-site comparison anchor for judging safety, resources, power, expansion room, and commute time.
Best First Base Location
How to choose a first base site with safe oxygen routes, repeatable resources, visibility, and room to expand.
Includes playable video evidence, screenshot checkpoints, and a step route you can follow in-game.
Route value
Early base location anchor for low-risk storage, fabricator access, and visible return paths.
Bug Fixes and Stuck State Guide
A practical troubleshooting page for stuck Tadpole states, dock clearance, hotbar input issues, and when to reload safely.
Includes playable video evidence, screenshot checkpoints, and a step route you can follow in-game.
Route value
Bug and stuck-state guide entry for Tadpole dock and hotbar issues.
Crafting Progression Guide
A practical crafting priority list for tools, storage, mobility, base modules, and safer exploration.
Includes playable video evidence, screenshot checkpoints, and a step route you can follow in-game.
Route value
Crafting progression anchor where resources, scans, and base upgrades start competing.
Early Access Ending Guide
A spoiler-controlled Early Access ending route covering final objectives, Axum-related blockers, and when to stop chasing side content.
Includes playable video evidence, screenshot checkpoints, and a step route you can follow in-game.
Route value
Ending route anchor for Axum, power-state, and final objective confirmation.
Reference cards
Quick notes for names you will see in these guides
These cards are lightweight reference notes, not precision map claims. Open a guide when you need the full video-based route.

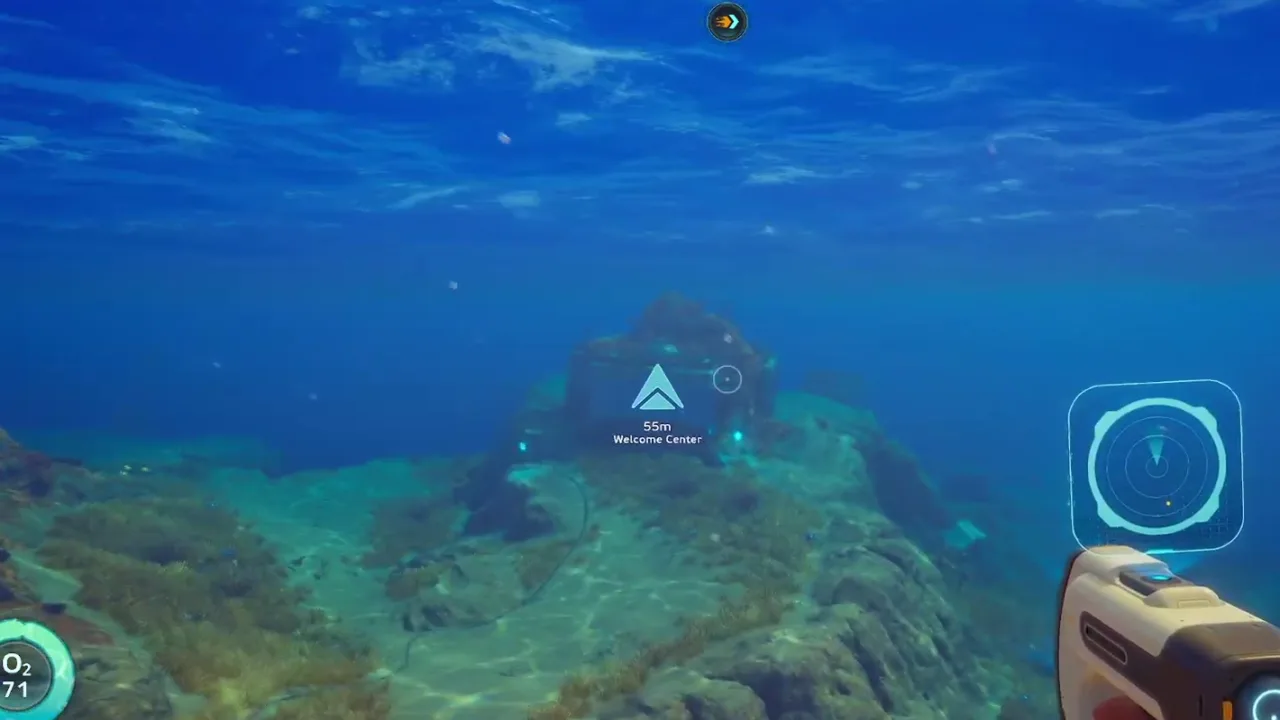
Welcome Center
Early route anchor that turns the first objective chain into a readable progression path.
Camp One
Early progression stop connected to the first-route walkthrough chain.

Habitat Builder
Core building tool that turns early routes into a working storage and fabricator loop.